Showing posts with label Dessert. Show all posts

Thursday, September 11, 2014

Banana Walnut Chip Ice Cream

I've always loved making homemade ice cream and remember family reunions when I was a little girl - Great-Grandma Thomas's homemade vanilla ice cream was always being hand-churned by someone. The ice cream never made it to the freezer because everyone ate it as soon as it was thickened. I've always been partial to homemade vanilla ice cream because of that childhood tradition. And I've always had an ice-cream maker for days when I craved Great-Grandma's homemade ice cream, and had that time to make it. Those days didn't come very frequently because of the time it took to freeze it . . . the patience of adding more ice and waiting and waiting until it was ready. That problem is now solved thanks to my generous sister, Lilly. Last spring, I visited her in Texas and she had a modern mini ice cream maker that you kept the bowl in the freezer at all times so that whenever you had an inkling for ice cream, all you had to do is whip it up and it would be frozen in15-20 minutes. While we were there, we made a root beer float ice cream . . . I fell in love with her machine and for my birthday in April she sent me one too. Since then I've strayed from the homemade vanilla a bit and have been trying some delicious frozen yogurts and rich gourmet ice creams. This recipe came with the instruction manual and has become a family favorite this summer so I thought I'd share.

*Don't be intimidated by the multiple steps in this recipe. They are not difficult and once you try this delicious ice cream, you'll be willing to make those steps over and over again.  

Ingredients:

1/2 cup whole milk
2 cups heavy cream
1 whole vanilla bean, halved and seeds scraped
1/2 teaspoon pure vanilla extract
1/4 teaspoon salt
1/3 cup packed brown sugar
1 tablespoon water
2 tablespoons unsalted butter
2 large bananas, cut into 1 inch pieces
1 1/2 tablespoons rum flavoring
1/4 teaspoon fresh lemon juice
1/3 cup Ghiradelli 60% cacao dark chocolate chips
1/2 cup toasted walnuts, roughly chopped

Step 1
In a medium saucepan set over medium-low heat, bring the milk, cream, vanilla bean (including the pod), vanilla extract, and the salt just to a boil. Remove from heat, let mixture steep for 30 minutes.


Step 2
While the milk/cream mixture steeps, heat the sugar with water in a large skillet until it begins to sizzle.
Stir in the butter and heat until melted.
Add the bananas; cook for about 2 minutes, or until fragrant and softened.


Carefully stir in the rum and cook for an additional 2 minutes, or until slightly thickened. Remove from heat.
Using a slotted spoon, strain the bananas/sugar mixture, reserving the syrup and banas in separate bowls.


Step 3
Remove the vanilla pod from the steeped milk/cream mixture; discard pod.

Stir the lemon juice into the bananas and then mix the bananas into the steeped milk/cream. Cover and refrigerate mixture 1 to 2 hours, or overnight.
Step 4
Turn on the Cuisinart ice cream maker; pour the banana mixture into the frozen freezer bowl and let mix until thickened, about 15 to 20 minutes.

Step 5
While the ice cream is churning, melt the chocolate chips in a bowl set over a pot of simmering water; reserve.
Step 6
When the ice cream is almost fully churned, gradually add the sugar syrup; let mix until fully combined.

Once the sugar syrup has been mixed, add the walnuts through the top of the ice cream maker; let mix until combined.
Right before the ice cream is done, drizzle the melted chocolate into the churning ice cream. The ice cream will have a soft, creamy texture.


If a firmer consistency is desired, transfer the ice cream to an airtight container and place in the freezer for about 2 hours.

Serve and enjoy.

Thursday, June 19, 2014

Zipzicles - Homemade Ice Pops

Last June was quite a bit warmer than the 46 degree cold fronts we've been experiencing this June and when I saw these Zipzicle bags somewhere on Pinterest, I had to get some and try them out. Ice Pops or Popsicles are the perfect summer treat but they're usually so full of artificial everything that I hate to buy them. These were the perfect opportunity to have the yummy treats, but make sure I knew what was going into them.

 The girls had a great time helping me make them and were so excited to try them out after their hard work. We tried three different flavor combinations: Pinapple; Coconut Key-Lime; and Watermelon. 


Pineapple: 

For the pineapple, I just made my normal pineapple juice blend and poured it into the bag. Since the sweetness of each fruit is different, the sugar amount and water will vary for each recipe. The trick is to start with a little and add a little at a time, until it's just right for your liking. 


 Watermelon:
For the watermelon, I made my fresco de sandía (watermelon juice) and at the end, I just added a few chia seeds for the look of tiny watermelon seeds - chia is a super food that can be added to just about anything and is great for hydration, endurance, digestion, omega 3's, etc. 


Finally, I made a coconut key-lime with banana:

Coconut Key Lime:
1 can coconut milk - refrigerated
1/4 c key lime juice
1 banana
agave nectar or sugar to sweeten


Remember, do not over-fill them - there is a fill line on them. Make sure to stick to it so that when they freeze, they don't burst. 

Check out zipzicles.com for products and other recipe ideas!

Wednesday, March 7, 2012

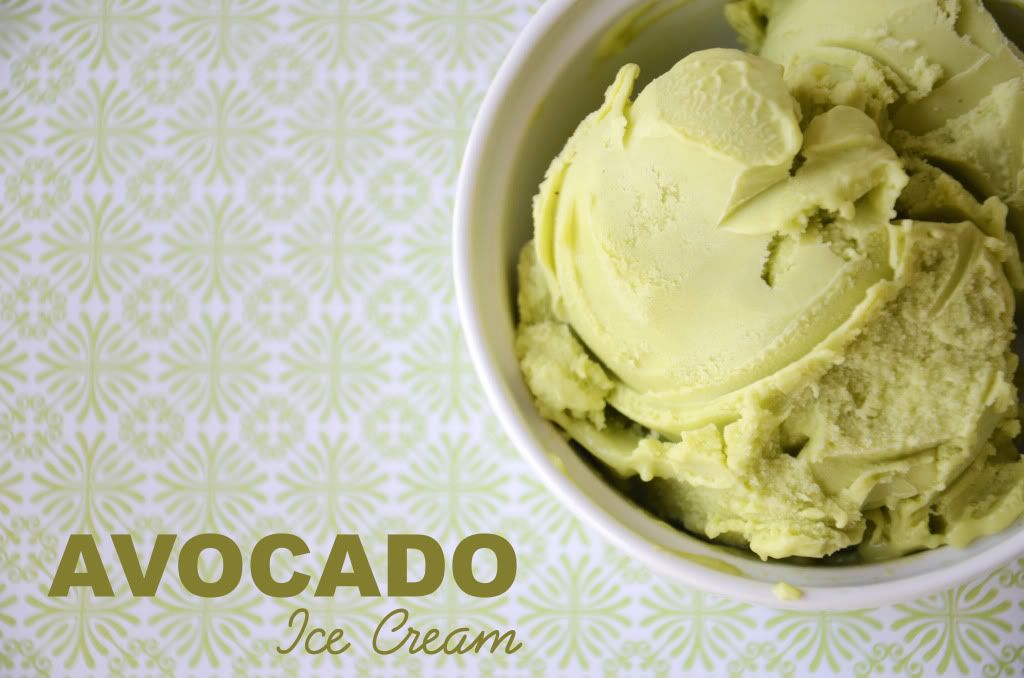
Avocado Ice Cream with a Hint of Lime


For over a year now I have been wanting to experiment with avocados in ice cream. Yes, you read correctly: avocados! Yesterday, the stars aligned. I had three delicious avocados that needed to be used and a sudden surge of energy on a weeknight. (Nevermind that it was blizzarding outside and the rest of the sane world was making soup!) The girls were playing contently and I still had energy after making dinner so I pulled out my recipe, checked my refrigerator for ingredients and was short on one. That's when dear neighbors come to the rescue. I texted. She had just what I needed and I was on my way to making a dream come true. Literally.

If you're hesitant, give it a try. Remember, avocado is a fruit and in South America, they eat it as such (with sugar and milk in the middle) just like we do with a dash of salt and a spoon to scoop it out. So ice cream or smoothies with nature's butter isn't stretching it.

I found this recipe and made some adjustments. Here's what I did:

Mix the following ingredients in the blender:

3 ripe avocados
1/2 cup sugar
1 cup plain yogurt
1/2 cup heavy whipping cream
2 Tbsp fresh lime juice
a dash of salt

Place in ice cream mixer/freezer with ice on the outside and run until it thickens. Ice cream will be soft. Place in freezer for 1-2 hours to harden.

I loved the results. It was super creamy with a slight hint of lime. I am already thinking of some new ideas for a slightly different concoction. I can't wait to try more variations and share them.

Now, you can try it, just in time to make something a little green for St. Patrick's Day. Want to try other green recipes from delightsbydaisy? Try my green smoothie or to-die-for lime cupcakes!

Saturday, January 14, 2012

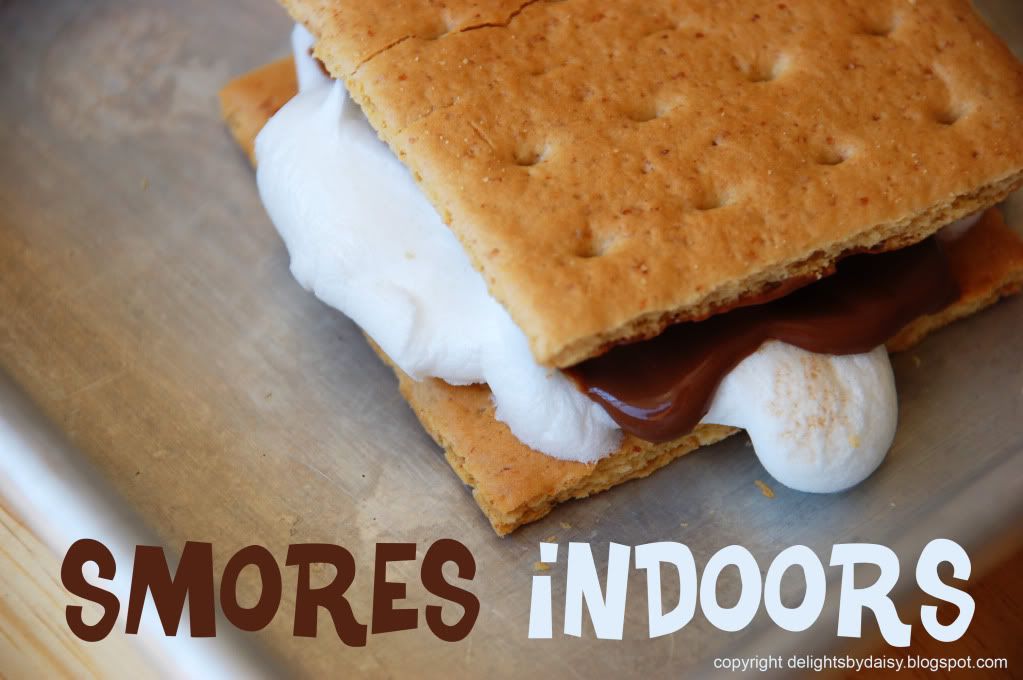
Smores Indoors

I don't know about you, but January brings a burning desire to escape to the outdoors and flee the cramped up and drab winter days. Being outdoors where we live isn't much of an option in January, so why not pitch a tent and roast some smores [in the oven]? That's just what we did to rid ourselves of the winter blues.

Ingredients:

6 graham crackers
6 large marshmallows
1 hershey's chocolate bar

Instructions:

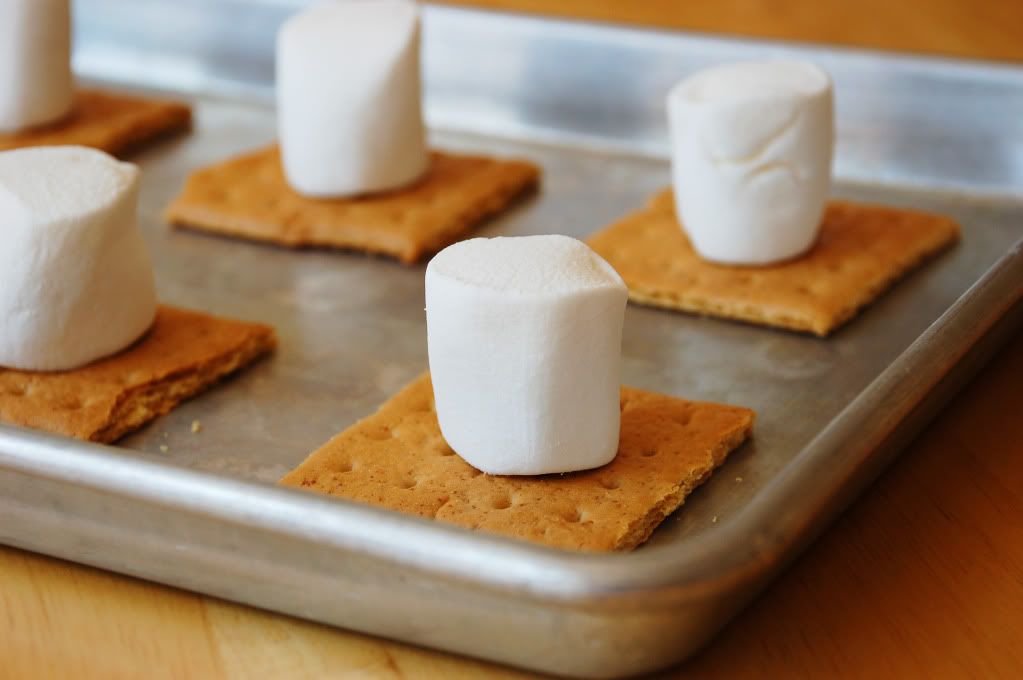
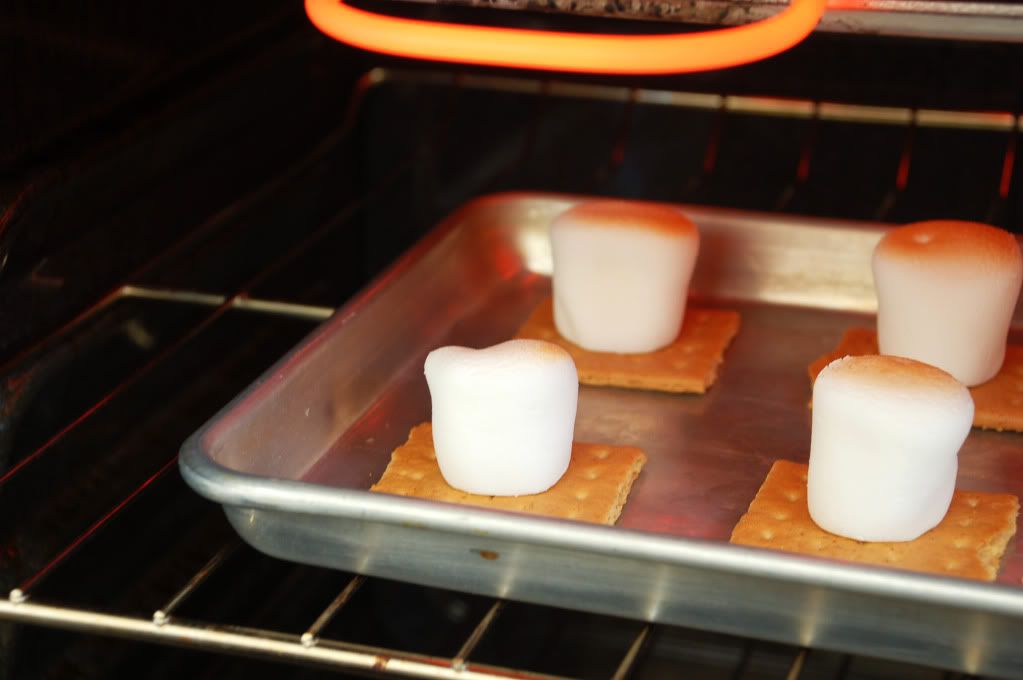
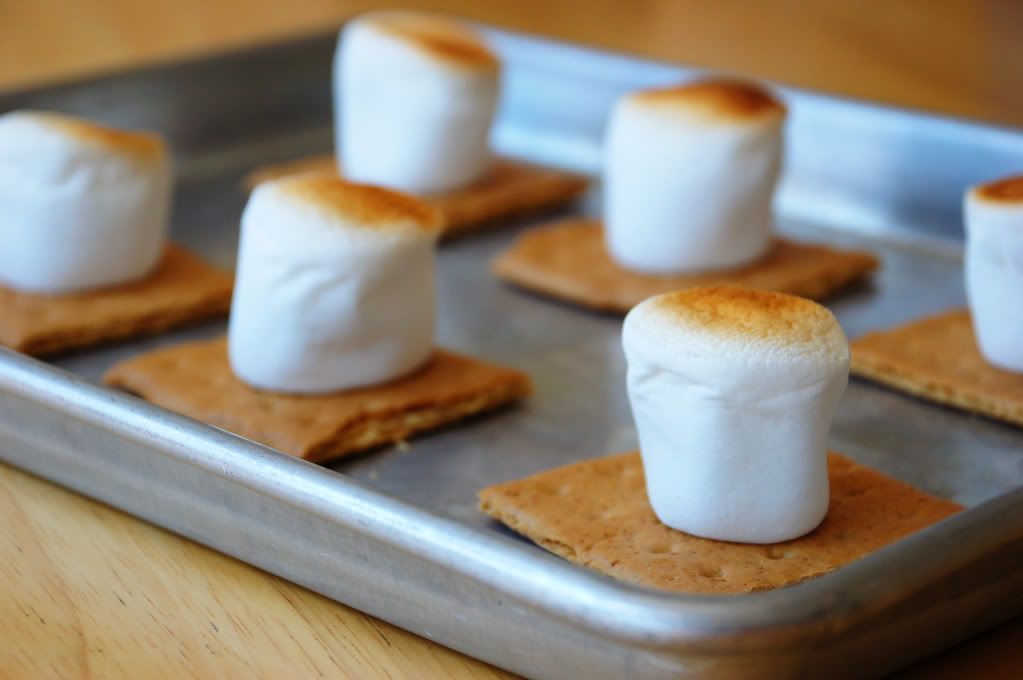
Split graham crackers in half (two sections each). Place six (two-section) halves on cookie sheet and place 1 marshmallow on top of each graham-cracker half. Turn oven to broiling and place cookie sheet in the oven. It only takes a minute or less to brown the marshmallows so watch them closely.

Remove from oven.
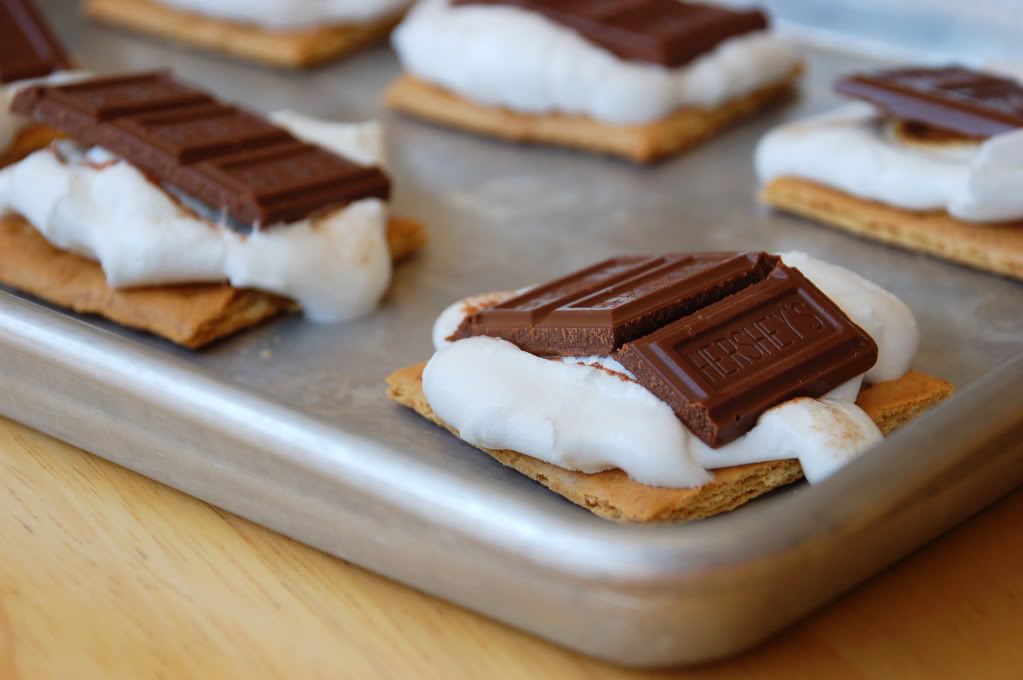
Place three portions of chocolate bar on warm, melting marshmallow. Top with the other half of the graham cracker and enjoy.
These yummy treats keep nicely if you let cool and place in a air-tight container. Simply warm in the microwave for 10 seconds and enjoy while daydreaming of camping in July.


Tuesday, March 1, 2011

To-Die-For Lime Cupcakes

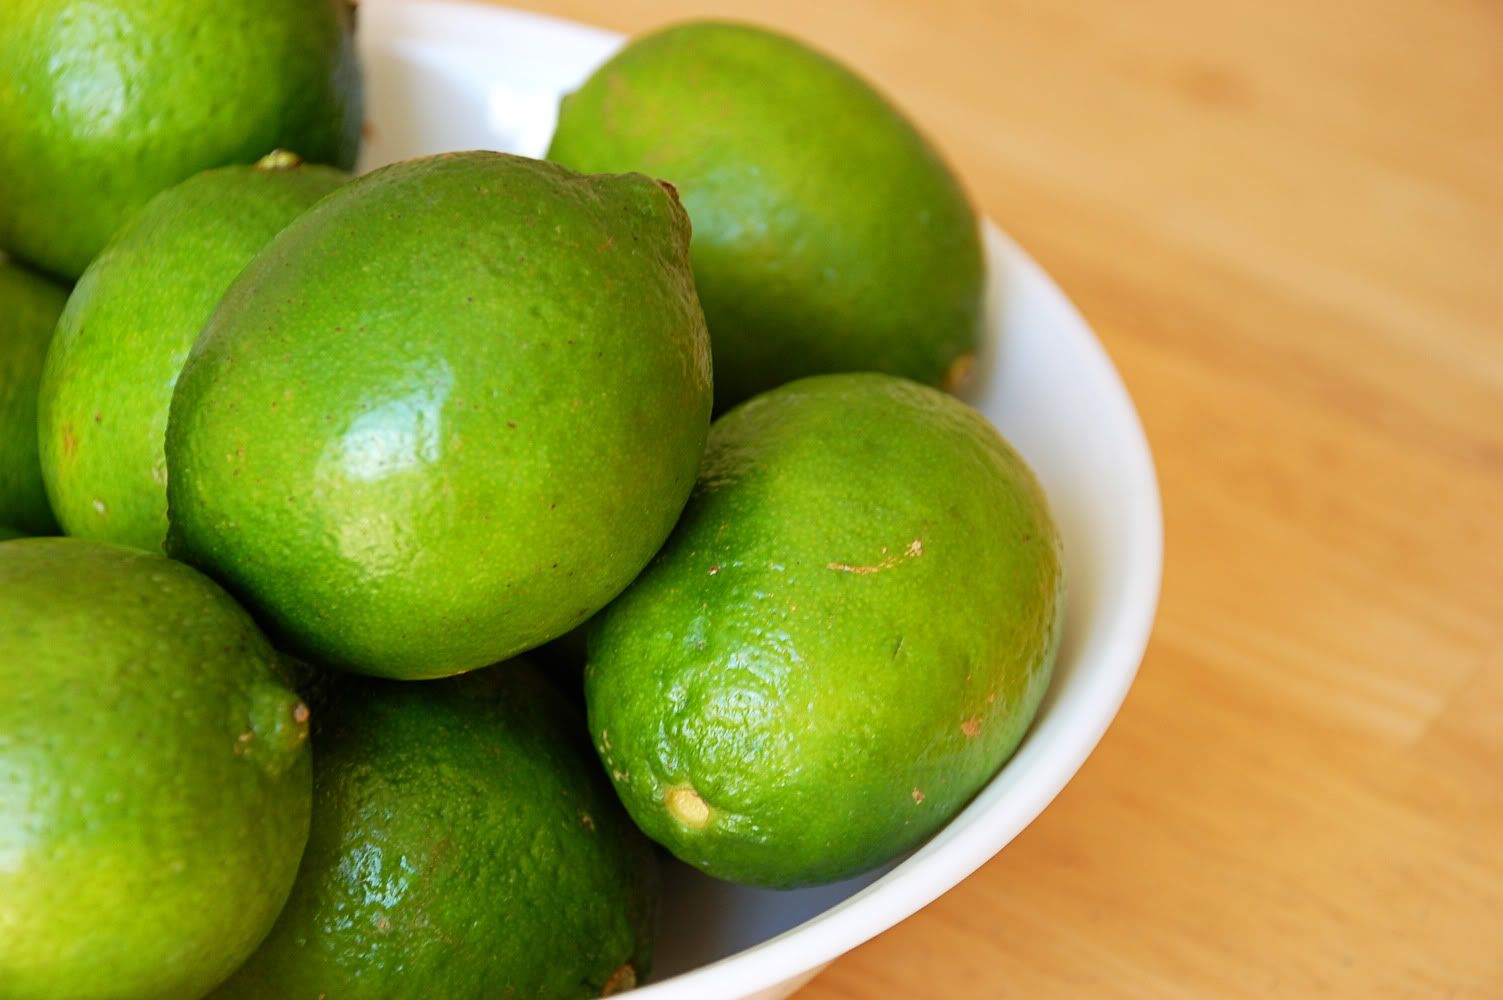
Sometime last summer I had a sudden craving for lime cupcakes. Weird, I know. But I went recipe hunting and found a d-e-l-i-c-i-o-u-s one that I thought I'd share this month since it's green and St. Patrick's Day is coming up. And don't be alarmed by the amount of limes in the bowl . . . I was on a lime kick, you'll really only need 4 limes.

Cupcake Ingredients:

1 cup all purpose flour
3/4 cup self-rising flour
1/2 cup (1 stick) unsalted butter, room temperature
1 1/4 cups sugar
2 large eggs
2 1/2 tablespoons fresh lime juice
1 tablespoon finely grated lime peel
1/4 teaspoon green food coloring
3/4 cup buttermilk*

Frosting Ingredients:

1 8-ounce package cream cheese, room temperature
1 1/2 cups powdered sugar
1/2 cup (1 stick) unsalted butter, room temperature
1 tablespoon finely grated lime peel
1 tablespoon lime juice

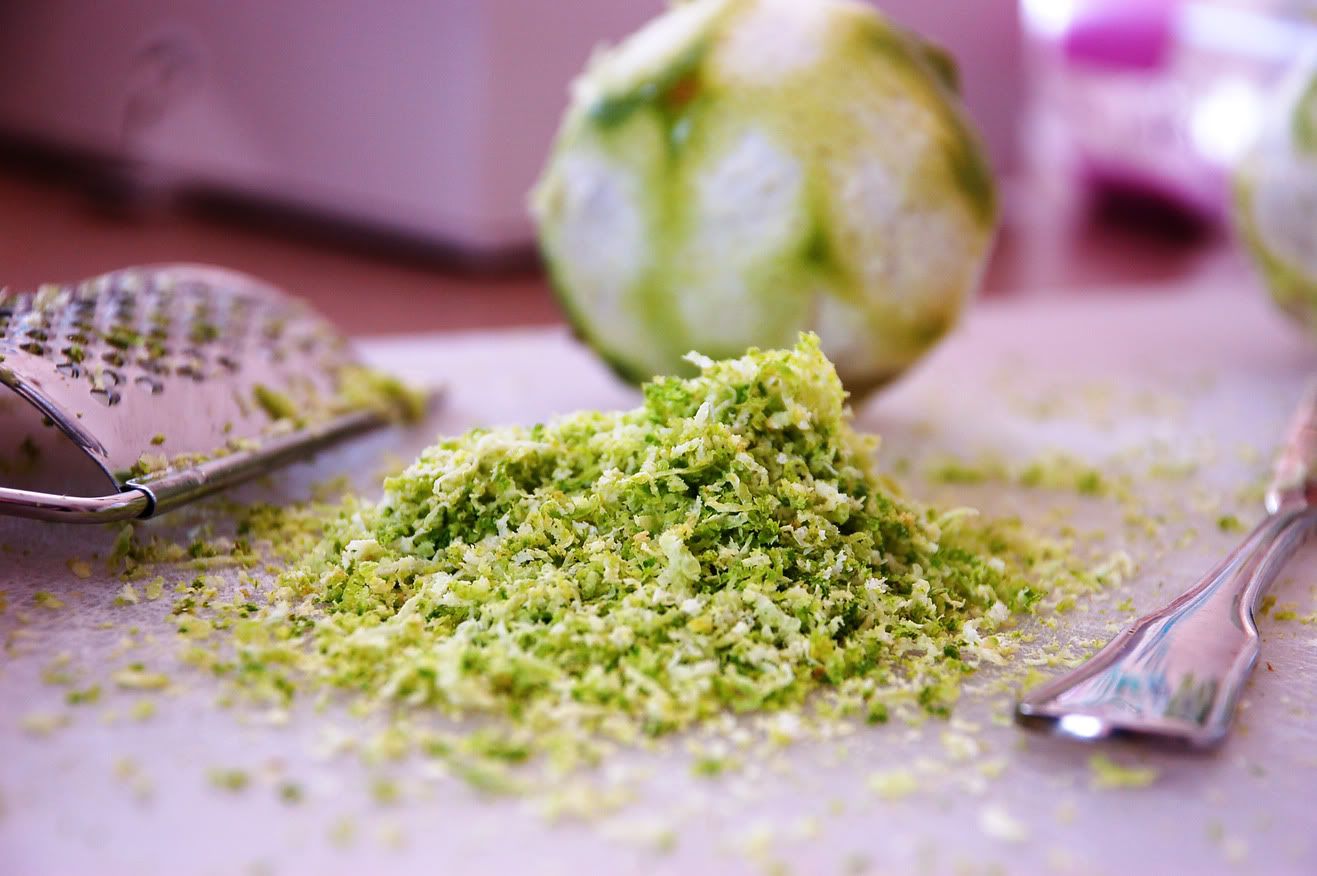
Step 1: Finely grate peel of 4 limes

Step 2: Preheat oven to 350 and line standard muffin pan with 12 paper liners. Whisk both flours in medium bowl. Beat butter in large bowl until smooth. Add sugar; beat to blend. Beat in eggs one at a time.

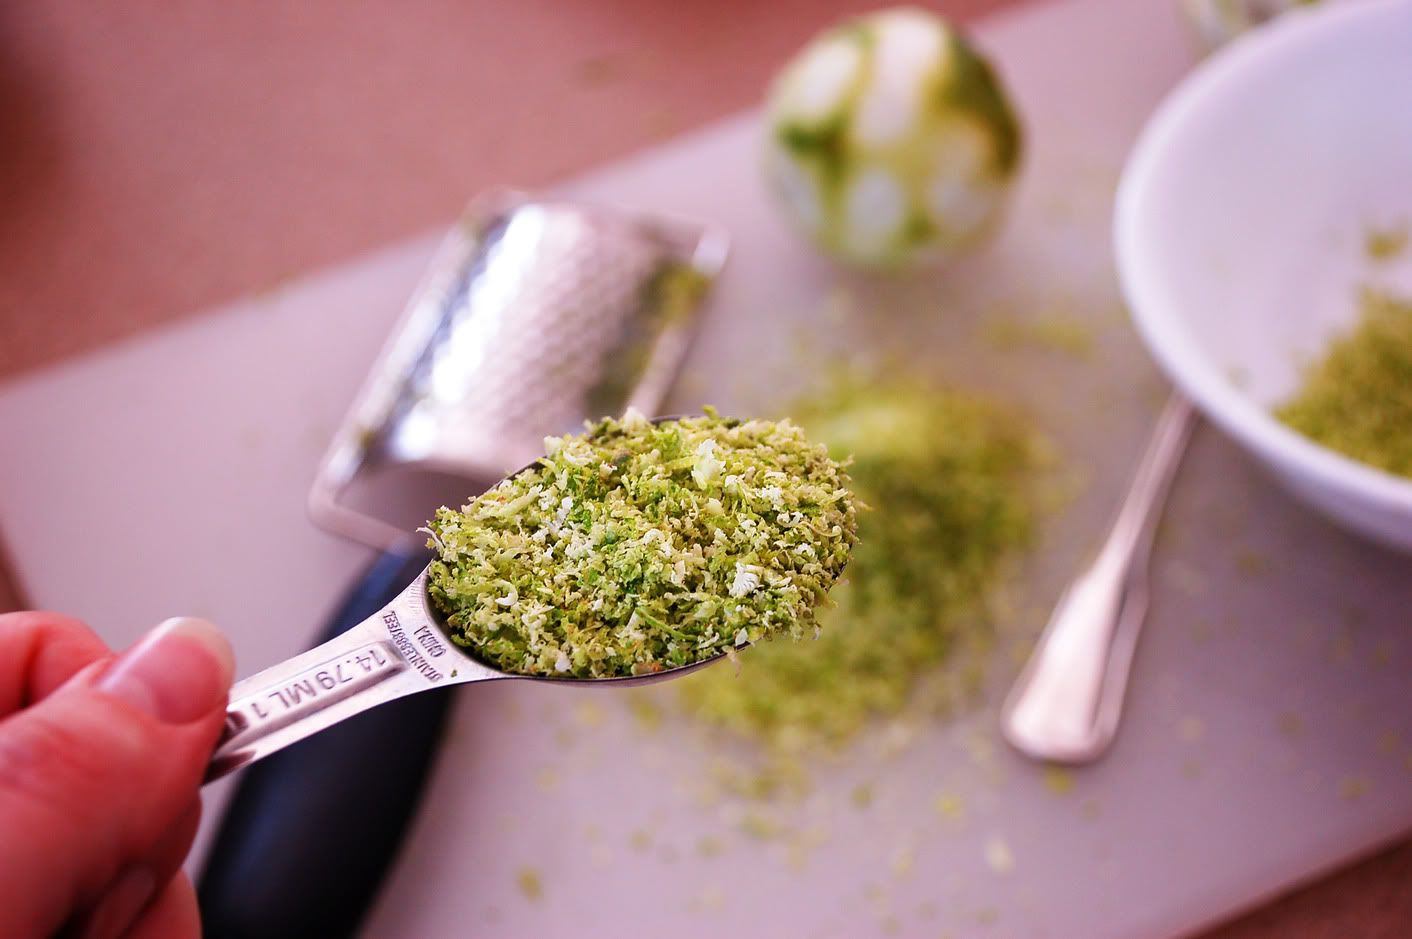
Step 3: Measure your finely grated lime.

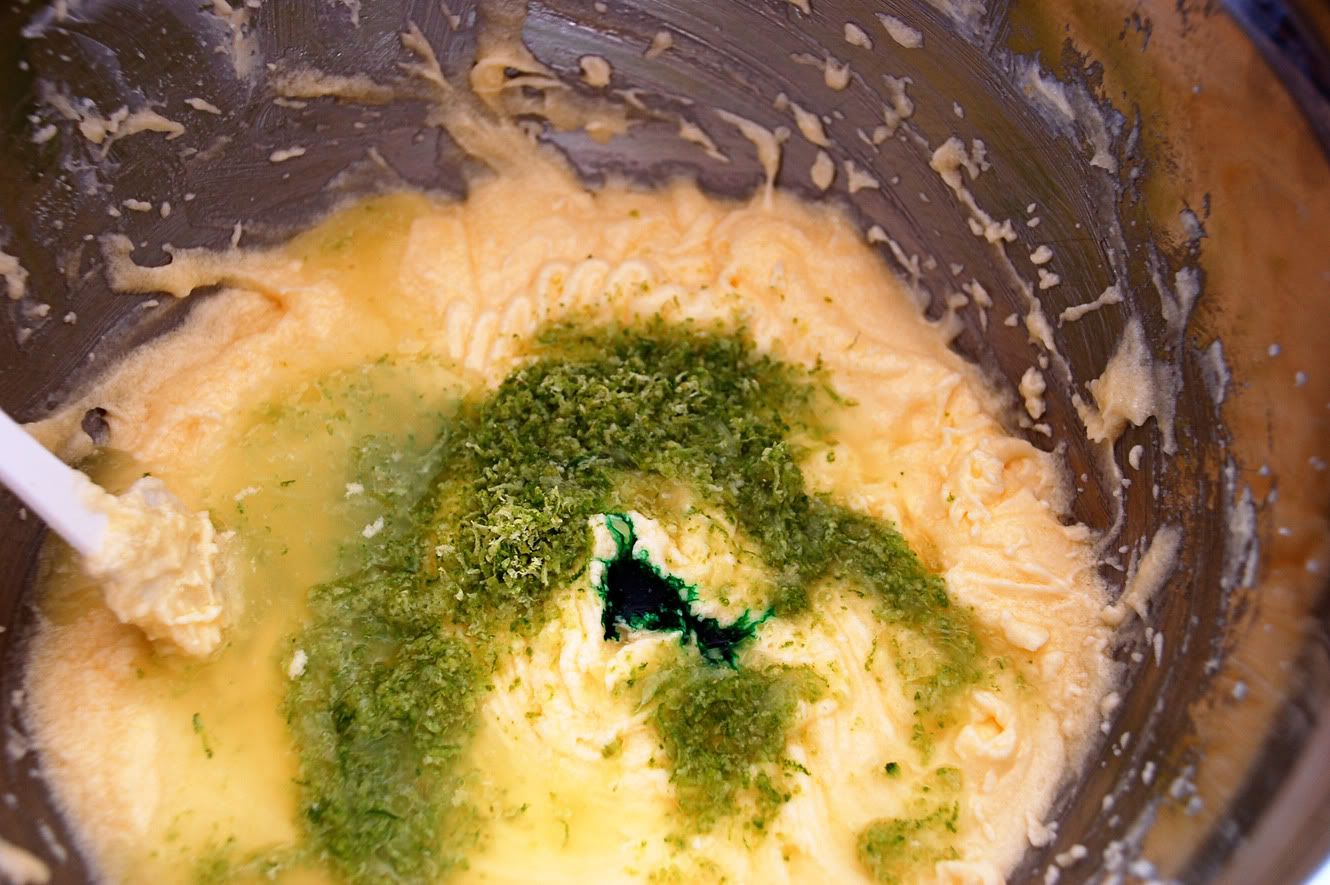
Add lime juice, peel, and food coloring to batter. (batter may look curdled).

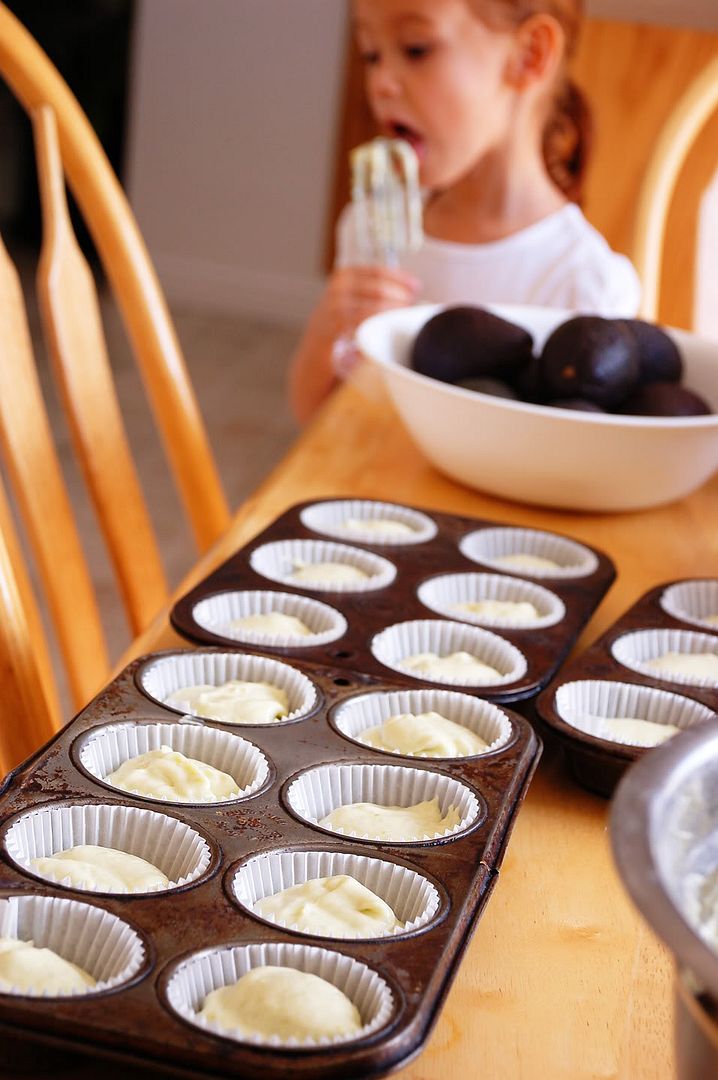
Beat in flour mixture in 3 additions alternately with buttermilk in 2 additions. Spoon scant 1/3 cup batter into each liner. And if you have children around, give them the beaters and let them do the "washing."
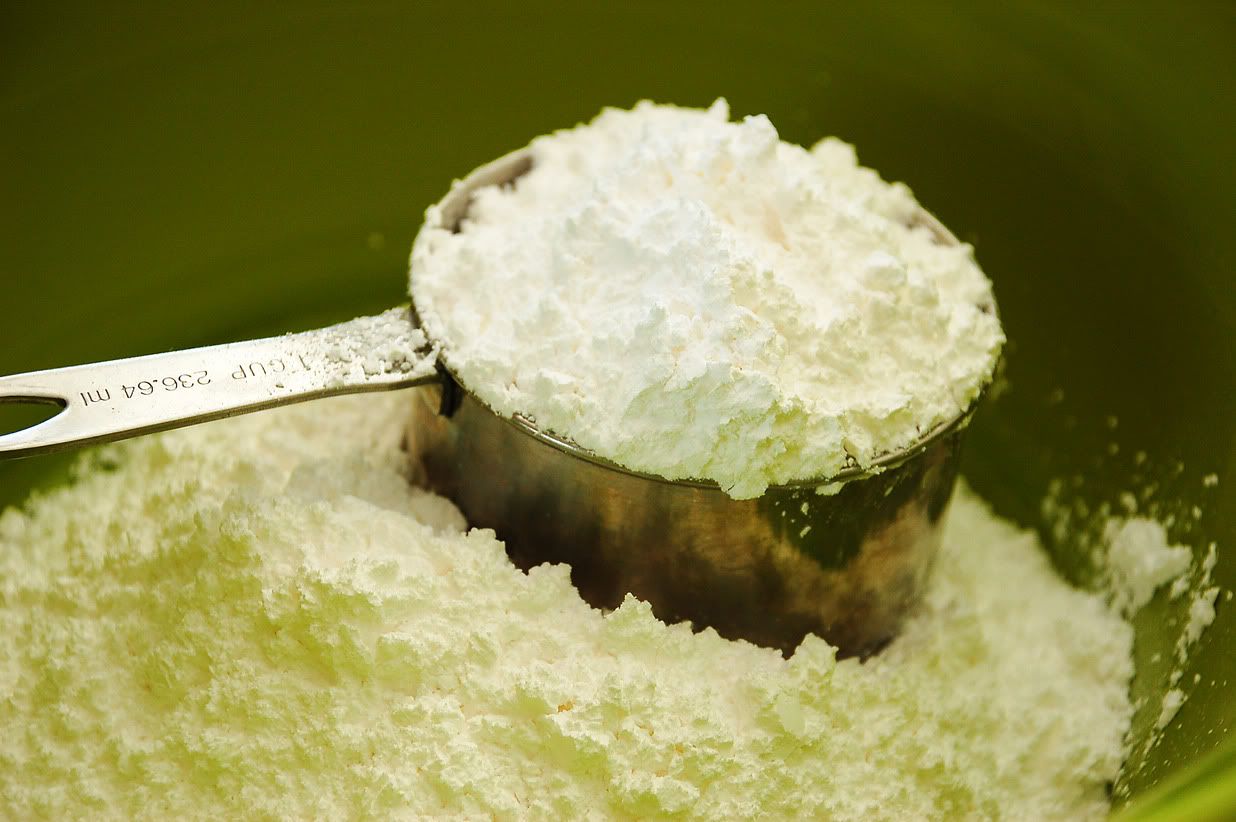
Frosting Step 1: Measure powdered sugar and dump into bowl.

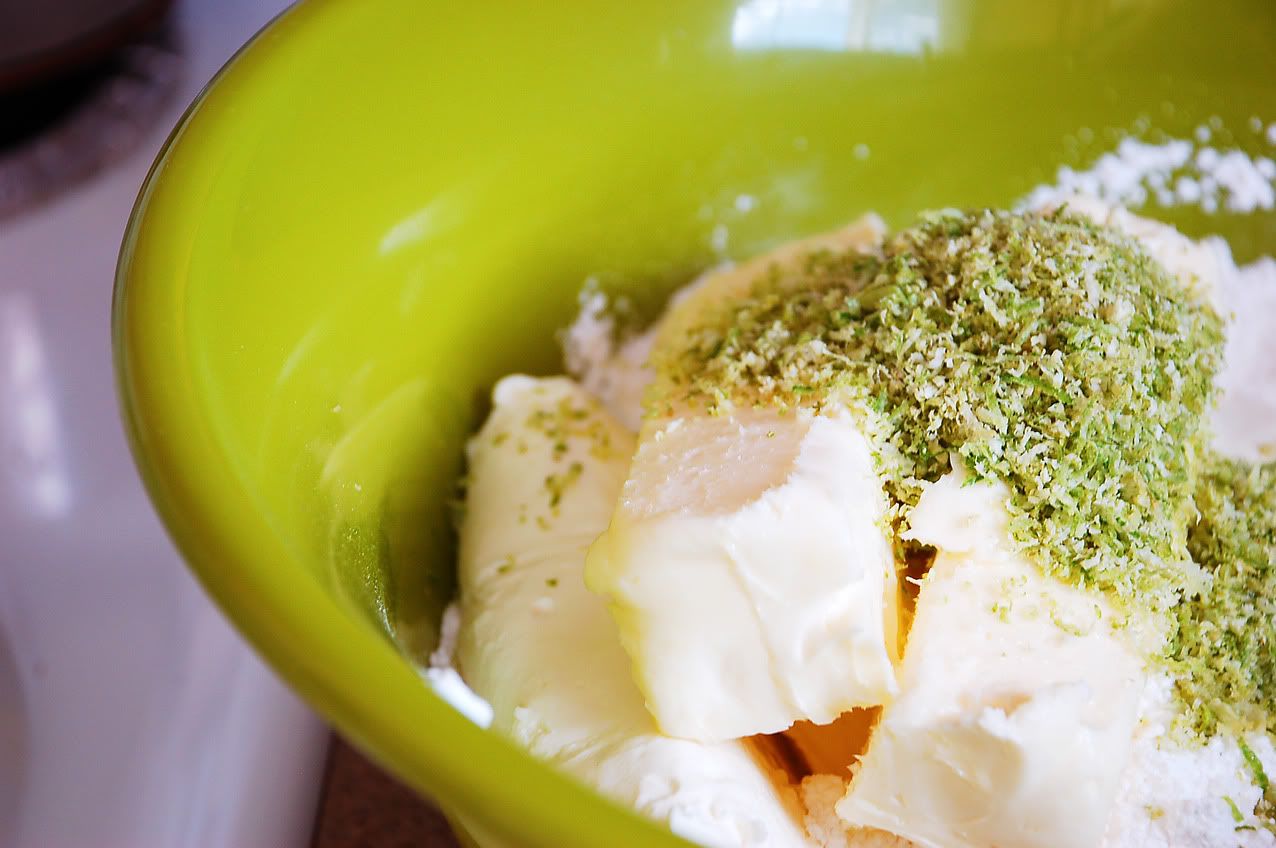
Frosting Step 2: Measure and add remaining ingredients. Beat until smooth and spread over cooled cupcakes.
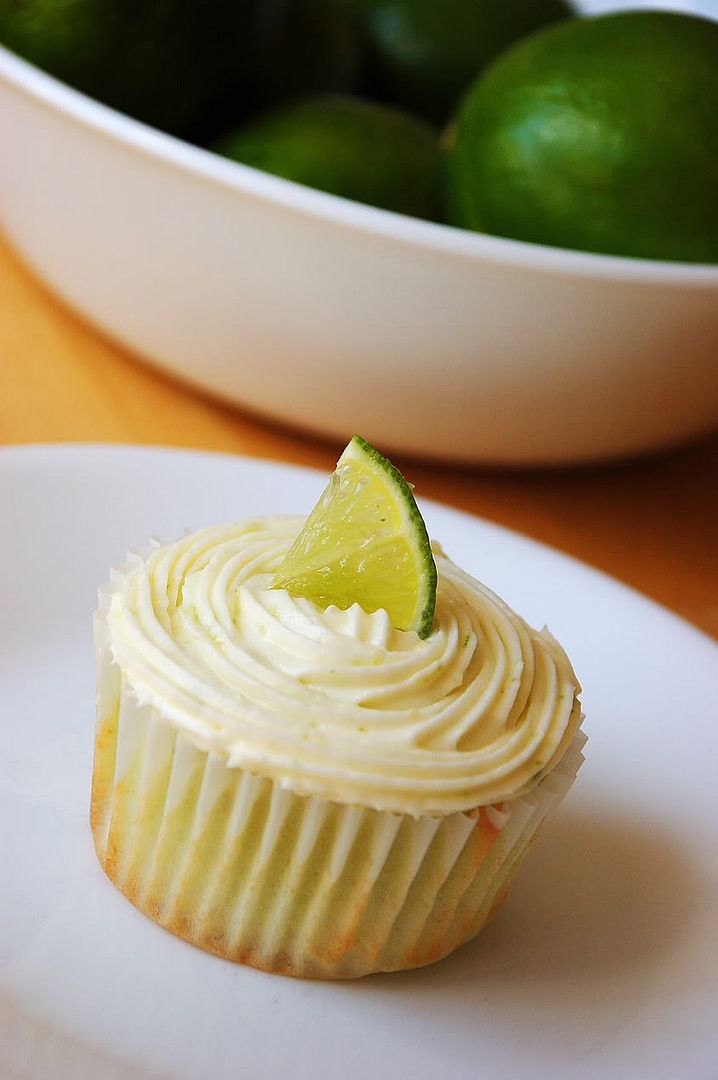
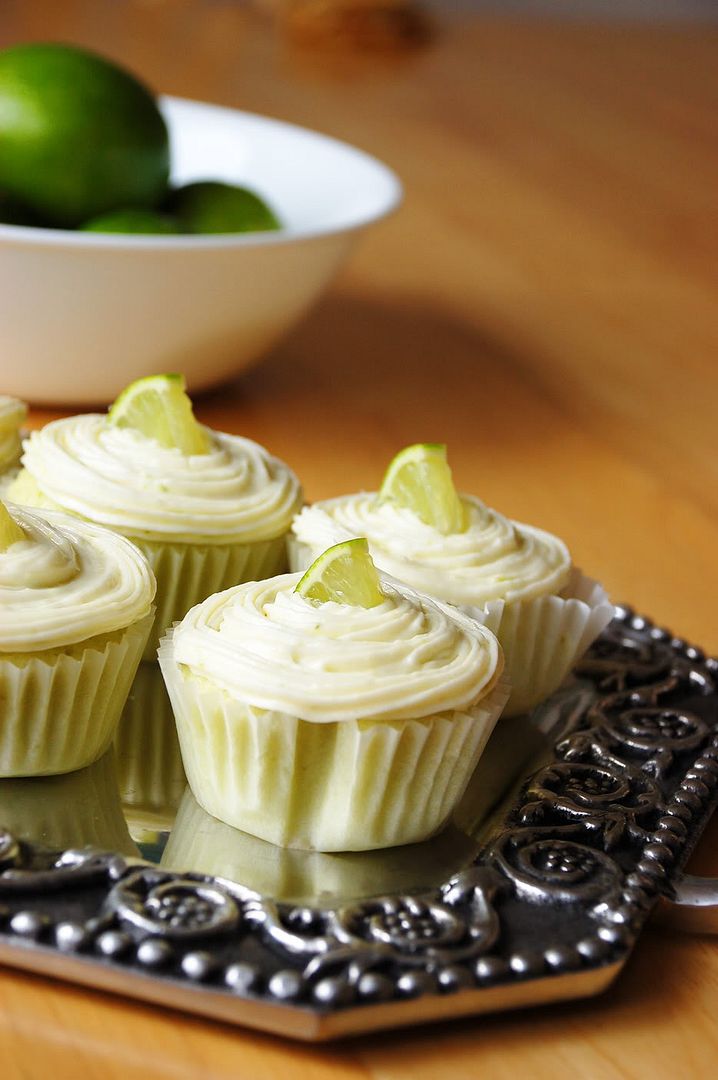
I was in a festive mood and piped my icing on and used one of my extra limes to make small quarter-slices to place on top.
These cupcakes were super-moist and had a very creamy texture and a perfect sour bite with the lime. I do believe I will have to be whipping up a batch myself come the 17th.

Tuesday, December 21, 2010

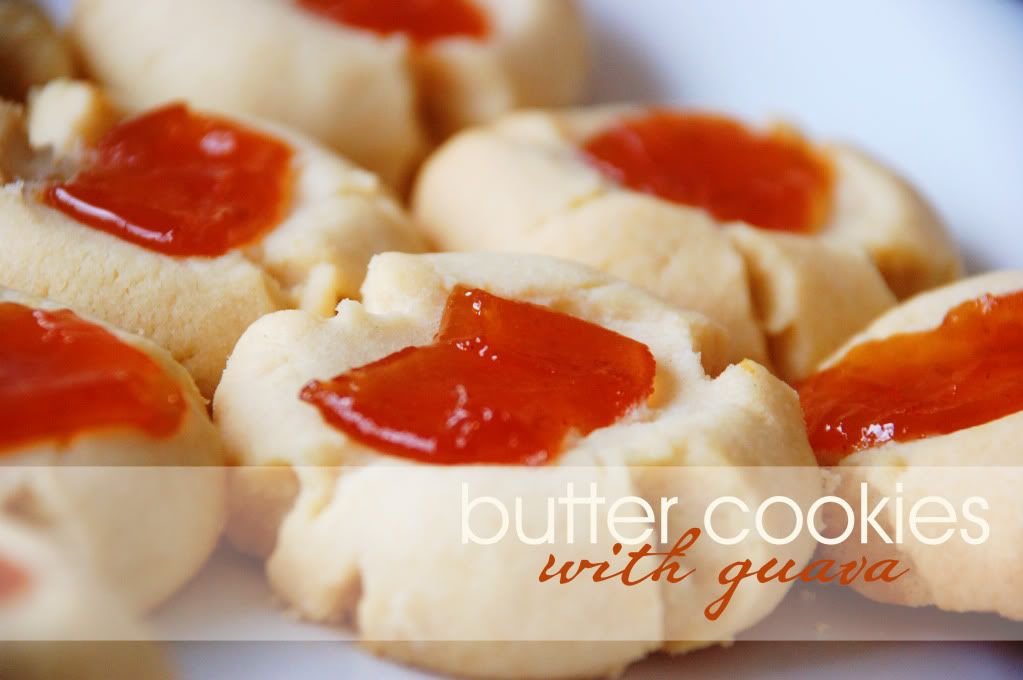
Mantecaditos con Guayaba / Butter Cookies with Guava


The Pioneer Woman pointed me to a site the other day that I have fallen in love with: The Noshery. This girl has a Puerto Rican background and lives in the south. So she's got some great culinary background and I'm dying to try so many of her recipes. The one I found her through were these Mantecaditos con Guayaba (Butter Cookies with Guava) - a latin twist on a quite popular Christmas Cookie. I had just happened to buy a whole tub of guava paste and after we'd eaten a quarter of it with saltine crackers, I was wondering what to do with the rest of it. And plop, this recipe just fell into my blog reader. Perfect.

Ingredients:

1/2 cup sugar
1/2 cup shortening
1/2 cup butter
1 egg yolk
1 teaspoon almond extract
2 1/4 cup flour
1/2 cup guava paste, diced

Preheat oven to 350. Cream sugar, shortening, and butter in a large bowl. Mix in egg yolk and almond extract. Blend in flour a little at a time until well combined and chunky. Shape a tablespoon of dough into a ball. Repeat with remaining dough. Place the cookies on a cookie sheet. Using your thumb, press down on the center of the cookie. Fill the dimple with about 1 teaspoon of guava paste.

Bake for 20 to 25 minutes, or until light golden brown. Transfer to cooling rack and enjoy a little tropical twist on your Christmas classic.

Monday, December 20, 2010

Orange Cookies

There's something about Christmas that reminds me of oranges. Perhaps it goes back to the visits from Santa Claus at our annual church Christmas party where he would make an appearance and bring a bag of goodies for all of the children. The contents were the same year after year: an orange, a handful of whole peanuts and old fashioned hard candy. The other day I was in a citrusy Christmas mood and decided to whip up a batch of my grandmother Leann's yummy orange cookies.

Cookie Ingredients:

2/3 cup shortening
3/4 cup sugar
1 egg
1/2 cup fresh orange juice
2 tablespoons finely grated orange rind
2 cups flour
1/2 teaspoon baking powder
1/2 teaspoon soda
1/2 teaspoon salt

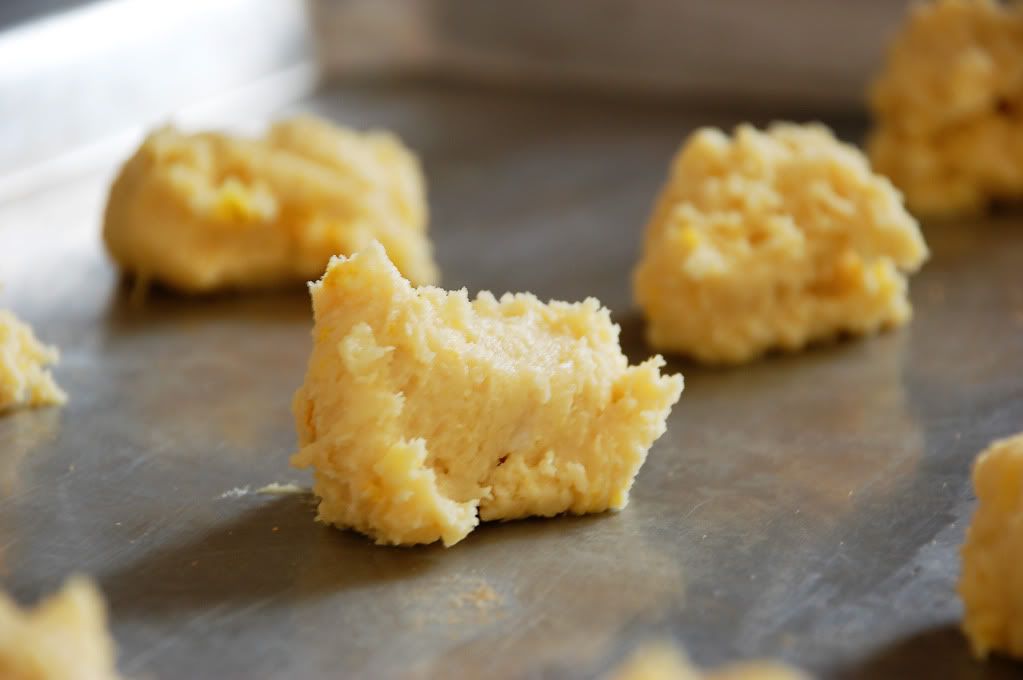
Mix shortening, sugar, and eggs. Stir in orange juice and rind. Stir dry ingredients together and blend in other mixture. Drop by teaspoon 2 inches apart on ungreased cookie sheet.

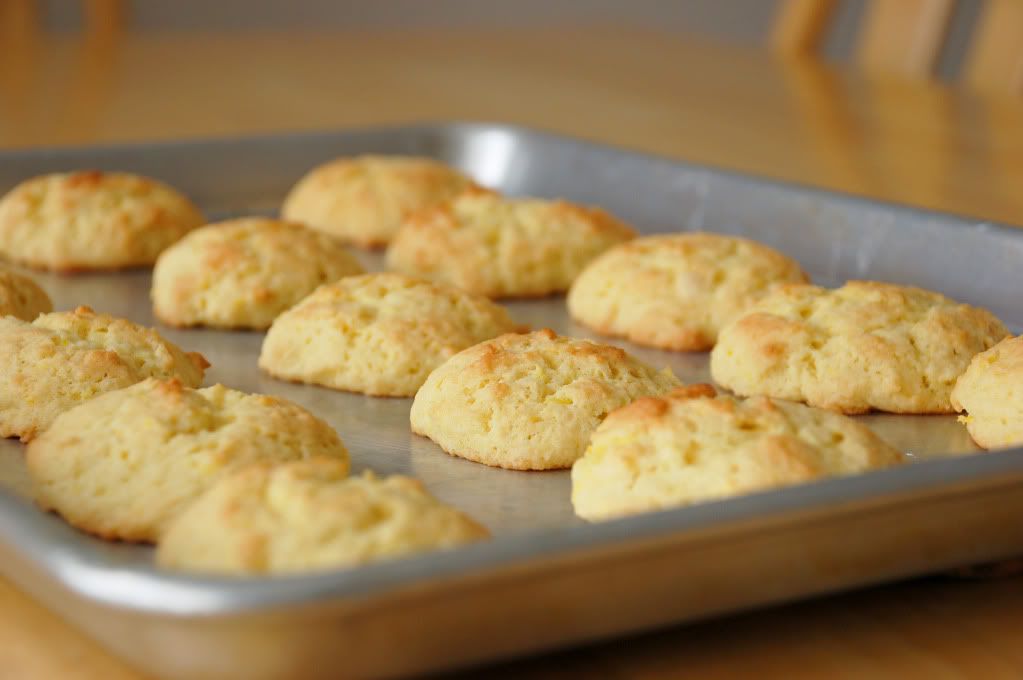
Bake at 400 for 8-10 minutes or until delicately brown.

Orange Butter Icing:

2 1/2 tablespoons soft butter
1 1/2 cups powdered sugar
1 1/2 tablespoons orange juice
2 tablespoons finely grated orange rind

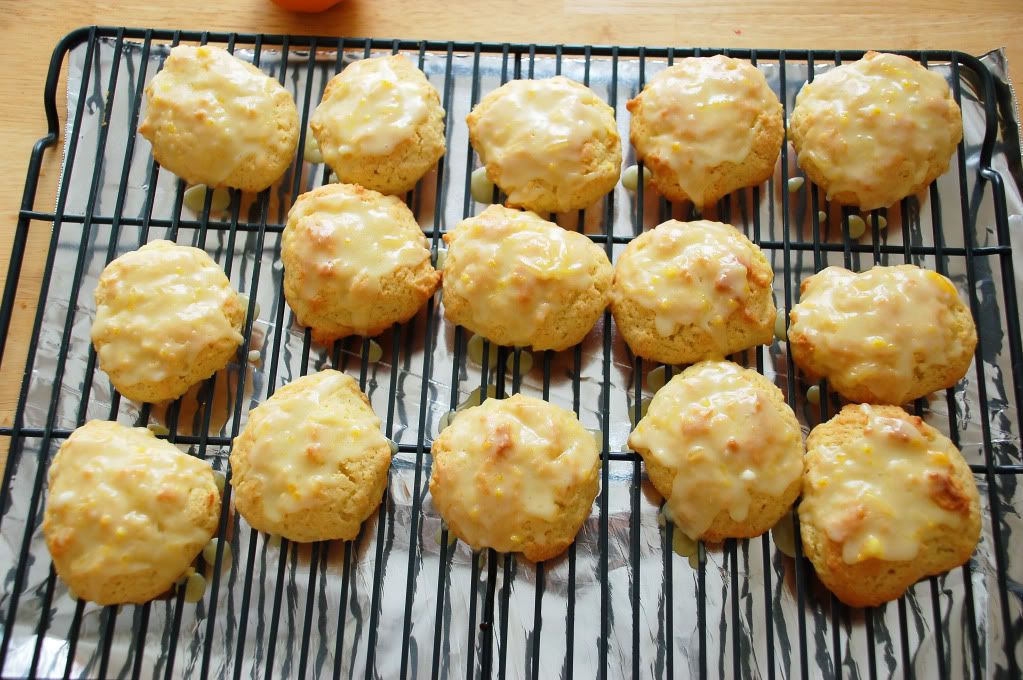
Mix all ingredients together and beat until well blended. Frost cookies while still warm.

Makes 4 dozen.

Saturday, April 3, 2010

Peanut Butter Oatmeal Bars

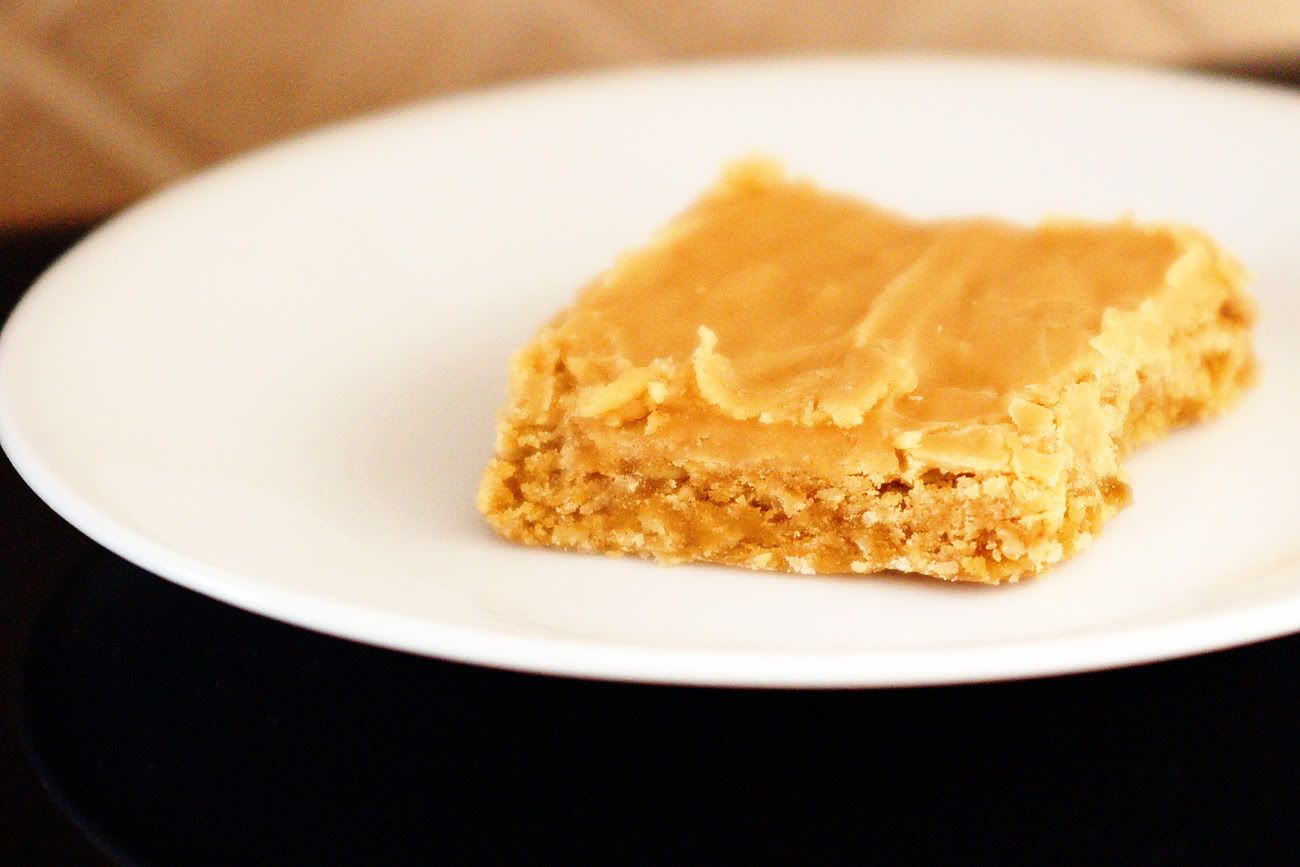
This is an old favorite I dug out from the college cookbook archives. If my memory serves me correctly, my friend Kimberlee DeWitt gave me this recipe. She was the kind of neighbor that always had something homemade on her counter waiting for the next visitor. Let me tell you, this recipe was one worth knocking on her door for! They are soft, with a hearty oatmeal texture, the perfect amount of peanut butter and not too sweet.

Ingredients:

3/4 cup butter
3/4 cup brown sugar
3/4 cup peanut butter
3/4 cup sugar
2 eggs
1 tsp vanilla
1/4 c milk
2 1/2 cups flour
3 cups rolled oats or wheat
3/4 tsp baking soda

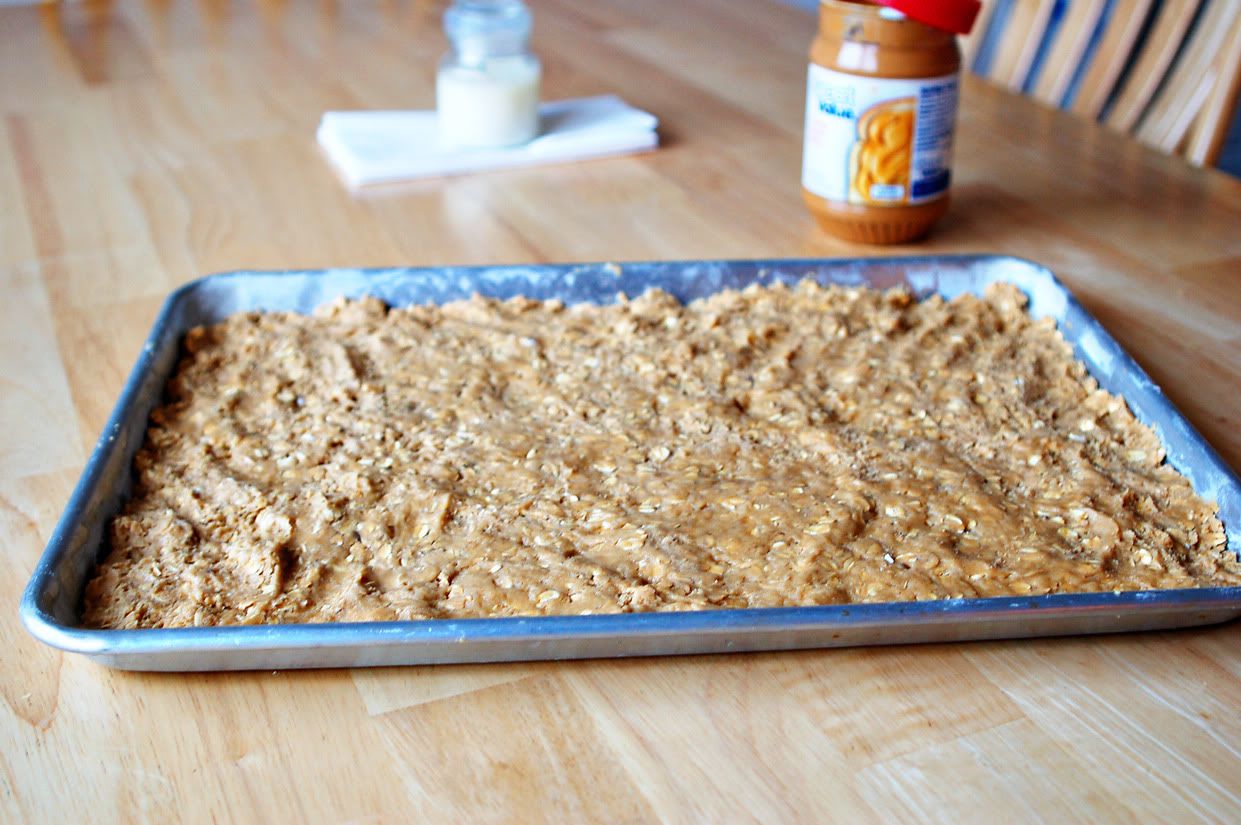
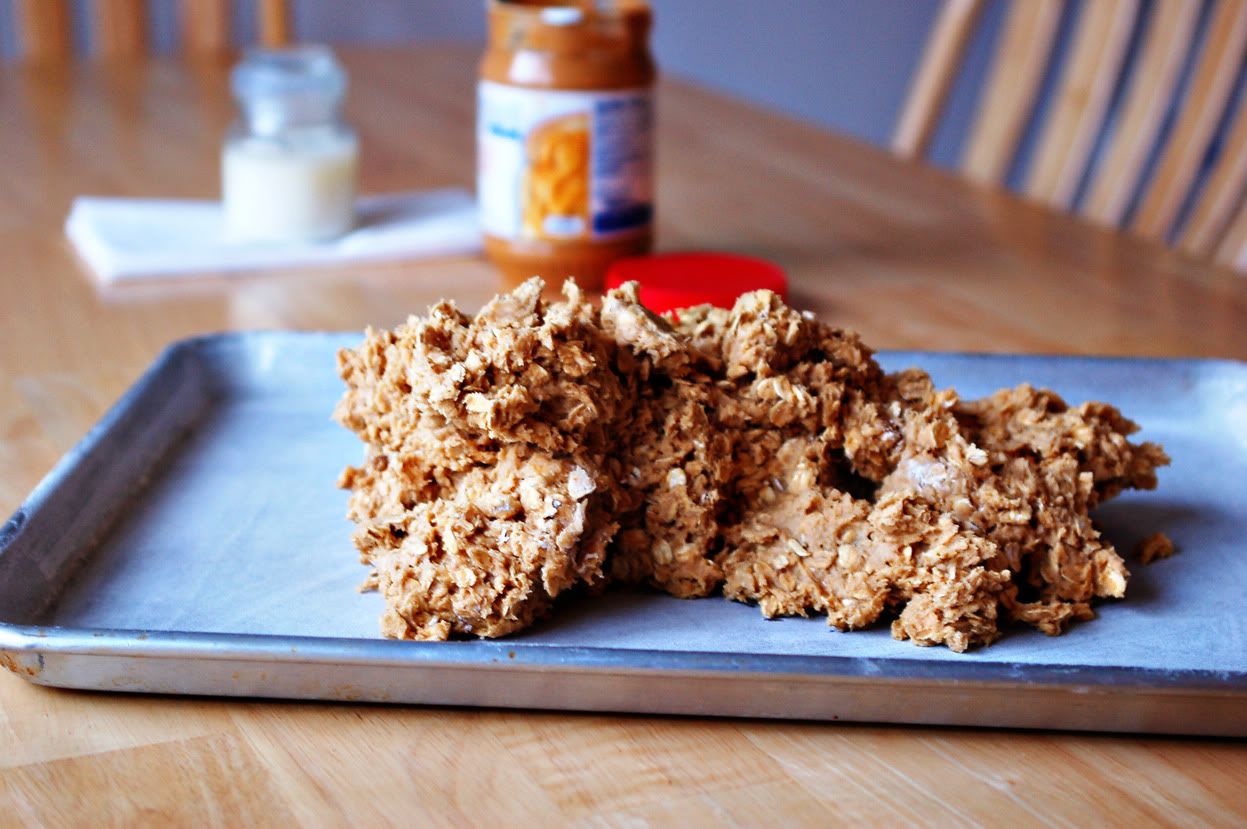
Cream together butters and sugars. Add eggs, vanilla, and milk. Mix dry ingredients in separate bowl and add gradually to wet ingredients. Drop mixture onto a greased and floured cookie sheet with sides:

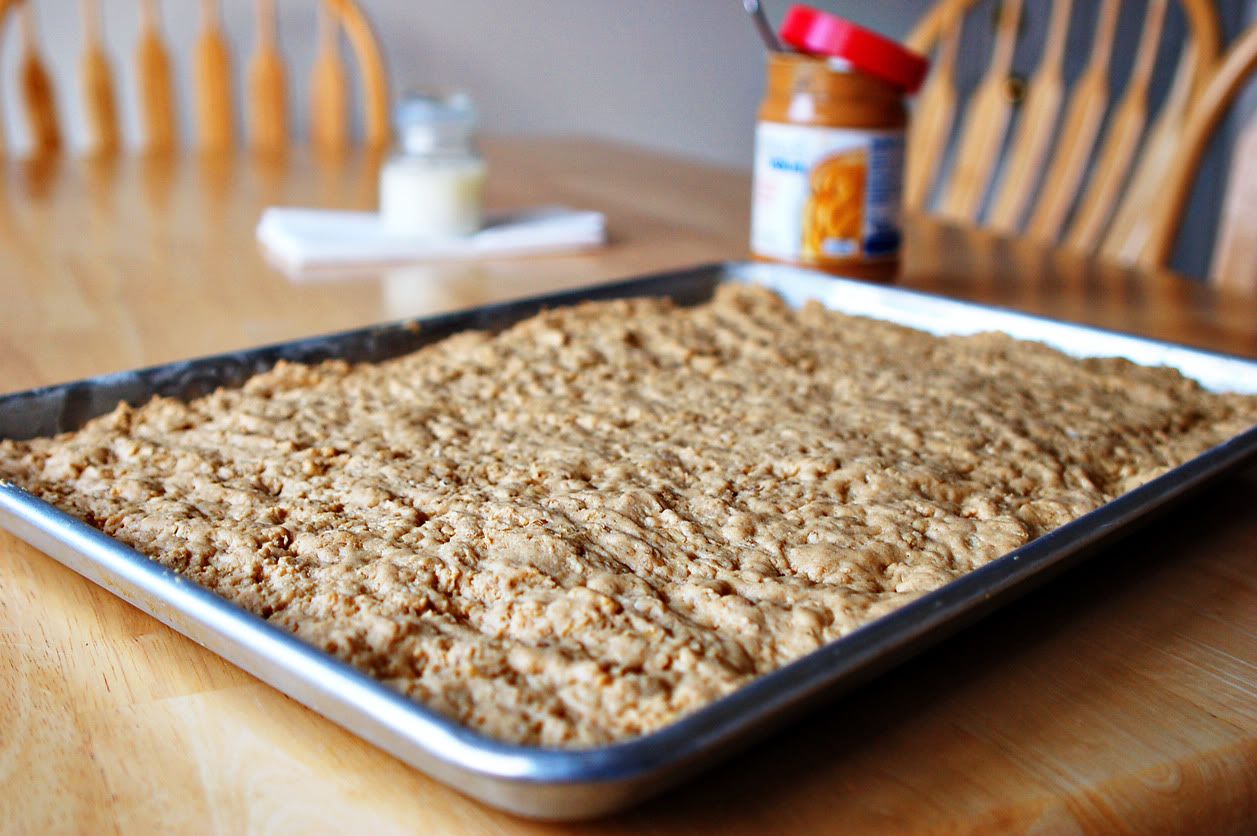
Press onto the cookie sheet until all gaps are filled.

Bake at 350 for 15 minutes.

While the bars are cooling make icing:

Frosting Ingredients:
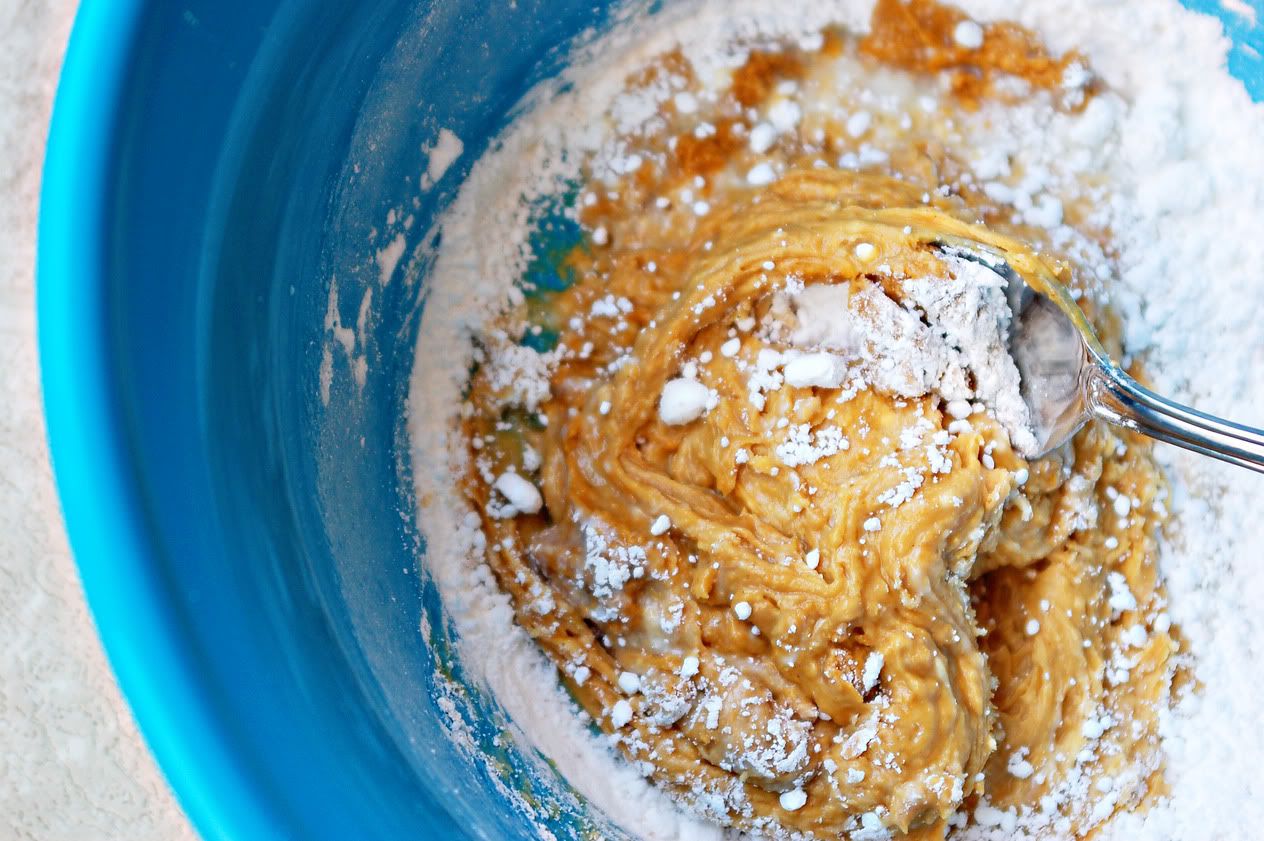
1/2 cup peanut butter
2 cups powdered sugar
1 tsp vanilla
milk to desired consistency

Stir together.

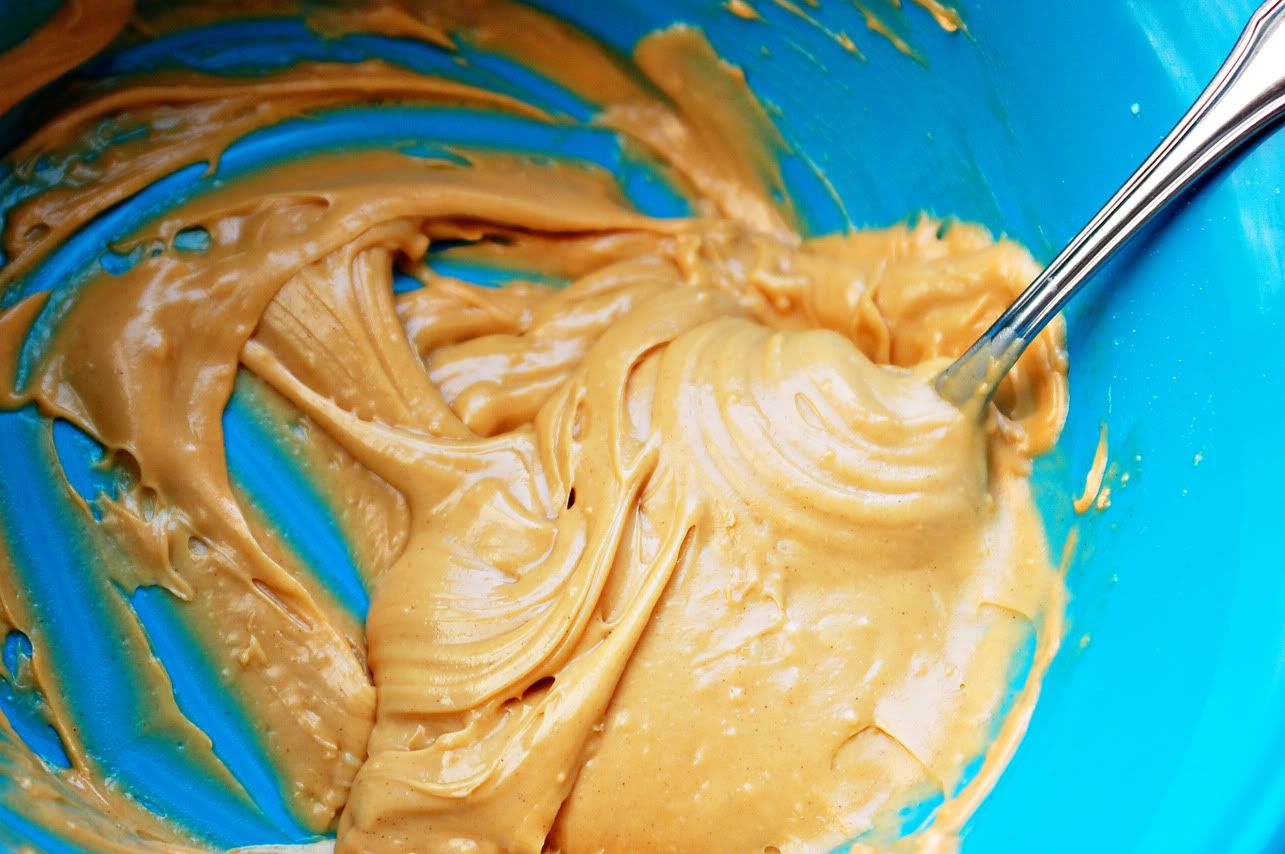
And stir a little more til it's creamy and smooth.

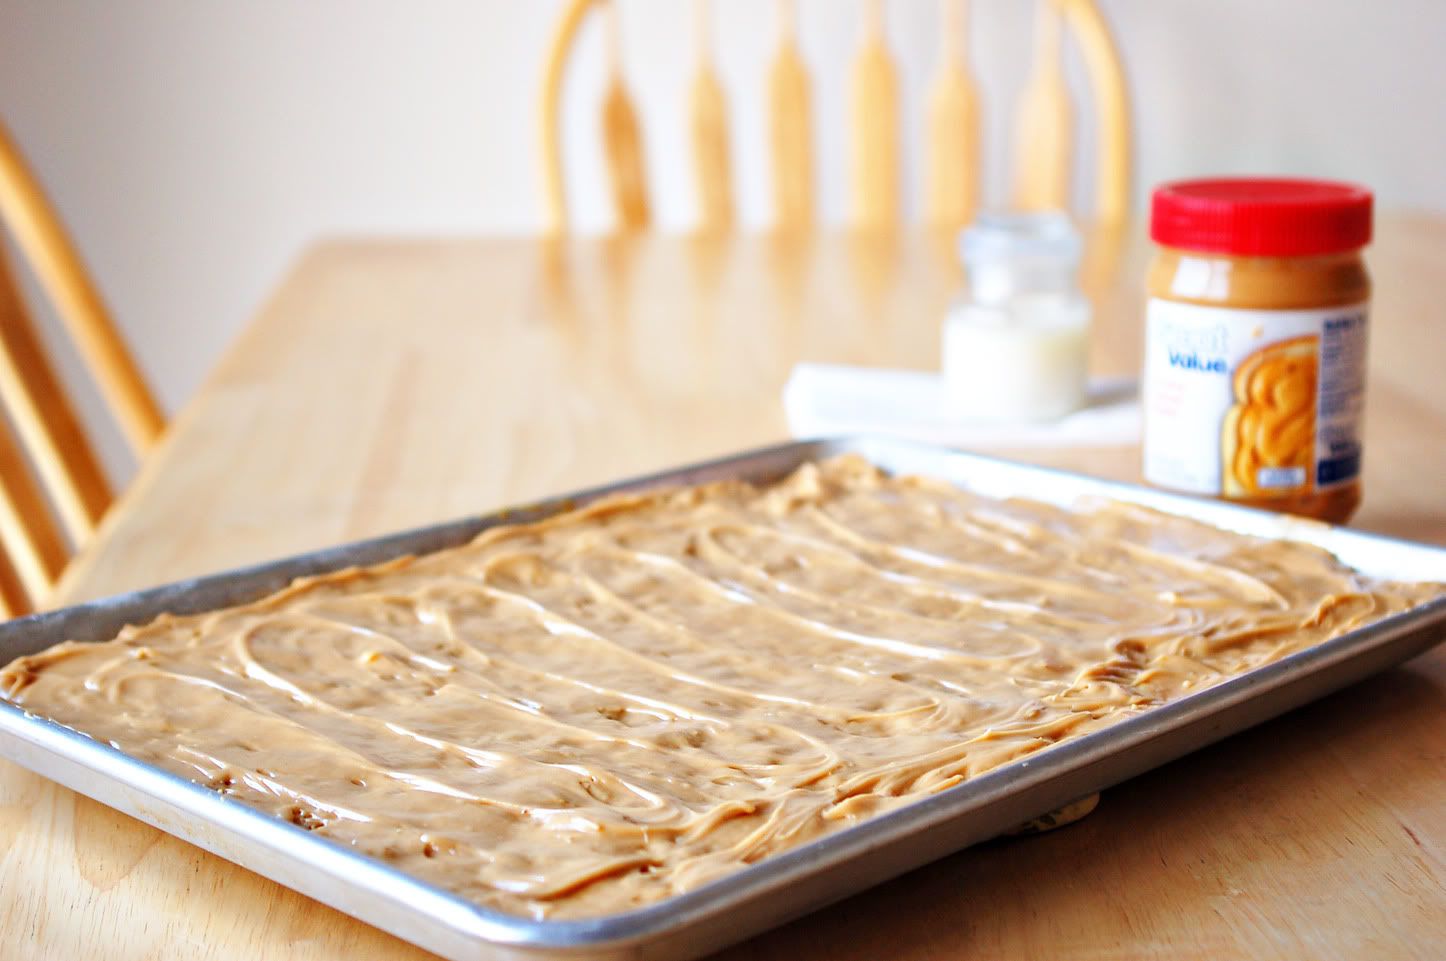
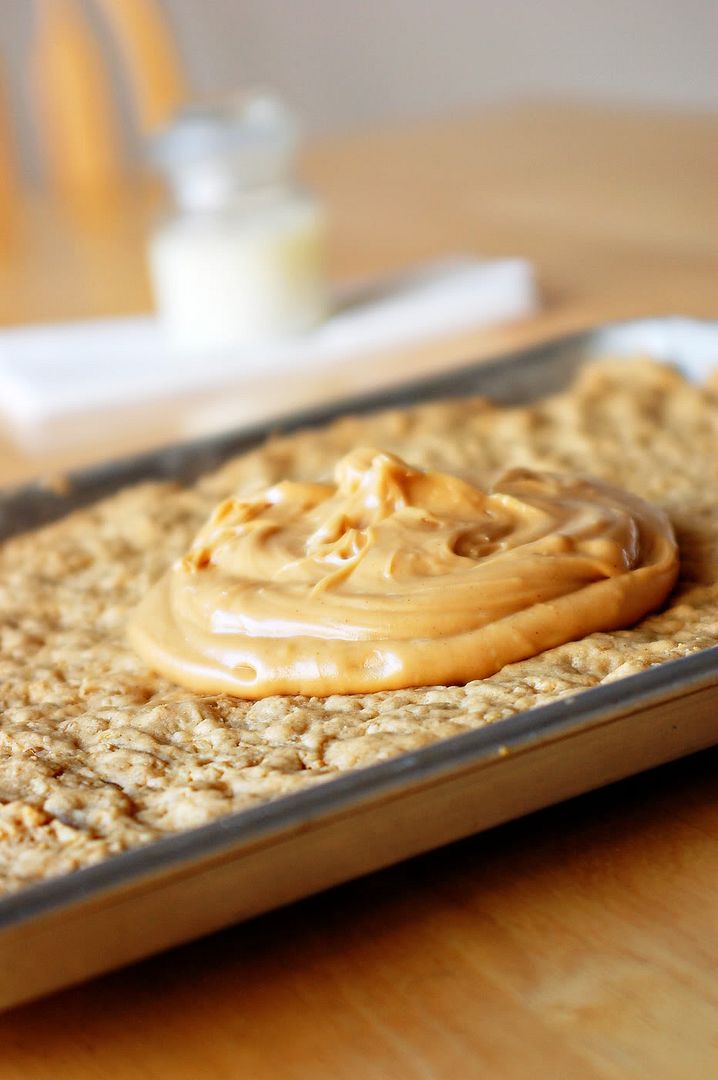
Drop onto bars. The original recipe says to let it cool. I personally like to drop it on while they are still warm.

Spread icing evenly.

And then try to eat only one.

Good luck!