Showing posts with label Honduran. Show all posts

Wednesday, August 6, 2014

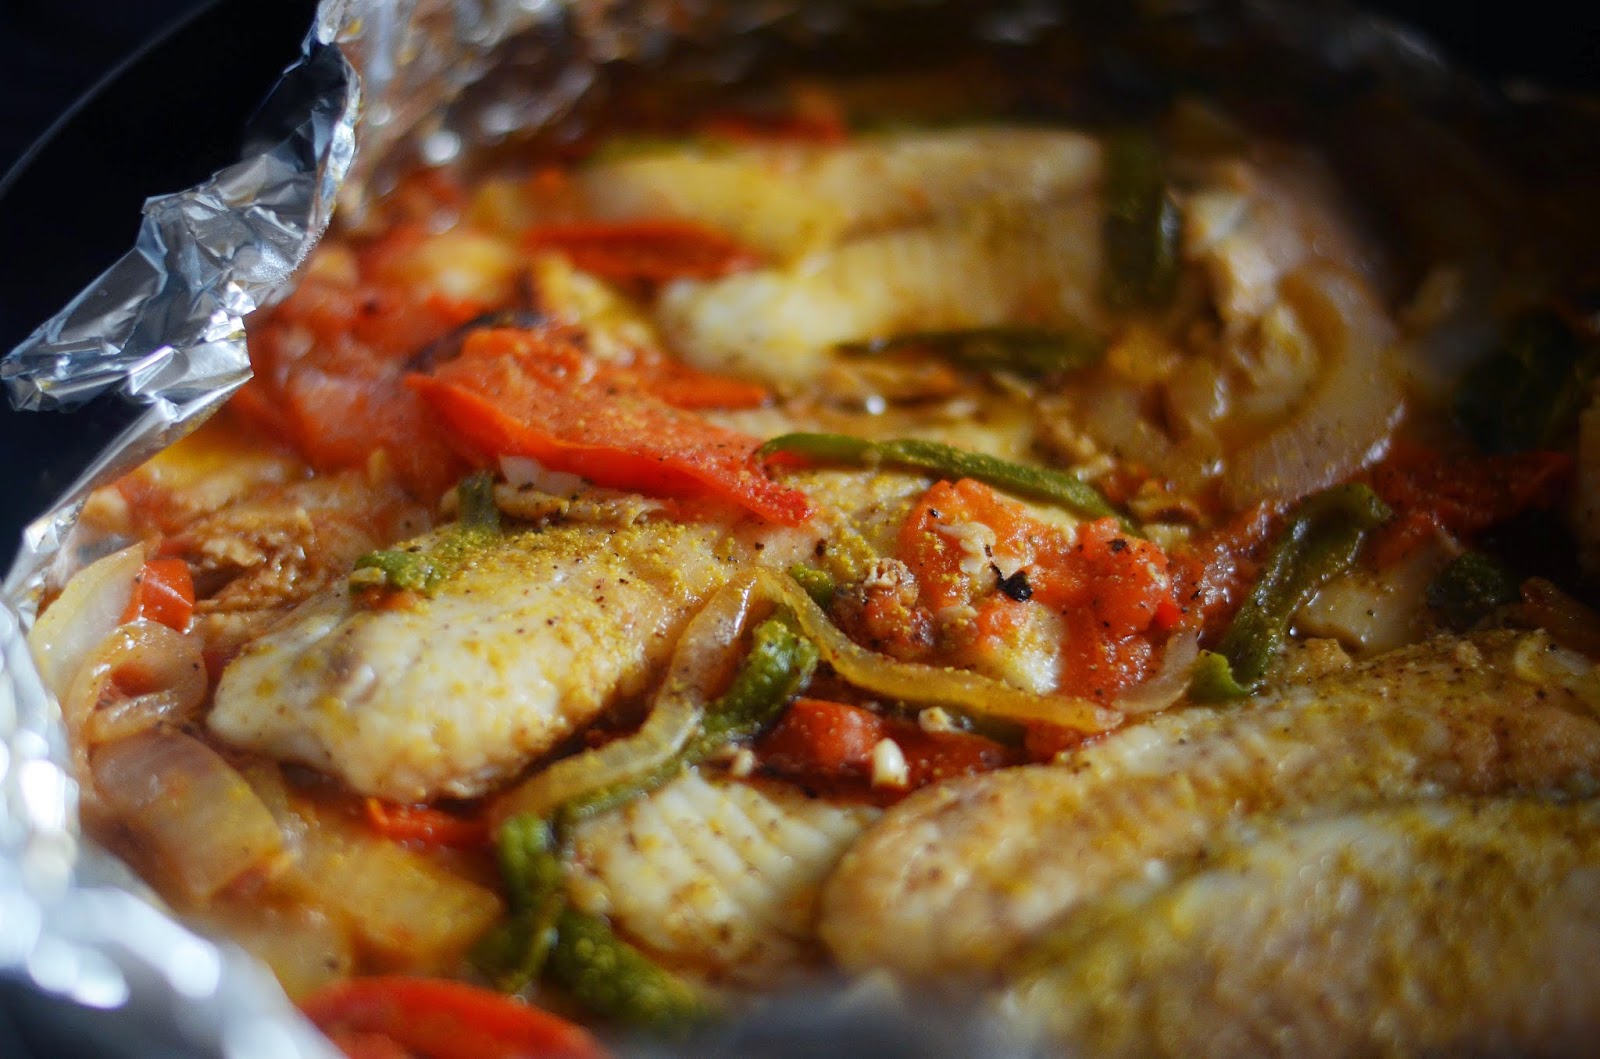
Honduran-Style Stewed Tilapia - Tilapia Guisada Estilo Hondureño

When I have time to cook and bake and I'm doing it for pleasure, I usually like to cook alone. However, when I'm cooking for my family's survival (aka: dinnertime), I love to have someone to chat with. This usually means propping the iPad up and skyping or facetiming with my sister, Lilly, or my friend, Lisa, who are usually in the kitchen too. We chop and chat and it makes dinnertime preparation much less painful. I keep telling them that as soon as we can share our dinners via skype, the world will be perfect!  A couple of days ago, I was making this go-to dinner while Lisa was making her famous banana cheesecake. Lisa and I are best friends and taught together and shared leftover lunches together quite often, so she was surprised when I told her about this go-to Tilapia recipe I'd been hiding and promised her I'd post some instructions for her. 

It's hard to believe I've never posted a recipe for this simple, delicious and healthy dish. I can remember ten years ago, standing in the tiny kitchen in our first apartment as Armando showed me this family favorite of his and I took down copious notes in my trusty cookbook. I swear the only reason we were both able to fit in that tiny kitchen was because we were newly weds. It was so narrow that the opposite-facing refrigerator and oven doors couldn't be open at the same time. 

So enough with the reminiscing, here are your ingredients:

3 roma tomatoes
1 small onion
1/2-1 green pepper 
2-3 cloves garlic
1 Tbsp butter
6 Tilapia Filets
water
salt
pepper
cumin
soy sauce
lime

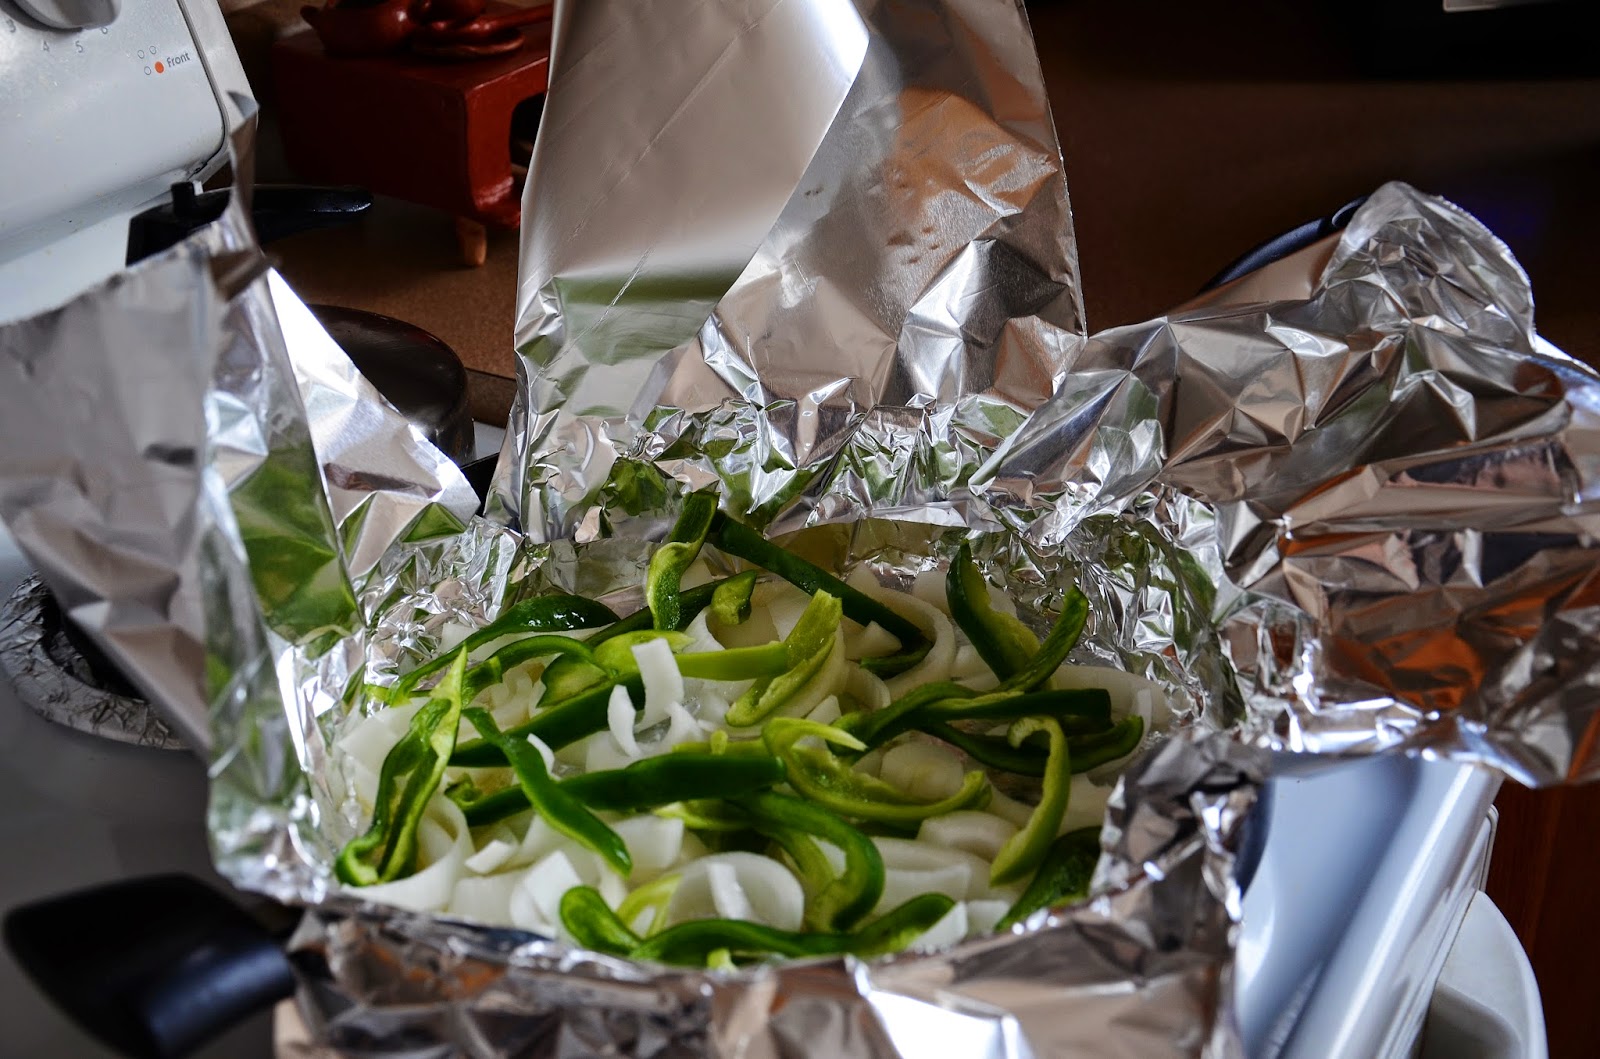
Line a large pan with **aluminum foil (enough to be able to fold and over the dish while cooking). Heat butter in the pan and saute onion and green pepper until translucent. (**In all of the ten years of making this dish, don't ask me why you have to wrap it all in foil. Just trust me that I've tried it without and it's so much better when you use the foil. My theory is that the foil helps keep the moisture in and the juices in this dish are key.
 Add garlic and saute for one minute. Then add tomatoes and saute until they are softened. I like to salt and pepper my sauteed ingredients as I go as well.
 When finished sauteing, keep the heat up and add enough water to cover the bottom of the pan- we're not making soup - we just want there to be enough juice/sauce to cook the fish and have a little juice to poor over each serving. Place thawed tilapia filets on top of sauteed ingredients.
 Salt and pepper them again and sprinkle with cumin powder. Douse each filet with a little soy sauce. As you can see, I haven't perfected my one-handed photography focusing skills. ;) Oh well, you get the idea.
 Squeeze a little lemon juice on each filet as well.
 Bring the liquid to a simmer.
 Now fold the foil over the dish:

Cover your pan with a lid.
 Turn the heat to medium-low and let simmer for 15 minutes. Sometimes I like to turn the fish over before I cover it with foil - but this can be a tricky process if you're pan is full cause fish breaks easily). If not, you can turn your fish over with all of the veggies coming out on top as you serve it.
My favorite thing to serve with this is brown rice and black beans. I throw the beans in the crock pot in the morning (or over night) and when I get home from work, they're just right. I also leave the rice in the rice cooker and set it to cook so that it's finishing up just as I get home and am making dinner. This meal is the perfect weeknight meal because it cooks so quickly and is simple to put together. And if you're looking for more great recipes, remember my friend, Lisa, that I mentioned earlier in this post? . . . Well she's started her own little blog and is sharing some of her most delicious recipes. I'm sure that banana cheesecake I mentioned will be shared there one day along with many of her amazing dishes, so check out what she has and tell her hello!

Friday, December 2, 2011

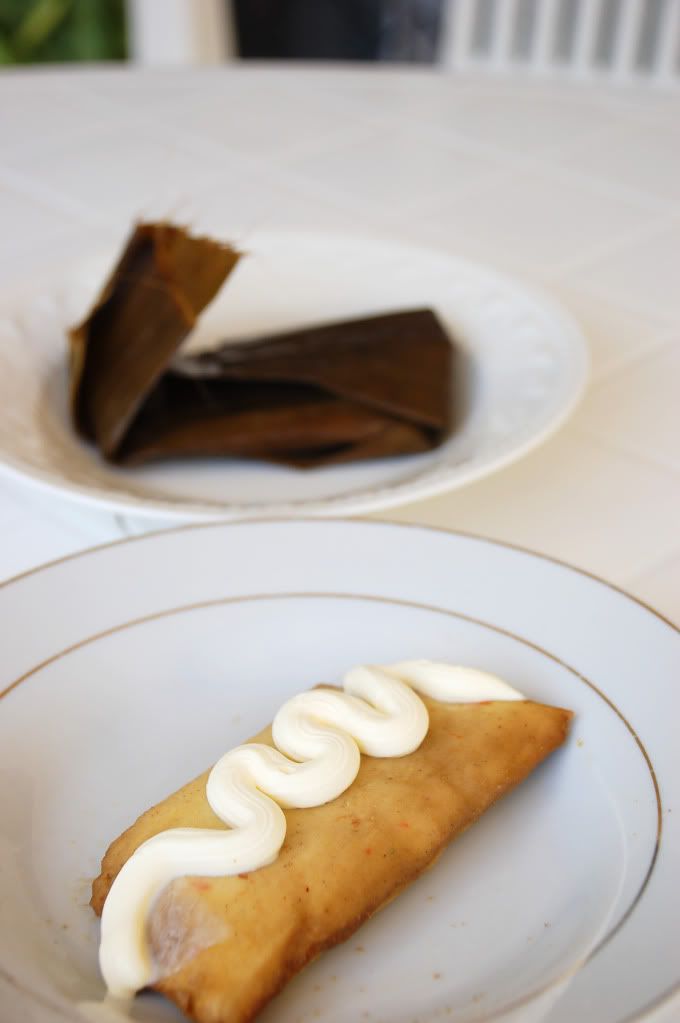
Tamalitos de Frijoles

On the 11th day of Christmas, my suegra gave to me . . .

Tamalitos de Frijoles


We're counting down the days we get to go to Honduras for the holidays and partake of all of the fun tradiciones navideñas (Christmas Traditions) with Armando's family. One of the yummies that I love are my mother-in-law's Tamalitos de Frijoles. My sister-in-law prepared them for me first here in the states when I was expecting our first daughter. With my second pregnancy, of course I craved them because the closest ones were a time zone and two layovers away. Although I'm not expecting, I still love a good tamal de frijol nice and warm with crema on top.

Although I've never made these on my own, my sister-in-law wrote up some instructions for me to share on the blog. If I can talk them into showing me these while we're there, I'll add proportions in the future. For now, this is a typical "little of this and little of that" type of recipe. ;)

Tamalitos with Frijoles (Beans)


Prepare the corn flour for tortillas and make it a little dry. (I recommend maseca found in your local grocer in the Mexican-food section. Follow the instructions to prepare tortillas and make slightly dry).

Blend garlic, onion, green pepper, celery, and cilantro (enough of these ingredients to flavor the beans and the tamale dough. Add a small tomato to the ingredients and blend it as well.

Add half of the blended condiments to the dough along with salt to taste.

Cook and prepare black beans. Let cool and blend with bean broth. Fry in hot oil along with the remaining blended condiments mentioned above. Add salt to taste. Fry and stir frequently so as not to let them stick. They should be a little liquid-like - not a pasty texture. Let them cool - they should be slightly more liquid-like when hot because they will solidify slightly as they cool.

Form dough into small balls. Flatten with hands on a piece of plastic as if you were going to make a tortilla (not too thick nor too thin). In the middle, drop a large spoonfull of cooled refried beans. Fold the tortilla in half, covering the beans. It should look like a half-moon.

Seal the edges with hands carefully so as not to let any beans leak out and place in the center of a banana-leaf. Place in a pot of boiling water with salt for 45 minutes.

Serve warm with crema centroamericana.


-----------------------------------------------------------------

And for all of you Spanish-speakers, perhaps the original instructions would be easier to follow rather than my translation above.

Preparar la harina de maíz como para hacer tortillas dejarla un poco seca. Licuar ajo, cebolla, chile verde, apio, cilantro todos estos ingredientes en cantidades necesarias (que sea sufiente para los frijoles y la masa) además licuar un tomate pequeño junto con el resto de los ingredientes.
Al agregar los condimentos a la masa también agregar sal la necesaria. Los frijoles cocidos se licuan y se ponen a freír en aceite junto con los condimentos licuados, especies y sal en caso de ser necesario; al freír los frijoles no dejarlos secos estos de beben de quedar más o menos líquidos, dejar enfriar.
Elaborar con la masa pequeñas bolas para luego aplanarlas con las manos sobre un plástico en forma de tortilla (esta no debe de ser ni muy gruesa ni muy delgada). En la mitad de la tortilla colocar una cuchara grande de los frijoles fritos y fríos, doblar la tortilla a la mitad cubriendo los frijoles, quedando la forma de una media luna. Nos cercioramos de cerrar bien los bordes para que nada se salga, luego se envuelven en una hoja de plátano y se ponen a hervir en agua con sal por unos 45min.
Comer calientes con mantequilla.

Monday, April 11, 2011

Tajadas de Minimo Verde - Fried Green Bananas Dinner

Most of you know that although I'd like to spend my time doing more things like cooking and taking pictures, the bulk of my life is spent as a school teacher, a wife, and a mom. This one is for my fellow school teacher who has been begging for a new dinner idea. I'll tell you right now, Deb, this isn't your typical mac and cheese or American casserole. But I think you know me well enough by now that you're not expecting something "normal" from me.

This is a dish that is similar to other Honduran dishes we like in our home. I'm not an expert at it, but I can tell you what my husband and I did to make this dish. And you really don't have to stick to the proportions. Judge by how many you want to feed and add or take away ingredients accordingly. I made this dish for four.

Ingredients:

2-3 VERY GREEN bananas
1 lb ground beef
1/2 block/round of queso seco (Mexican dry cheese - I buy Queso Cotija at my local grocer)
1/2 head cabbage, finely shredded
3 roma tomatoes
1/2 green pepper
2 cloves garlic
10 sprigs of cilantro
1 lime
salt
pepper
cumin
achiote
Worcestershire sauce


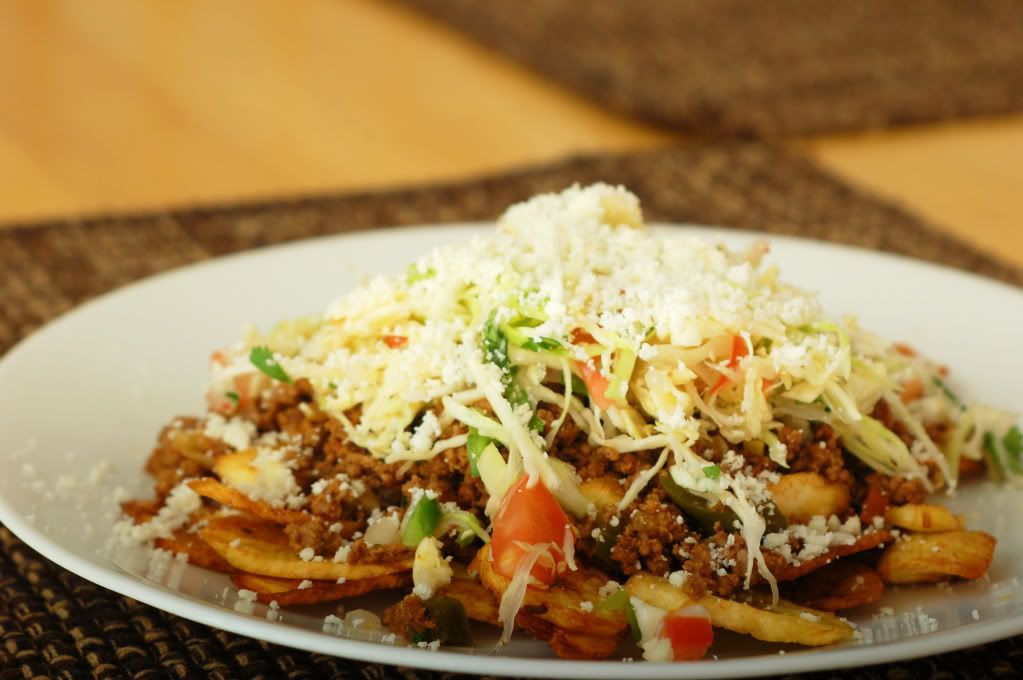
1) Shred/crumble 1/2 round of queso seco, Set aside.

2) Finely shred 1/2 head of green cabbage. Add the following to the cabbage: tomatoes, diced small; 1/4 green pepper, diced small; cilantro, chopped; juice from 1 lime. Mix and salt to taste.

3) Prepare meat: I like to marinate my meat the night before, but it is not necessary. To a pound or two of ground beef, I dice and add 1/2 onion, 3 cloves garlic, 1/4 green pepper, 1 roma tomato, plenty of cumin, salt, and ground black pepper as well as achiote powder (for color - this ingredient is not necessary for flavor, but a true Honduran dish always has color!) I also like to add a bit of Worcestershire sauce. Brown the meat and break it up while cooking so as to have a very fine ground meat mixture. You also want this mixture to be a bit on the juicy side. Don't tell my husband because he would say it's a sin, but I add a bit of water and don't let it cook completely off. Cover and set aside. Keep warm for serving.

4) Finely slice green bananas and fry in hot vegetable oil until golden brown. Add a dash of salt to the bananas as you pull them from the oil.

To serve, layer a handful of fried green bananas on a plate. Top with meat, salad, and cheese. Enjoy with a fork and a yummy blended fruit drink.

Thursday, December 16, 2010

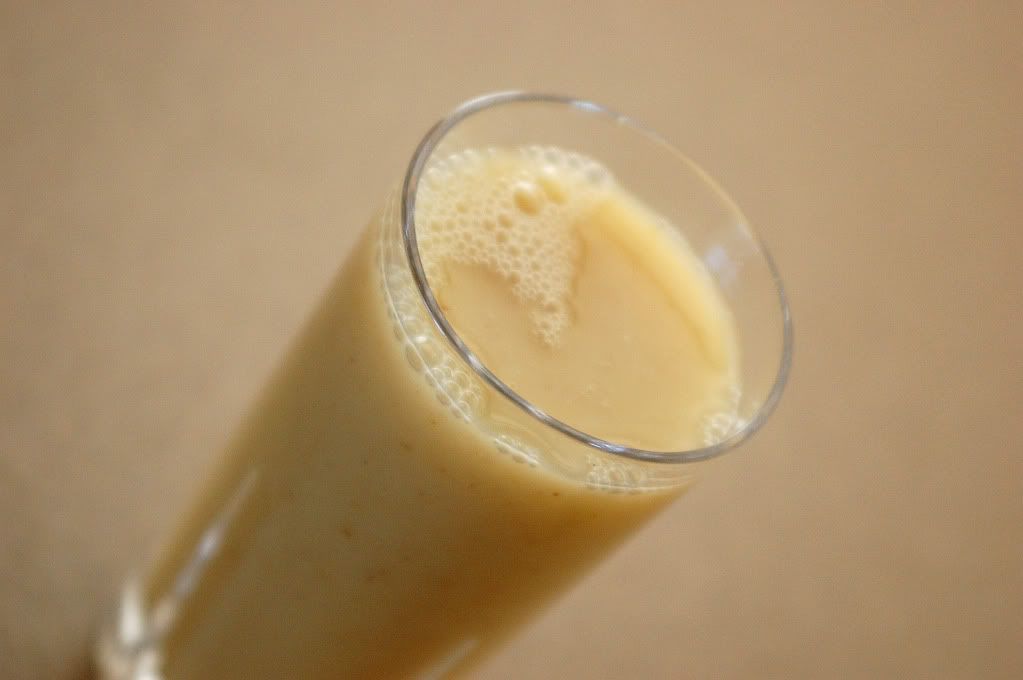
Fresco de Piña / Pineapple Horchata


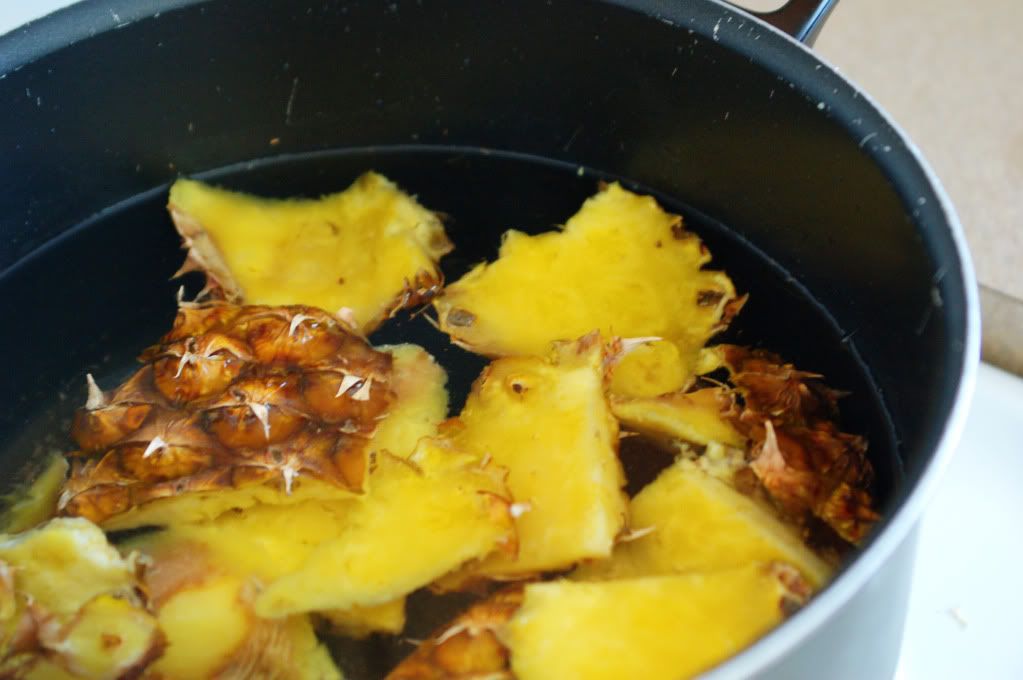
Remember the very first time I posted on this blog way back in 2007 and I showed you a bag of pineapple skins I was going to freeze to use another day and told you I'd share with you another recipe for it? Well, three and a half years later, here it is. Finally.

This Fresco de Piña is another original of Doña Rina's. She doesn't like to waste any part of the pineapple so instead of throwing away the "pine" she washes it well and makes a delicious rice/pineapple/cinnamon drink with it. I like to call it pineapple horchata. That's just my personal interpretation.

You'll need:

Pineapple skins of one pineapple
2-3 cinnamon sticks
1 cup of uncooked rice
sugar to sweeten

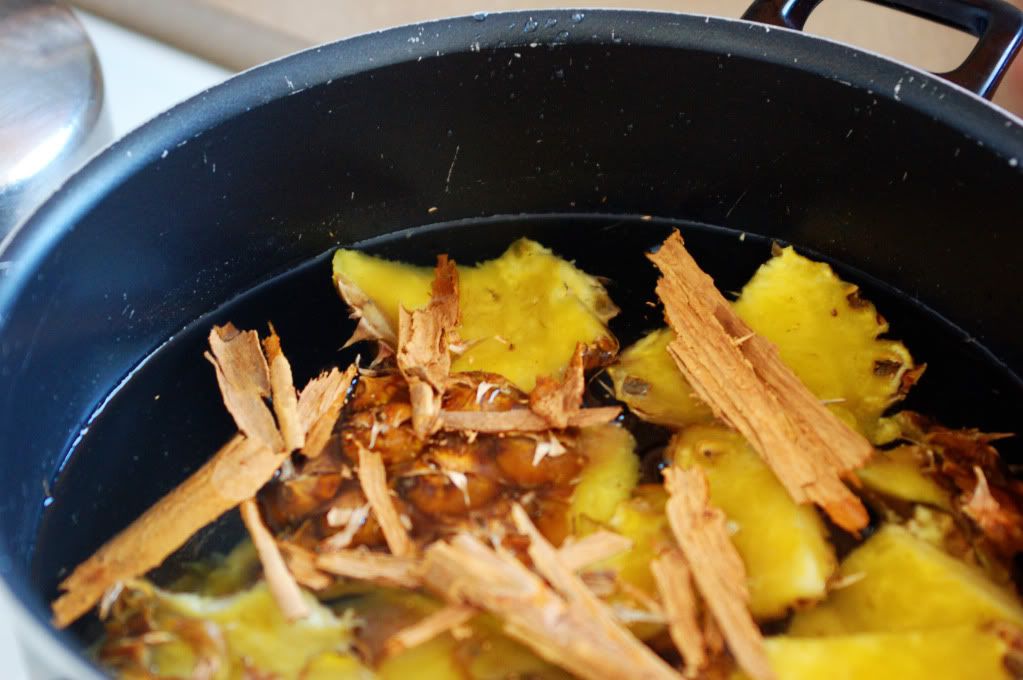
1. So, once you've sliced your pineapple and you're tempted to throw the skins away, instead fill a pot with water and throw the skins in there.
2. Add cinnamon sticks. If using cinnamon sticks from the Mexican food section, be generous.
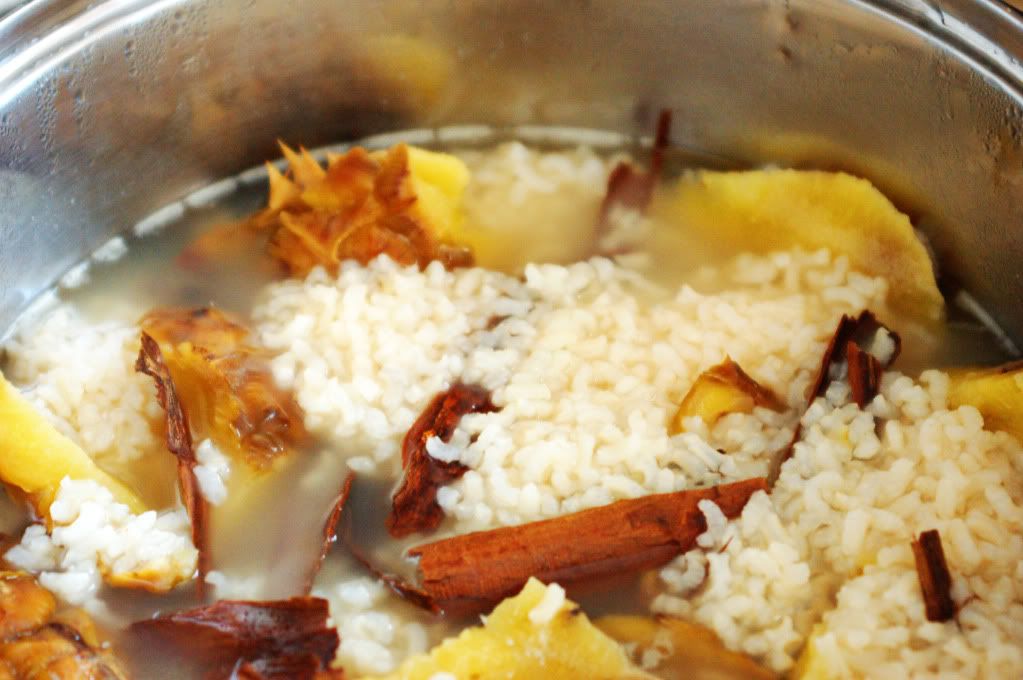
3. Add 1 cup uncooked rice.

4. Cover and boil until rice opens and is soft and cinnamon sticks are completely open. Mixture will be very watery.
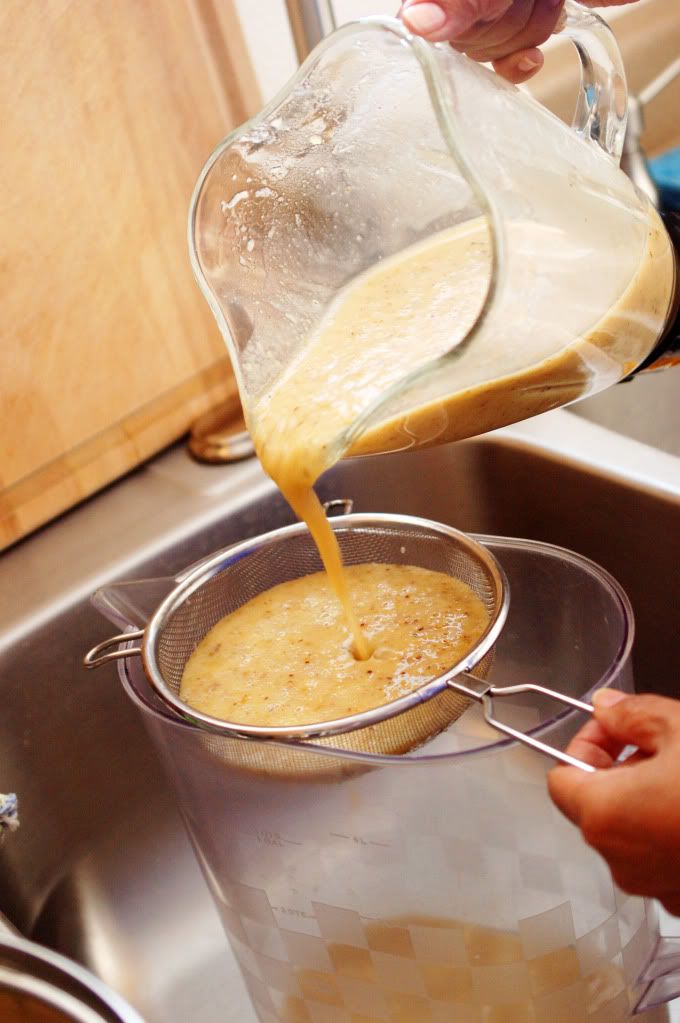
5. Blend entire boiled mixture from the pot (including cinnamon sticks) until there are no major chunks.

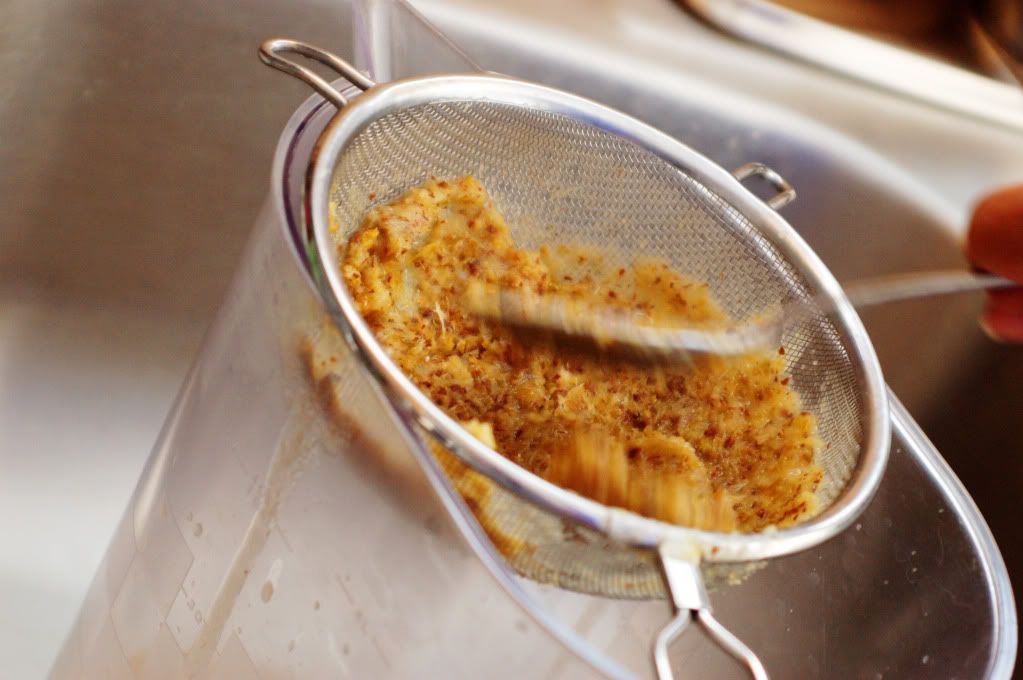
6. Strain mixture into a pitcher.

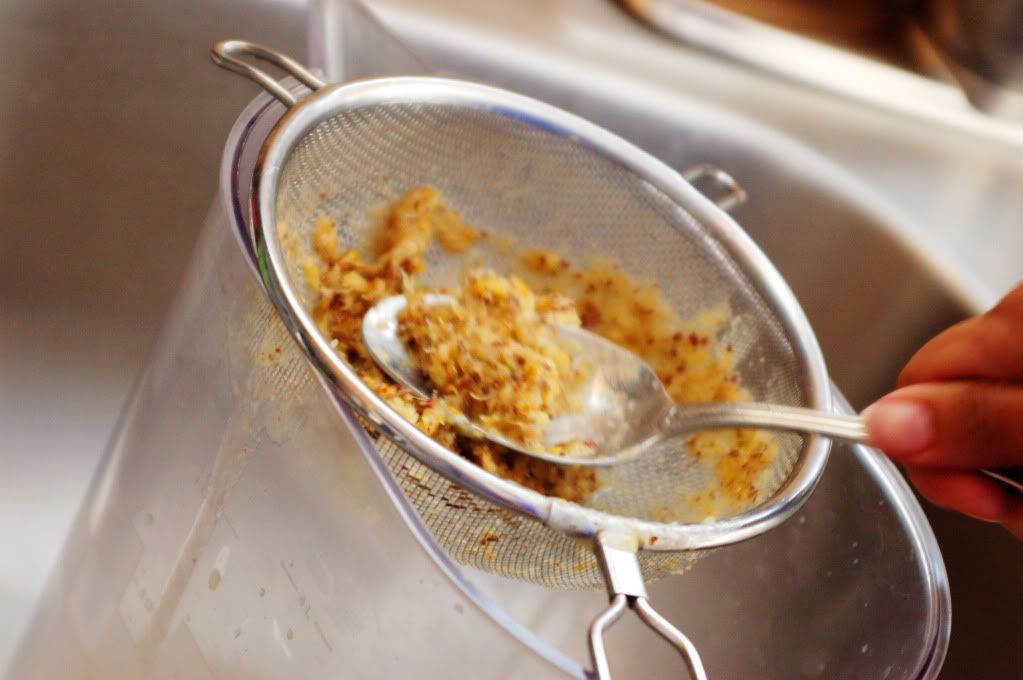
7. Using a spoon, press any extra liquid out of the remaining strained ingredients.

8. Fill pitcher with cool water until drink is at required consistency and sweeten to your desired sweetness. (It takes quite a bit of sugar to get this sweet).

Sometimes she prepares this drink thicker than others. I prefer it a little more watery than thick. Make sure to chill before serving.

Enjoy with any meal or as a delicious refresher after a long days work!

Wednesday, December 15, 2010

Pupusas de Queso

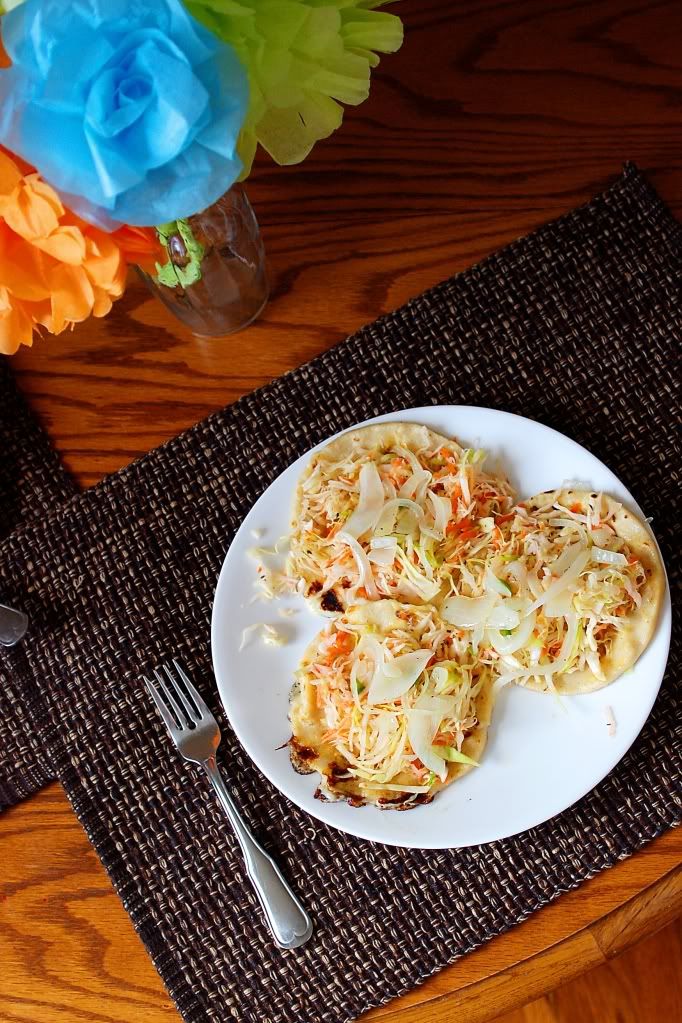
I can't remember the first time I ever tried a pupusa. It may have been on a trip to California with my friend Christine back in 2002, or was it 2003? Some guy wanted to win her over and so he took us to a restaurant and gave us both gifts and la, la, la. All I remember is that the food was delicious. And pupusas were one of the many things I tried that day.

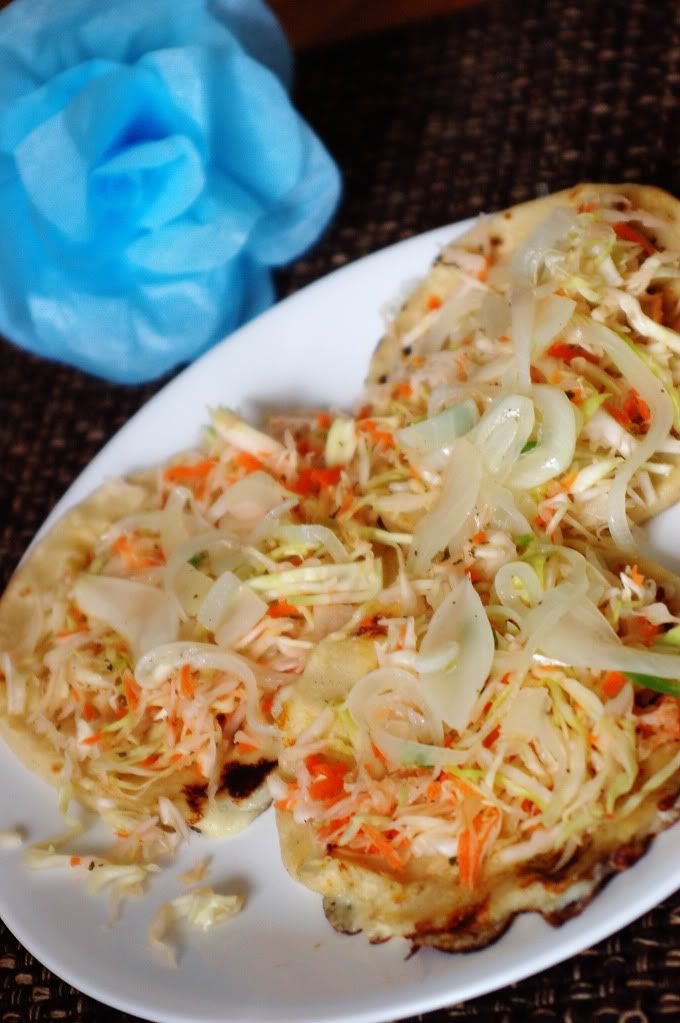
There are lots of different versions of pupusas. In my own terms, it's like a stuffed corn tortilla topped with a delicious curtido - a lightly fermented cabbage slaw. Lots eat in with their hands folded in half like a street taco. I'm weird and prefer it with a fork with lots of extra curtido on top.

Ingredients


The Dough:
1 bag maseca masa (instant corn masa flour)
water
salt

The rest:
1 lb quesillo or other cheese (mozzarella)
1 head cabbage
1 onion
1-2 or more jalapeños (personal preference)
1-2 carrots
olive oil
vinegar
salt
pepper
oregano

Step 1: Prepare the Cheese / Quesillo


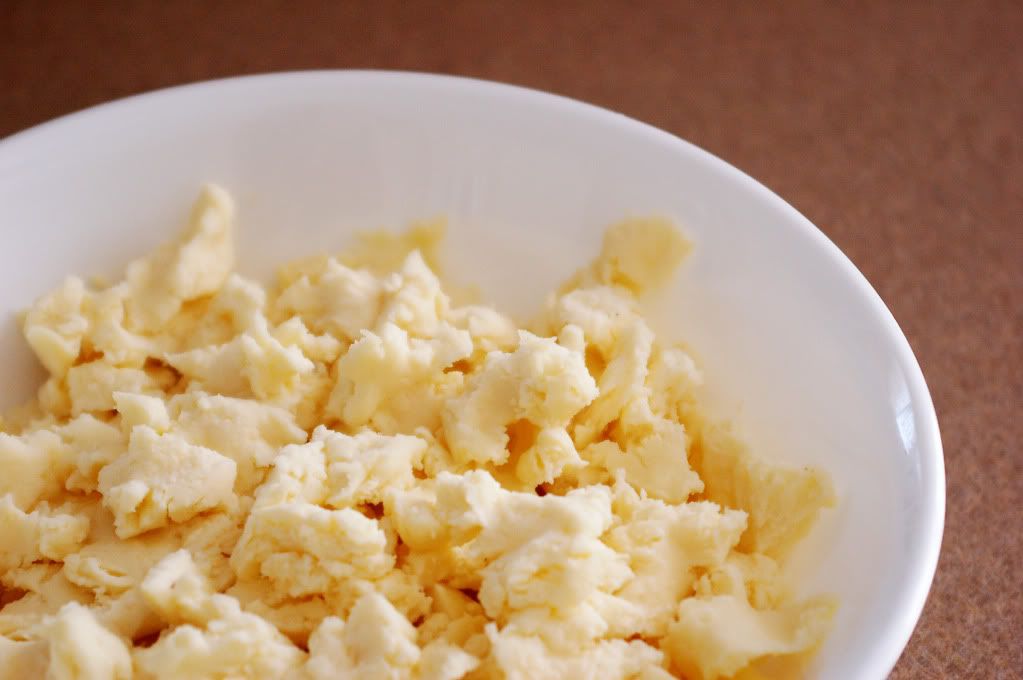
Tear the quesillo into small chunks and set aside in bowl.

Step 2: Prepare the onion and pepper

Olive oil
1 yellow onion
1 jalapeño pepper (or more depending on your "gusto")
Vinegar to taste

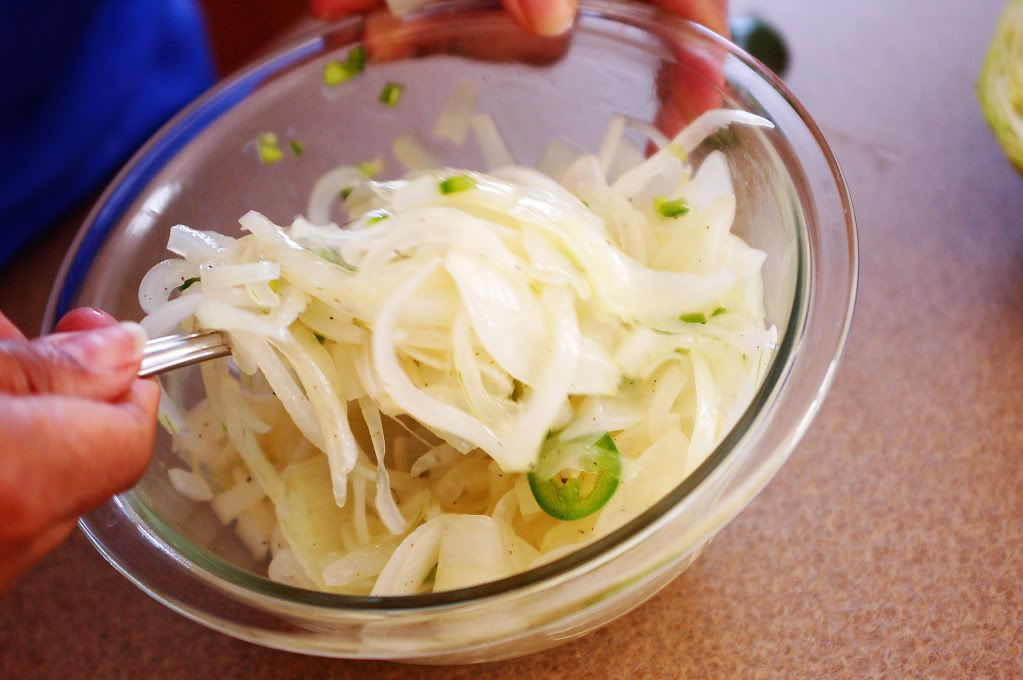
Slice the onion and saute with jalapeño in olive oil with a bit of salt and vinegar to taste. Saute the onion just long enough that it still has a crunch to it. Set aside.

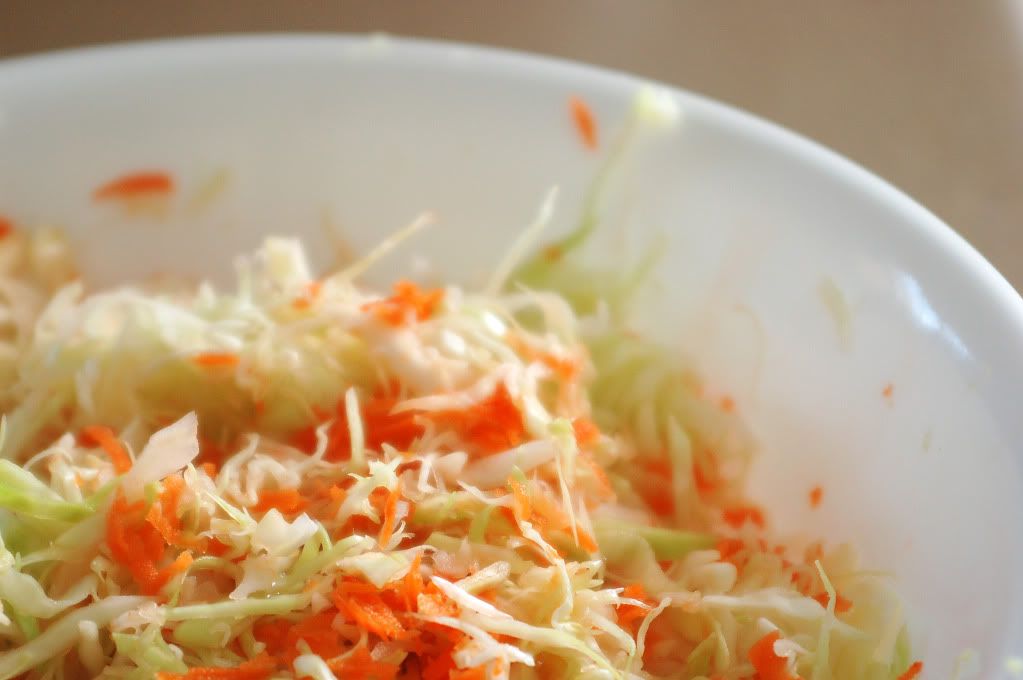
Step 3: Prepare the salad/curtido:

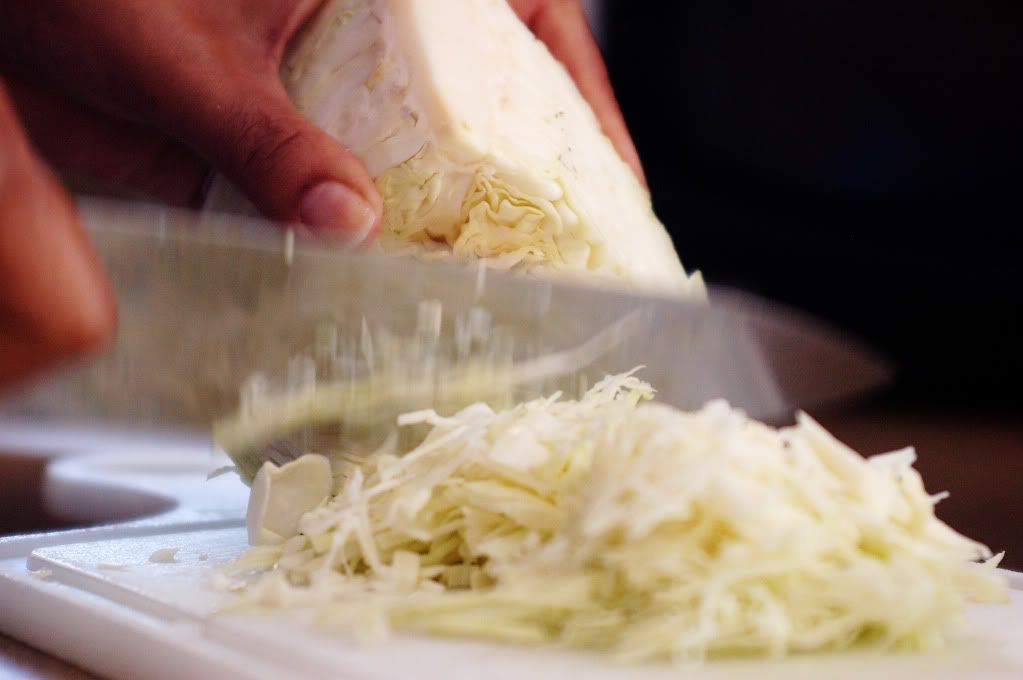
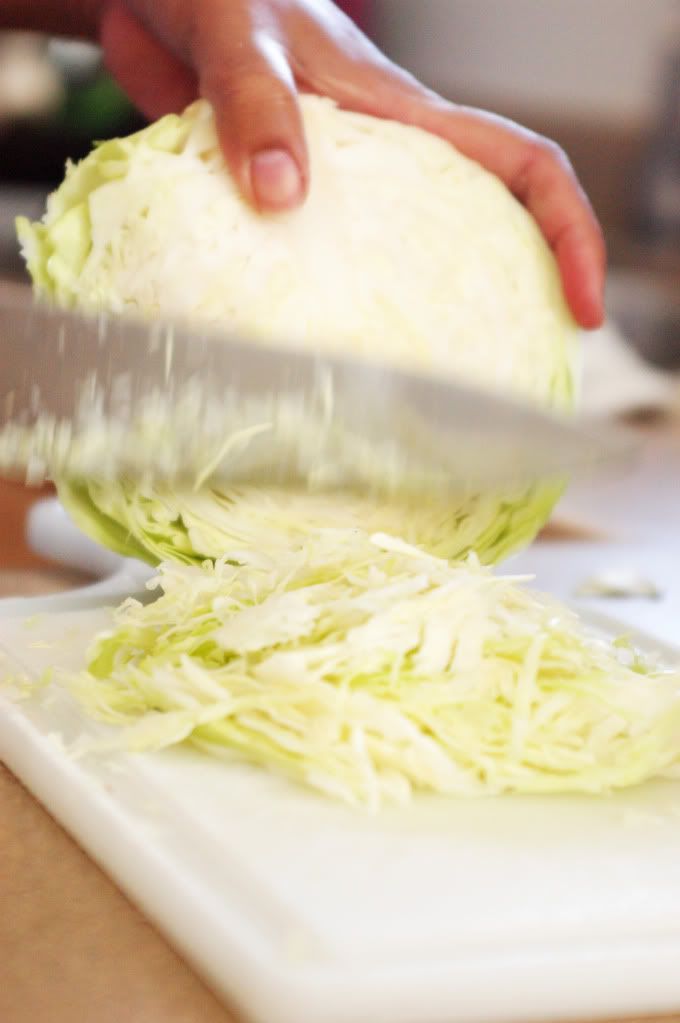
Finely slice a head of cabbage.

See how fast that knife moves . . . that's skills!
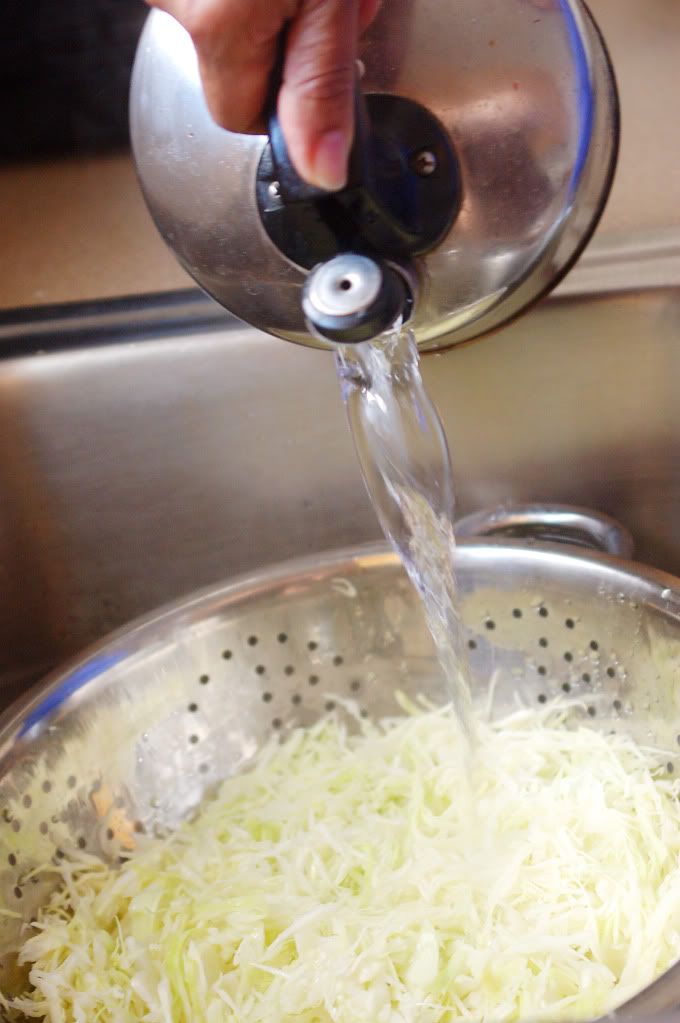
Place the cabbage in a strainer in the sink and pour boiling water over it to soften it up. Let water drain and place cabbage back in salad bowl.
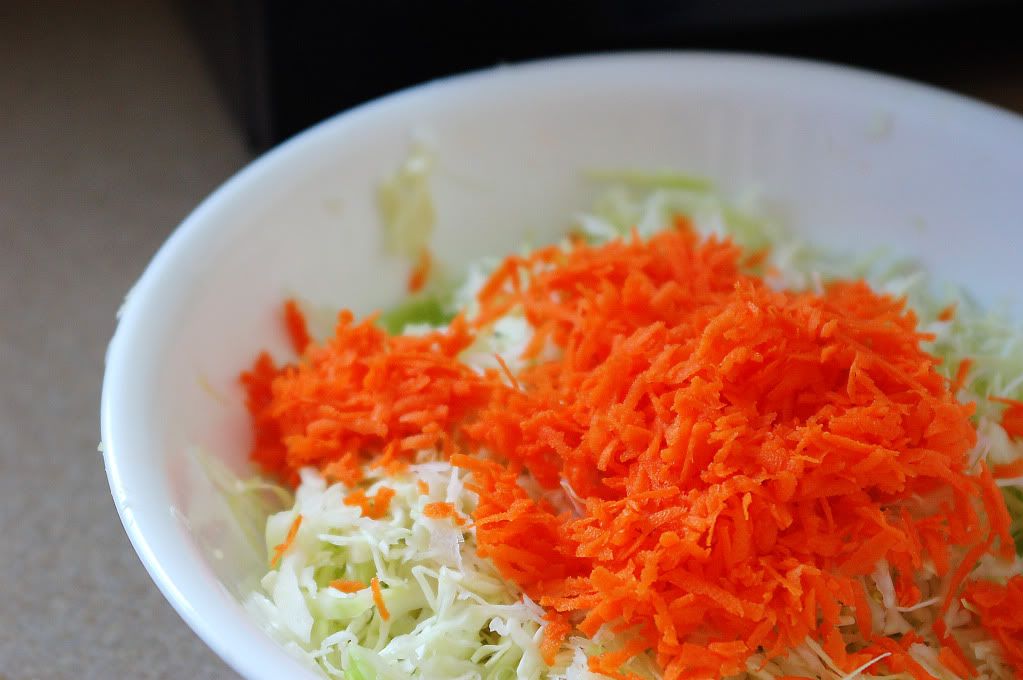
Shred carrots, and add to the cabbage in a salad bowl.
Mix cabbage and carrots.
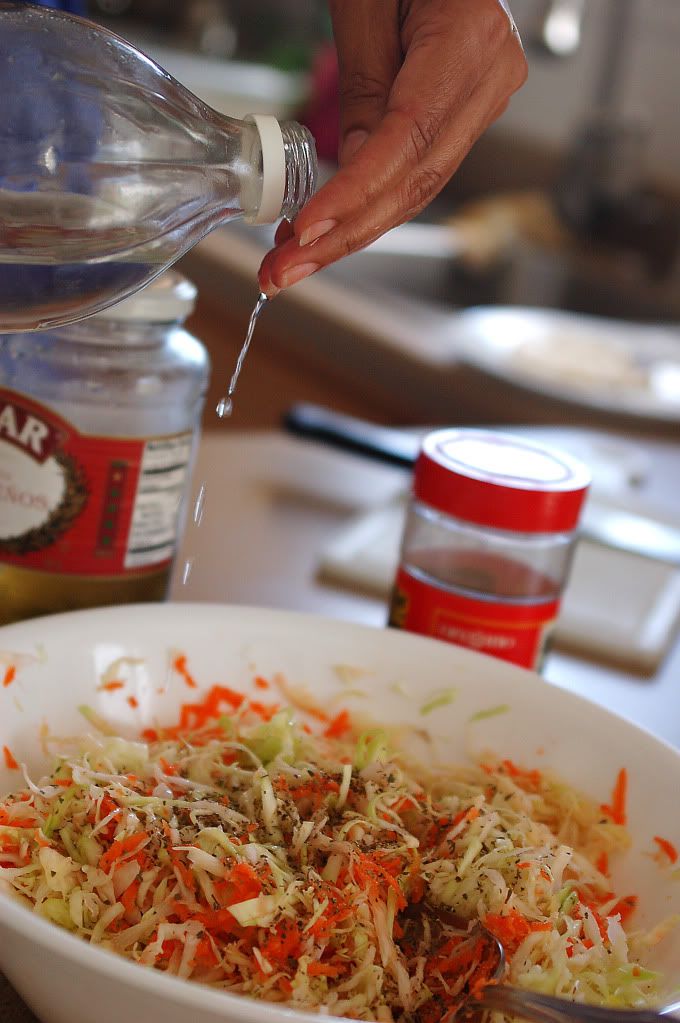
Mix and season with salt, a bit of oregano, and a little vinegar between the fingers in one circular motion around the salad. You can also substitute lime juice for the vinegar, but I prefer the vinegar.
Step 4: The Dough (La Masa)

Purchase a bag of Maseca (Instant corn masa flour) in the Mexican food section of your local grocery store. Follow the instructions to prepare the "masa" (dough) depending on how many pupusas you want to make. Two or three feed the average adult. And this dough is simple. You can't go wrong with it.

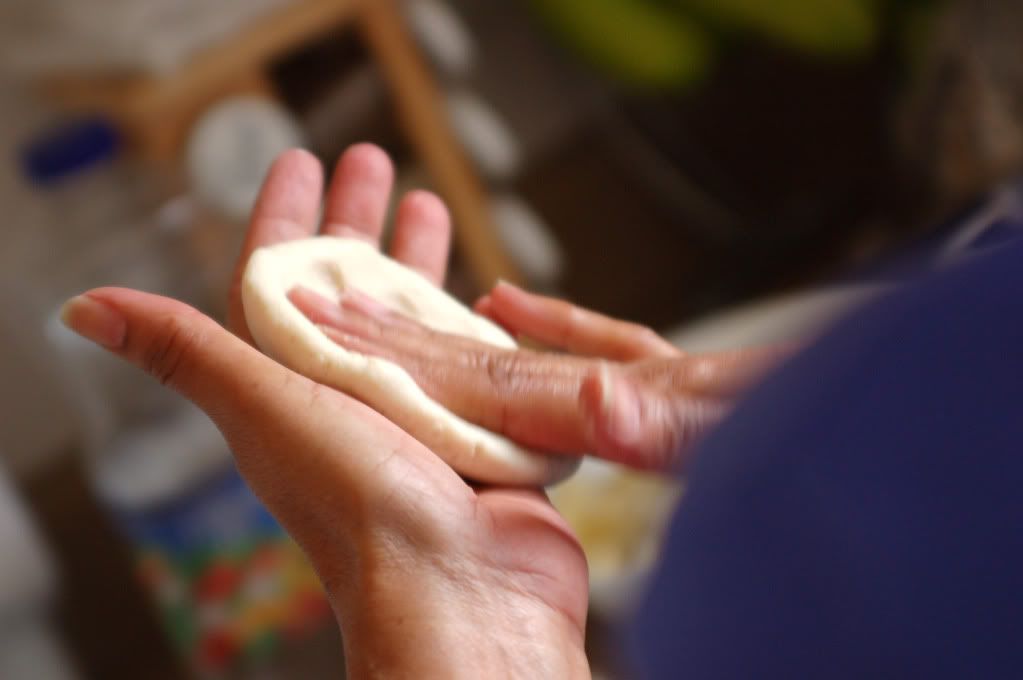
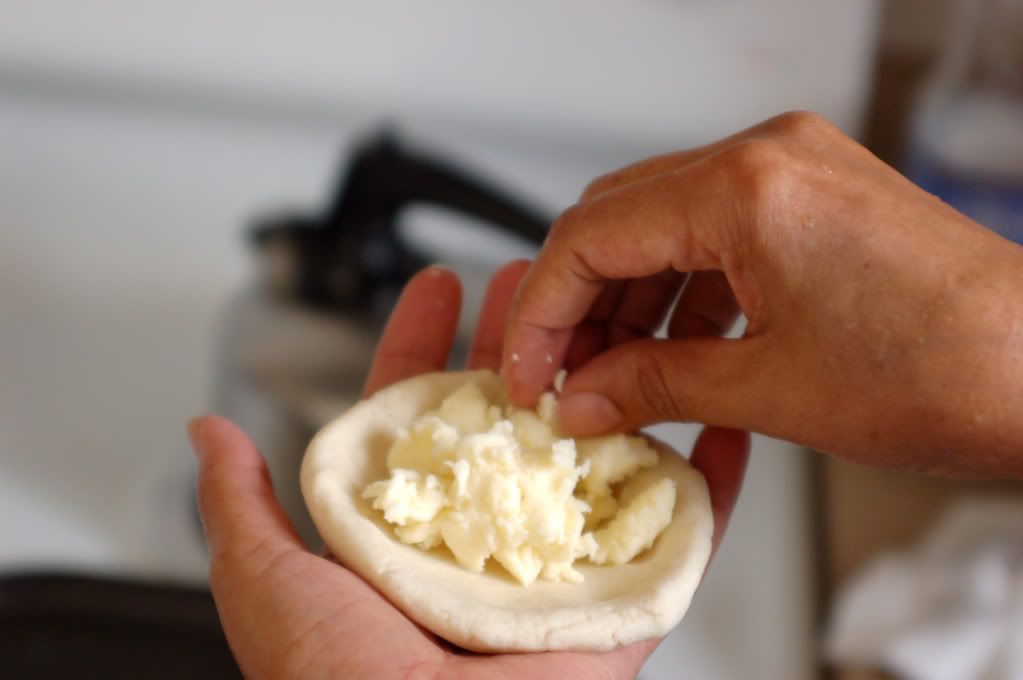
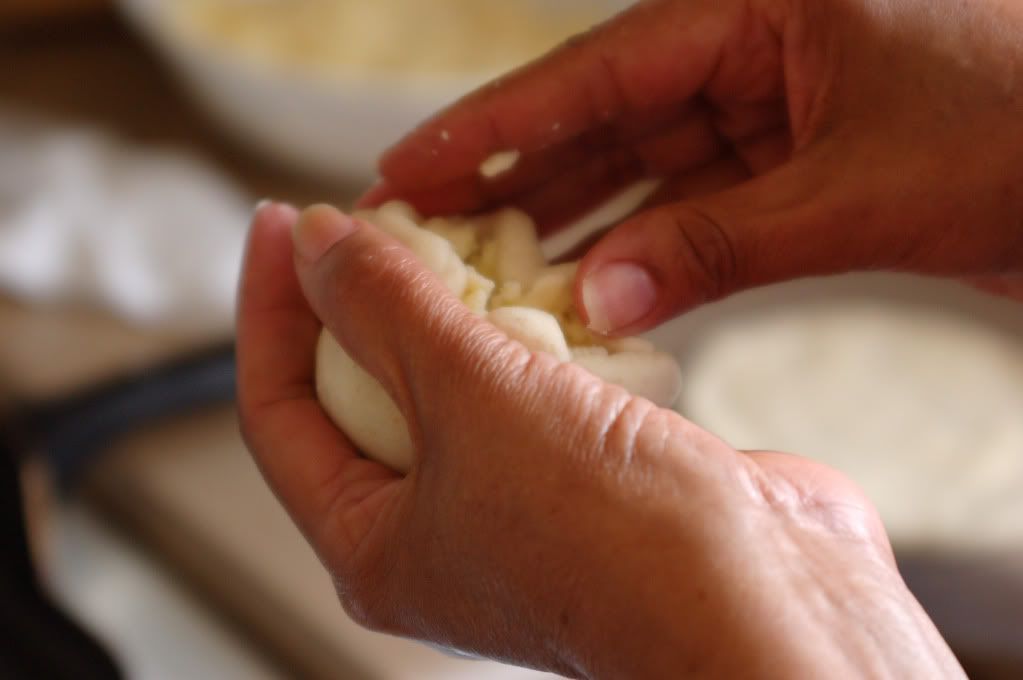
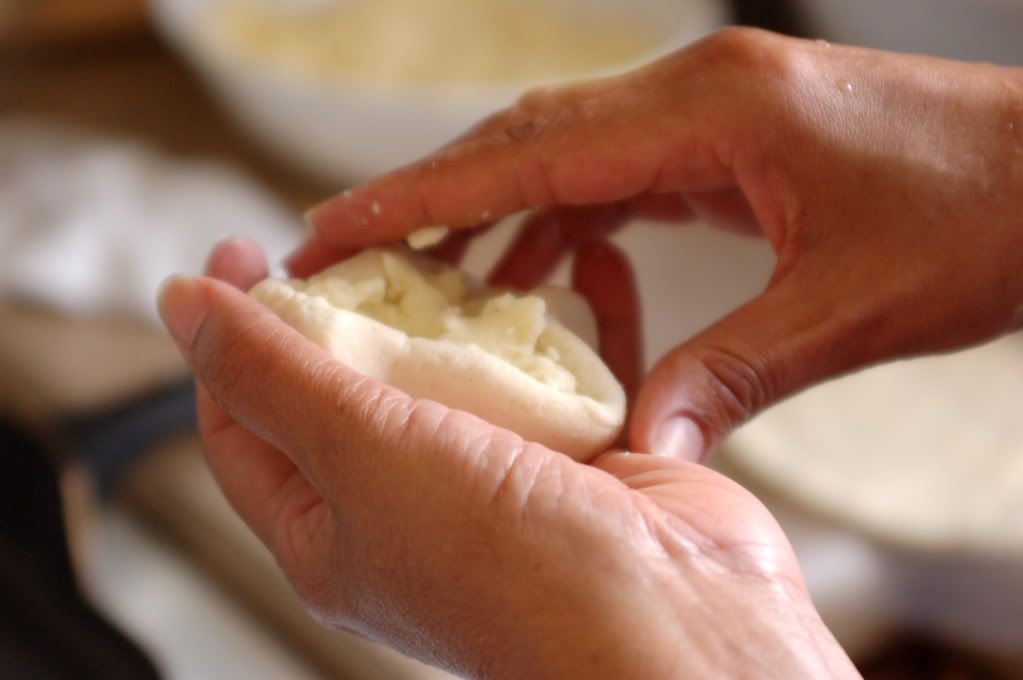
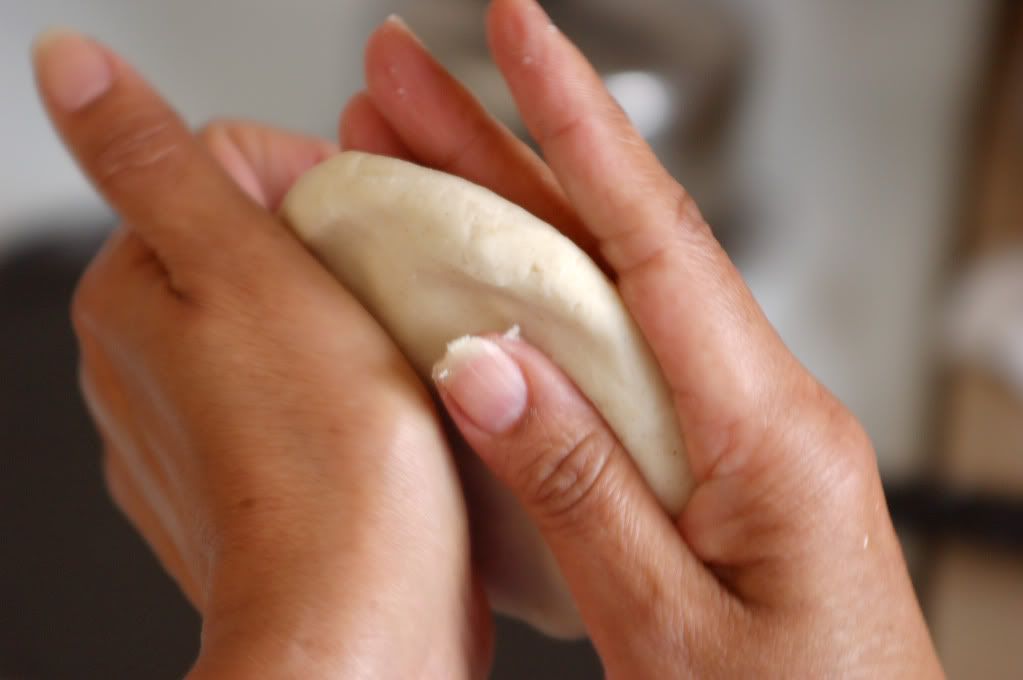
After preparing the dough, grab a small ball of it and roll it in your hand. Flatten it from the center out while rotating it in your hand to form a circle. After making the circle, form the edges upward and press the center down to form a pocket to place the hold cheese in the middle.

Place a generous amount of cheese in the middle of the dough.
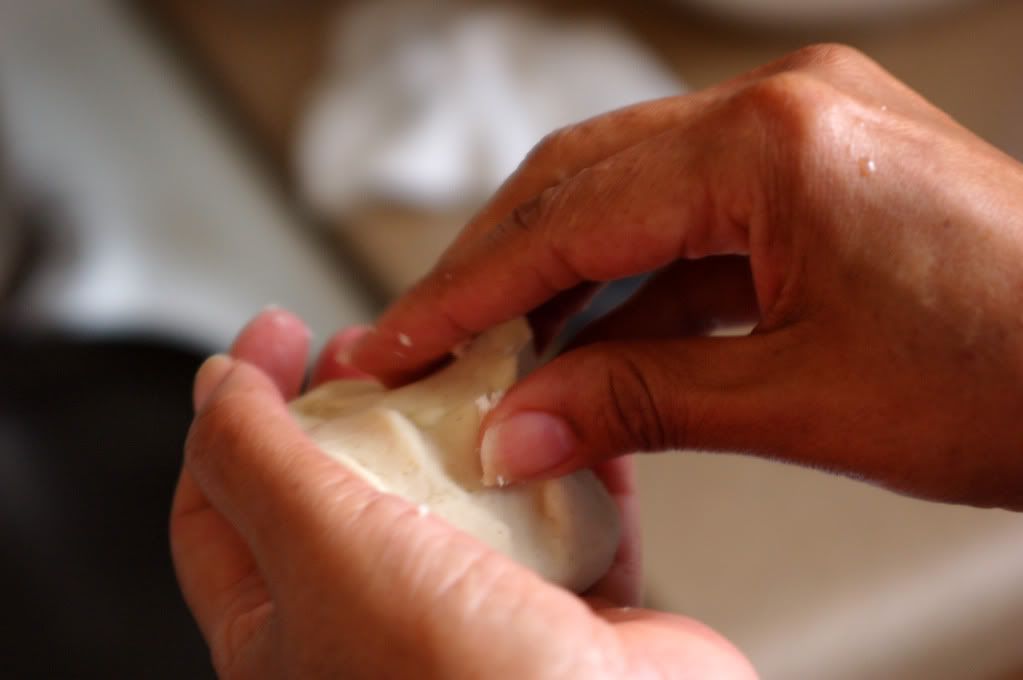
Use the hand the dough is in to enclose the cheese completely in the dough.


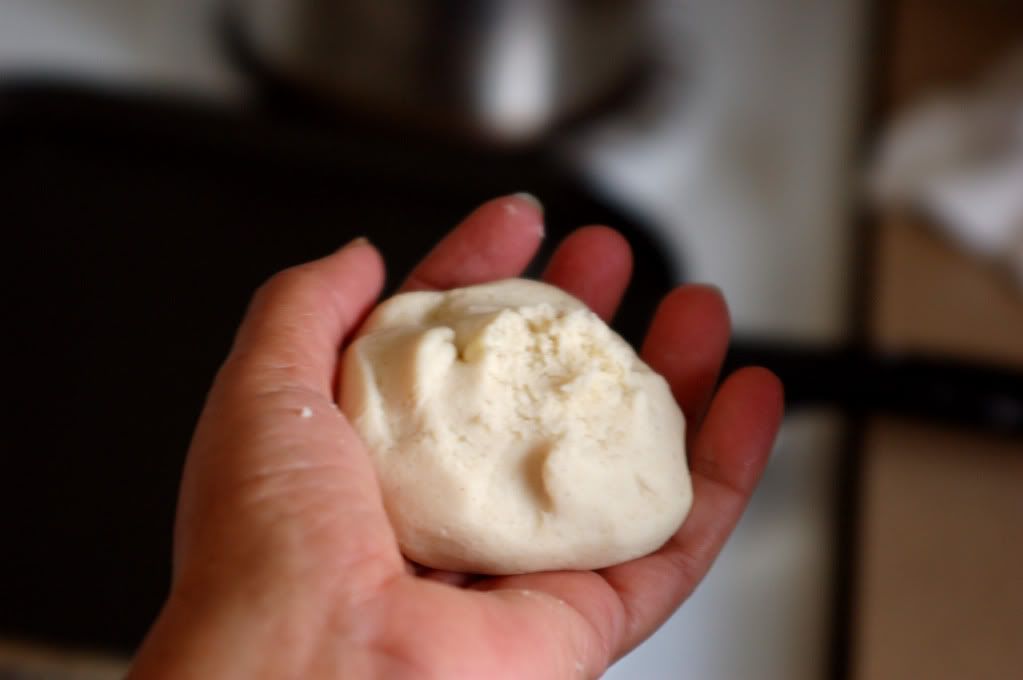
Pinch off any excess dough in the center.


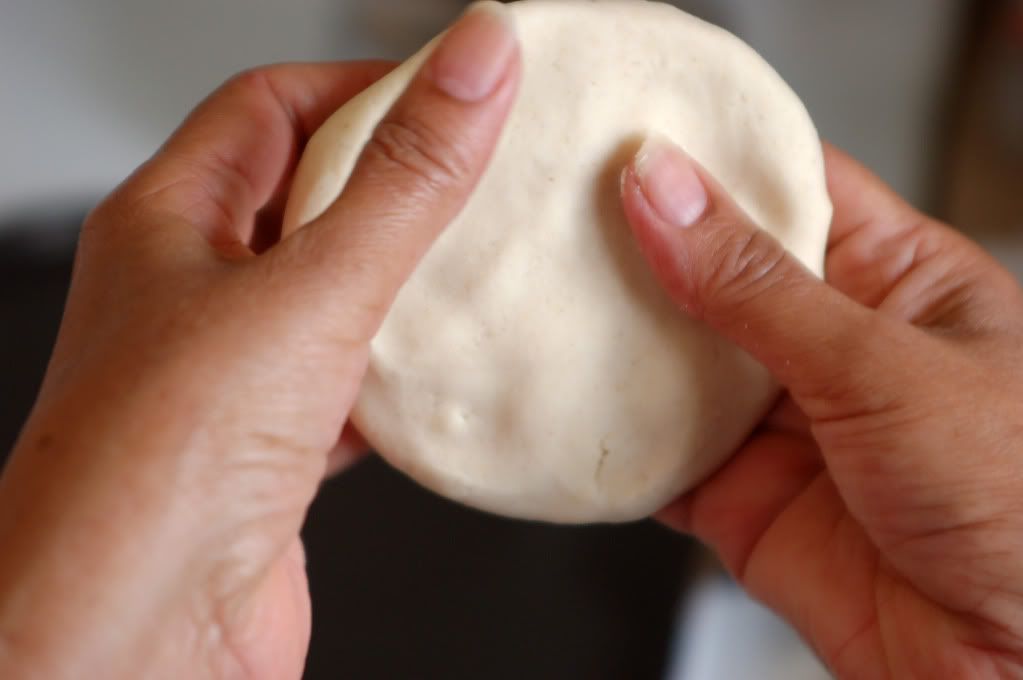
Flatten the dough into a thick tortilla, rotating it constantly and you press it to flatten evenly throughout.


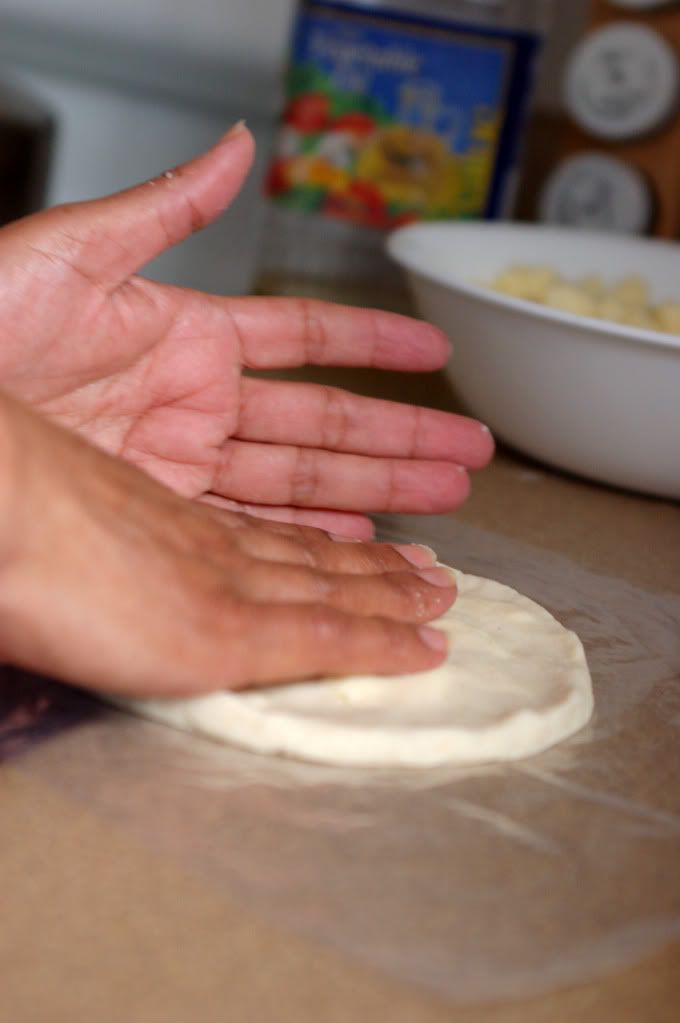
Place the tortilla on a piece of plastic to finish flattening and stretching.
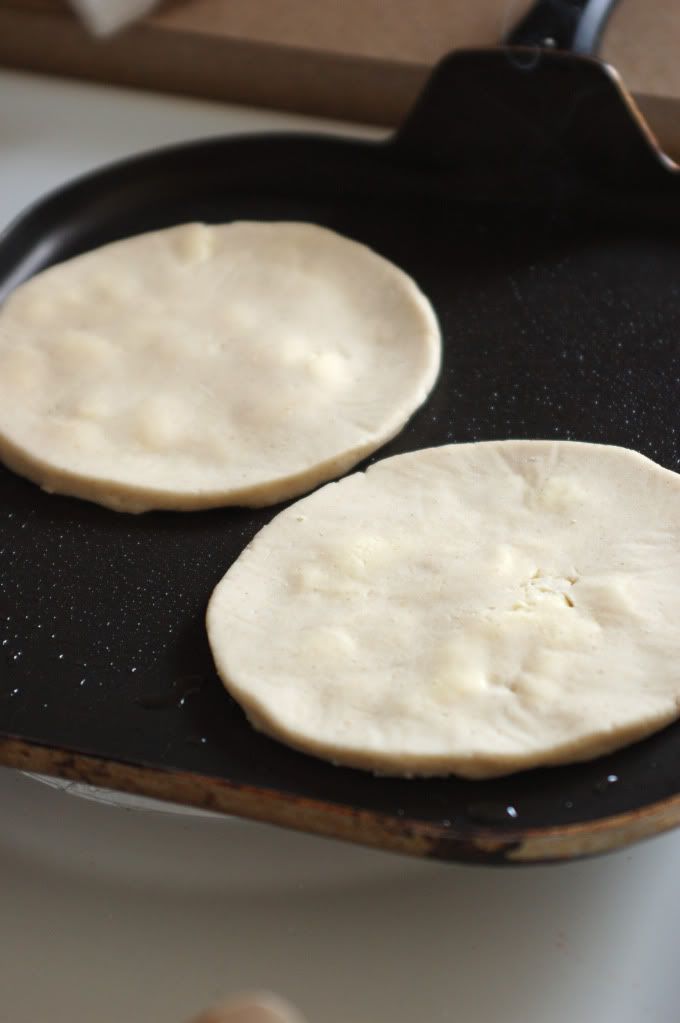
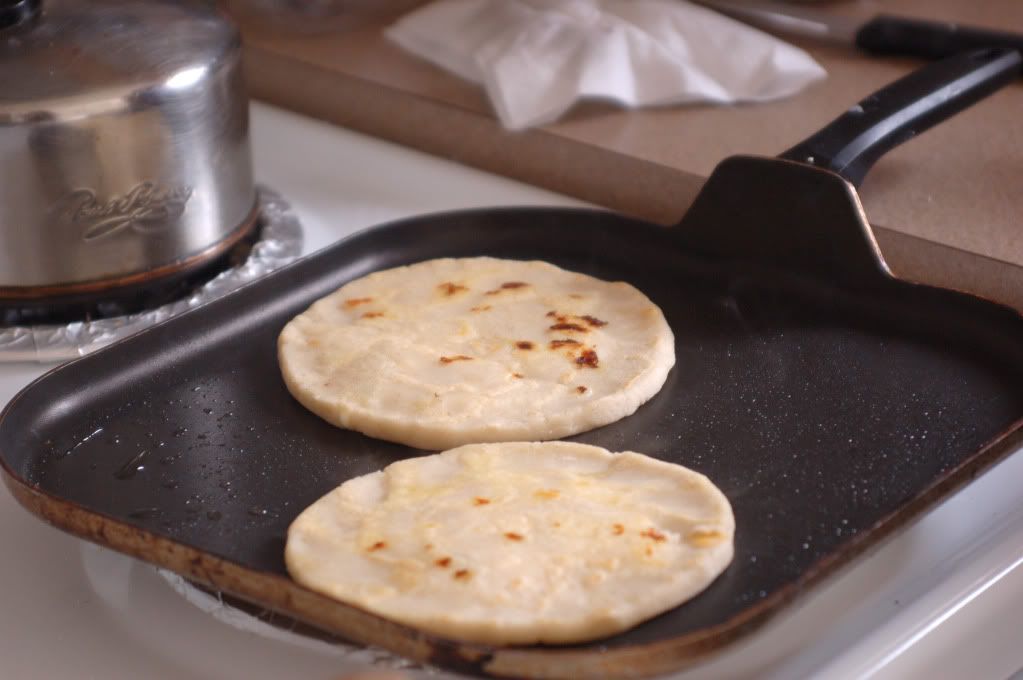
Heat pan or electric frying griddle to high and grease. Place the pupusas in pan and brown on each side.
Serve with the salad (curtido) and the onion mixture.

Tuesday, December 14, 2010

Broccoli Soup - Honduran Style


One of my favorite comfort foods that Rina makes is her broccoli soup. And my girls love it too. There's nothing better than to know your kids are asking for second servings on their green veggies!

Ingredients

2 large slices of onion
1 stalk of celery
2 gloves of garlic, minced
2 heads of broccoli
1 large potato, with skin (or 2 medium potatoes)
water from potato
1/4 tsp cumin
butter
salt & pepper to taste

1. Wash and Dice potato (with skins) and place in water to boil (just enough to cover it).

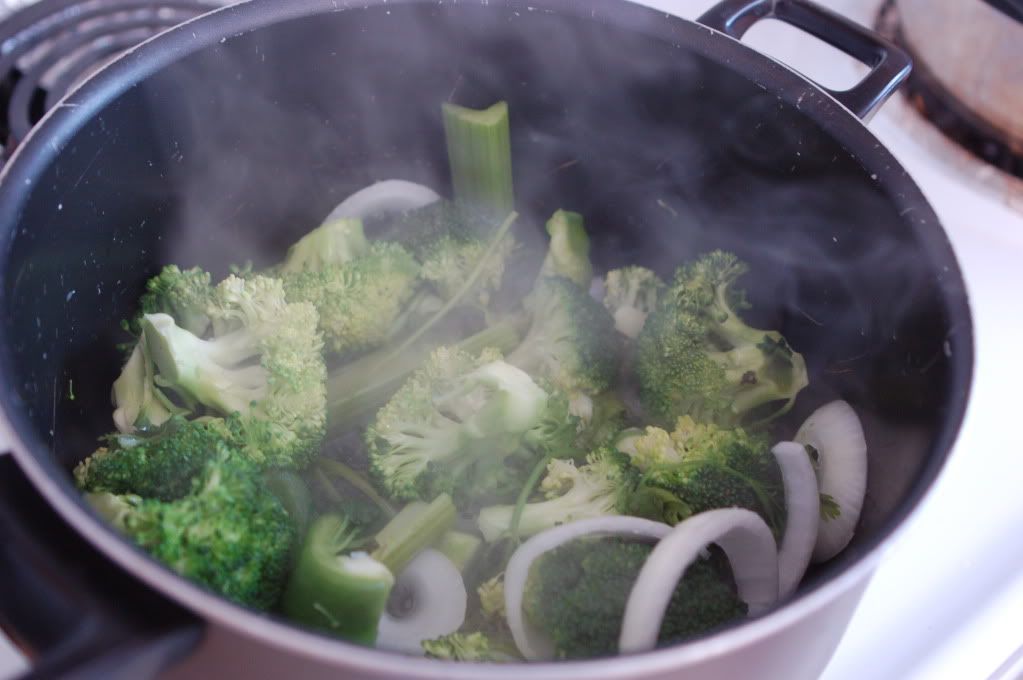
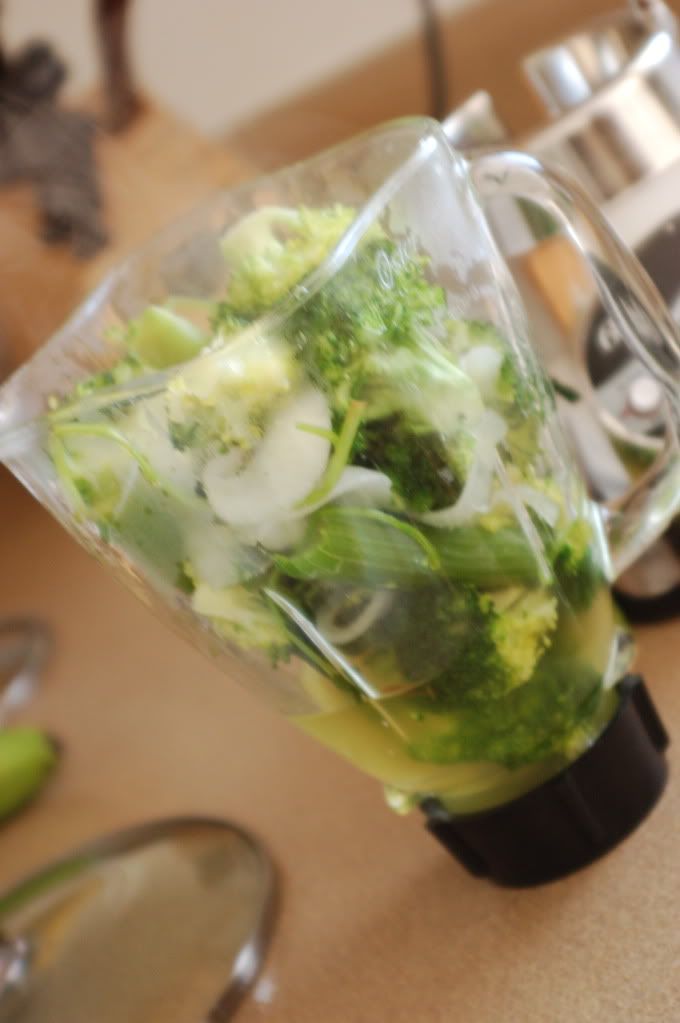
2. Saute onion, celery, garlic, and broccoli until the onion is clear (broccoli may still be firm).

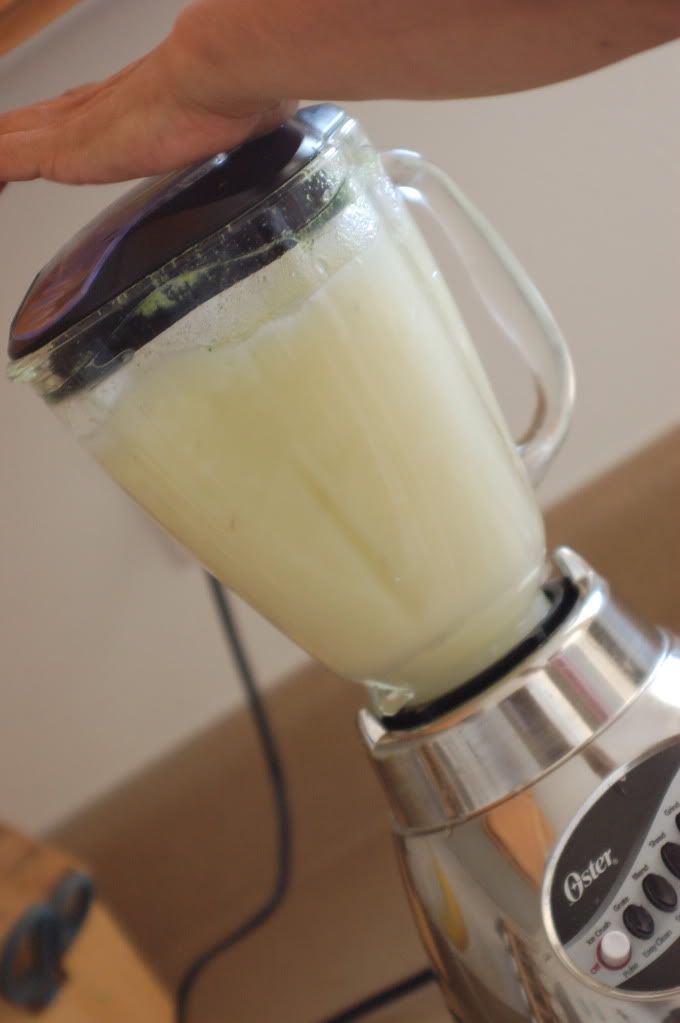
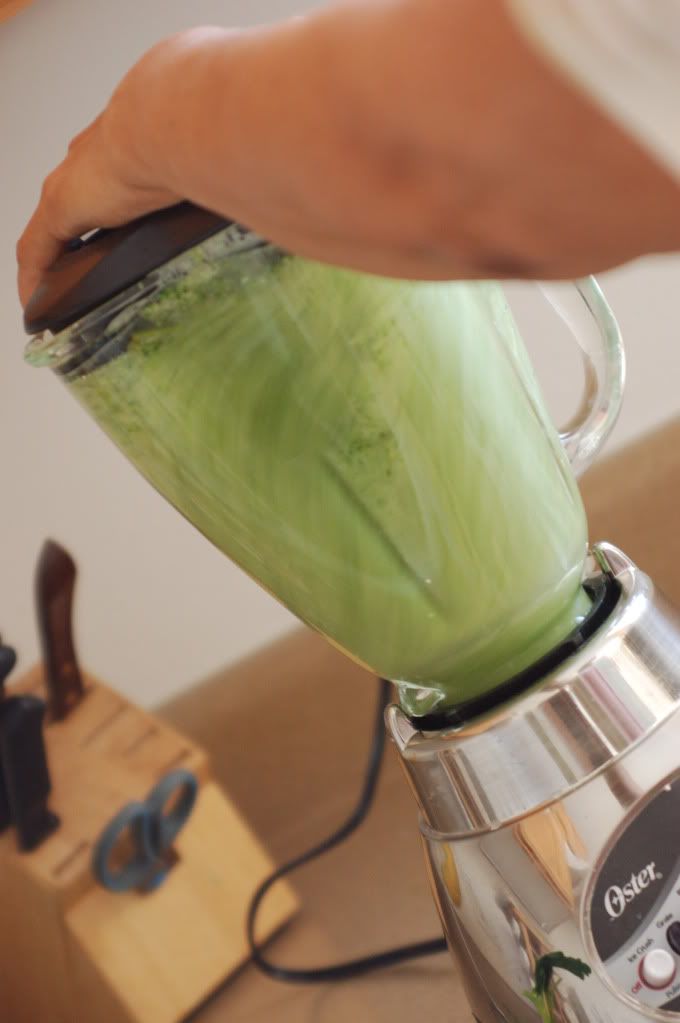
3. Place broccoli and other sauteed ingredients in a blender with a small portion of the water from the potato and blend until smooth.


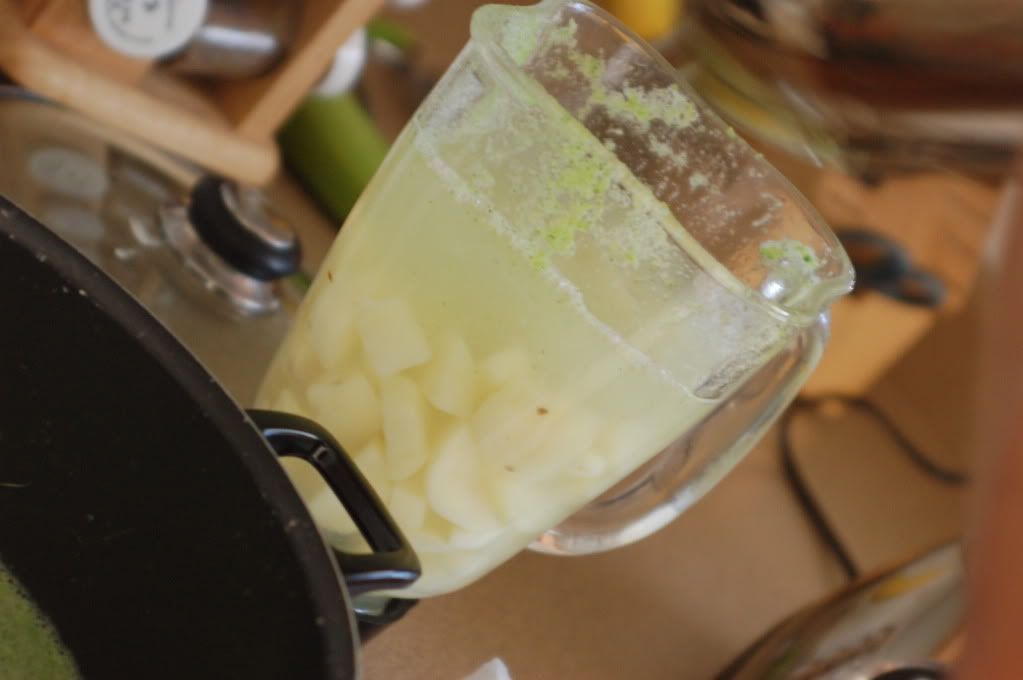
4. Pour liquefied ingredients back into the soup pot and do the same with the potato - blend until smooth with remaining water.


5. Add potato liquid to the warming ingredients in the soup pot and bring to a boil on medium heat.
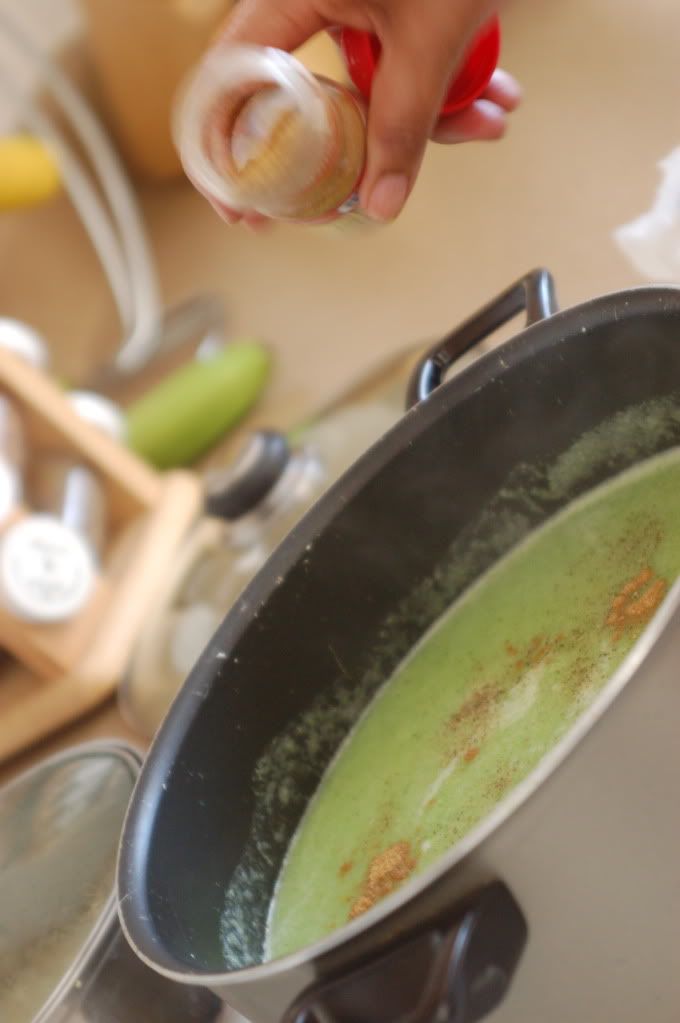
6. Add a tablespoon or two of butter, a 1/4 tsp (or more if you like it) of cumin. Salt and Pepper to taste. Mix final ingredients well.

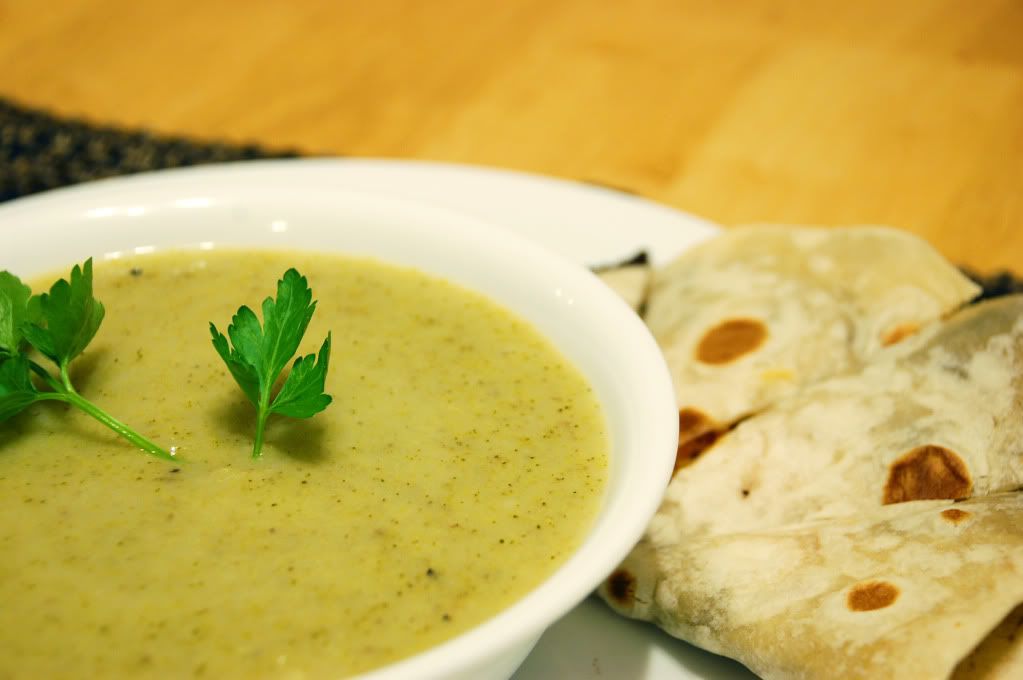
Serve warm with bread, toast, or a tasty grilled cheese sandwich . . . or a black bean and cheese quesadilla, like I did here.