Showing posts with label Dinner. Show all posts

Monday, January 28, 2019

Thai Turkey Lettuce Wraps


These lettuce wraps have so many levels of contrasting yumminess - from the warm filling to the crisp cool lettuce leaves, the savory curry flavors mixed with the cool basil and cabbage. It's the perfect summertime meal if you love a good mix of Thai flavors. 

Ingredients: 

1 lb ground turkey
1 tbsp olive oil
2 tbsp Thai Kitchen Red Curry Paste
1 tbsp minced ginger
4 cloves minced garlic
1 red bell pepper sliced in thin strips
1 cup finely shredded cabbage
1/4 cup hoisin sauce
Salt and pepper to taste
4 green onions chopped 
6-10 leaves fresh basil, shredded
1-2 romain hearts


Instructions:

The trick to putting this meal together is to do the chopping ahead of time because the cooking really goes fast and you won't have time to chop while things are cooking. 
  1. Prepare lettuce leaves by chopping off bottom end, washing and setting aside. Place on a plate or in a bowl for serving later. 
  2. I like to use ramekins or small bowls to chop fresh ingredients and set aside so they are quick to grab and dump into the recipe. Shred Cabbage and set aside. Slice red pepper into thin strips and set aside. Mince ginger and garlic and set aside. Chop green onions and set aside. Slice fresh basil and set aside. 
  3. In a large skillet, heat oil and ground turkey. Cook until browned all the way through, breaking up any large chunks with a wooden spoon. 
  4. When turkey is cooked add garlic, ginger, peppers and cabbage and stir-fry for a minute. Then add curry paste and fry for 2 more minutes. Add hoisin sauce and heat through. Remove from heat and toss with green onions. Sprinkle in about 1/2 of the basil leaves and toss again. 
  5. Transfer mixture to a heat-safe bowl and serve by spooning mixture onto washed romaine lettuce leaves and eating like tacos. Each wrap should be prepared right as it is eaten so that lettuce will not wilt.
I usually make a double or triple batch of this if we want any leftovers for our family of four. It can also be served with a bed of rice for a heartier or winter time dinner option. 


Monday, June 5, 2017

Mexican Tinga Tostadas


The last few days the temperatures have been rising here and we're trying to find light summer dinners that don't heat up the house. Lately we've been trying lots of different tacos and tostadas and this is one of our favorites that we learned from some friends and is a traditional Mexican dish that consists of sauteed onions, shredded chicken, and tomatoes and chipotle chiles-a flavor that is becoming a staple in our house. If you are adverse to onion, you may want to change it up a bit as the original dish has just as much onion (or maybe even more) than the chicken. My husband would prefer that I'd leave them out completely or blend them to nothing, but I personally love sautéed onions, so I give this 5 stars!

Ingredients for the Tinga:

  • 5 large chicken breasts (or really any part of the chicken that you want to shred)
  • 2 Tbsp Olive Oil
  • 3 large or 4 yellow onions
  • 2 cans diced tomatoes
  • **1-2 chipotle chilis in adobo sauce
  • 2 bay leaves
  • salt
  • chicken broth as needed

To serve:
  • tostadas
  • sour cream
  • cilantro
  • Queso cotija (Mexican crumbling cheese--this can be found in most grocery stores)
  • lime
  • any other garnishing that you prefer - I've seen some people add avocado, shredded lettuce, and even sliced radishes on top. Get creative and make it how you will love it!
Instructions:


Cook chicken prior to making the sauce. (I like to make mine in the crockpot or roast it in the oven for simple shredding). Cook Puree tomatoes and chiles in the blender. Sauté onions in olive oil until they are soft and translucent. Add puree to the onions and let simmer with bay leaves. Add chicken broth to your desired consistency and flavor. Add shredded to chicken at the end so as not to over cook. 

When the Tinga mixture is ready, spread sour cream on the tostadas, top with Tinga, crumbled cheese, cilantro, and a squeeze of lime. Enjoy!


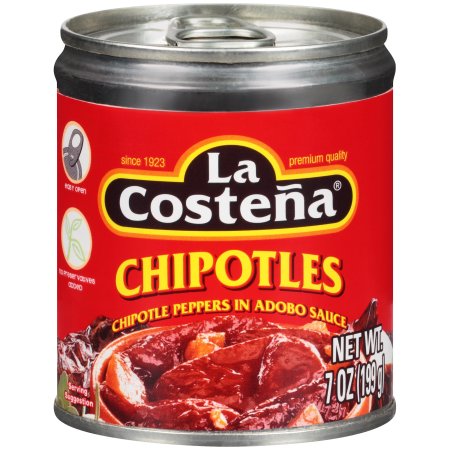
**Chiptole peppers in adobo can be found in the Mexican food section of your grocery store. We like La Costeña brand, but I'm sure any brand will do. Any extra peppers will store for quite  awhile in the refrigerator and you can even freeze them in the sauce and use them at a later date. I do this quite a bit as they are quite strong and I never need an entire can of them. 


Sunday, August 14, 2016

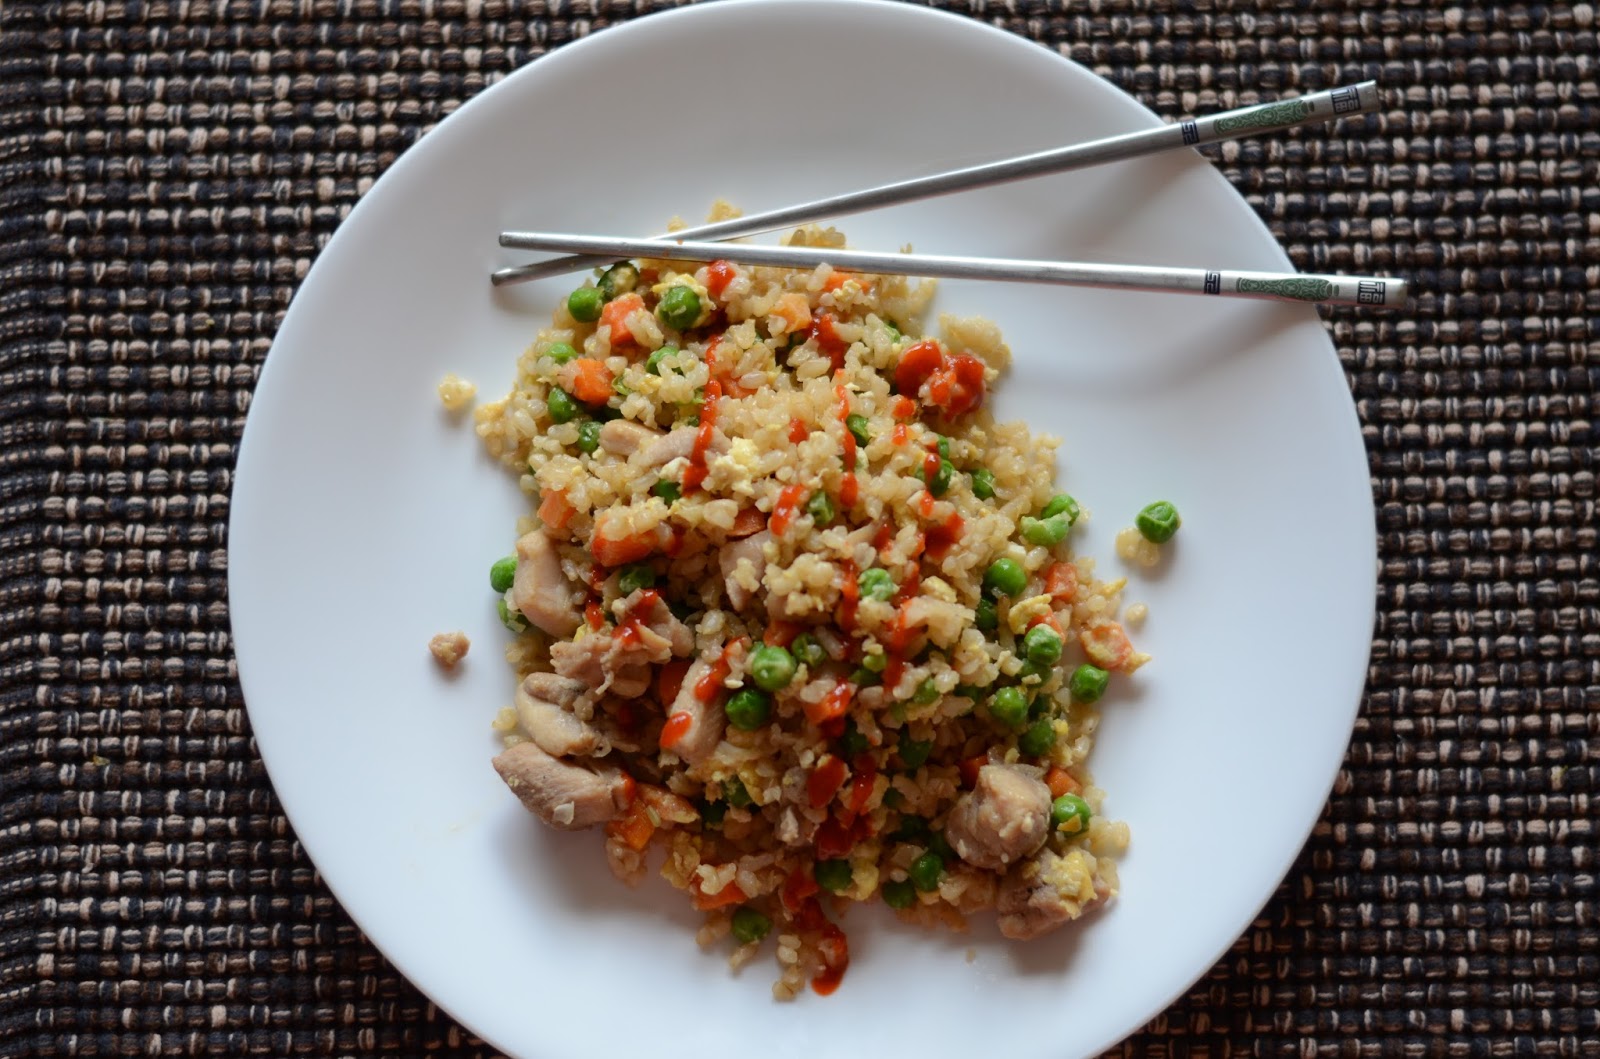
Arroz Chino - Chicken Fried Rice

I'm always looking for quick dinner ideas and this one is a simple one that is filling, simple, and delicious. And even better yet, my family loves it. It includes simple ingredients that are easy to keep on hand and throw together at the last minute. 


Ingredients:

3 cups cooked long-grain brown rice (preferably left over rice. White is fine too)
3/4 lb bonelss skinless chicken breasts, diced into 3/4-inch pieces
1/4 lb boneless skinless chicken thighs, diced into 3/4 inch pieces
1 Tbsp sesame oil, divided
1 Tbsp canola oil, divided
1 10 oz package frozen peas and carrots blend
3 green onions chopped
2 cloves garlic, minced
2-3 large eggs
3 Tbsp soy sauce
Salt and freshly ground black pepper
Sriracha, for serving (optional)

Preparation:
  • In a large non-stick wok or skillet, heat 1 1/2 tsp sesame oil and 1 1/2 tsp of the canola oil over medium-high heat. Once hot, add chicken pieces, season lightly with salt and pepper and saute until cooked through, about 5 - 6 minutes. Transfer chicken to a plate and set aside.
  • Return skillet to medium-high heat, add remaining 1 1/2 tsp sesame oil and 1 1/2 tsp canola oil. Add peas and carrots blend and green onions and saute 1 minute, then add garlic and saute 1 minute longer. Push veggies to edges of pan, add eggs in center and cook and scramble. 
  • Return chicken to skillet along with rice. Add in soy sauce and season with salt and pepper to taste. Serve warm with Sriracha to taste if desired.


Sunday, February 7, 2016

Pad Thai

Over the last few years, I've noticed a pattern in my cooking. In January and February, I crave Thai-inspired cuisine. I don't consider myself a huge Thai-food fan. I wouldn't say I know a whole lot about it, but for some reason I always have the craving to experiment with this type of food post-Christmas winter months. I always use shrimp. Perhaps it's a warm dish with a fresh twist that reminds me of the ocean and takes me there in the months that are so long for me.

In the past, I've made Thai inspired soups, like this one. But, this year, I was craving Pad Thai and it was a hit with everyone! (Yeah!) So I'm keeping this for the record...hoping to make it again soon!


If you want to try it out too, you will need:

  • 8 ounces Thai Kitchen rice noodles
  • 1 bottle, Annie Chun's Pad Thai sauce
  • 2 (12 oz) bags of extra large or jumbo sized shrimp
  • Vegetable oil (for sautéing)
  • 1/2 onion, diced
  • 4 garlic cloves, minced
  • 1/4 tsp red pepper flakes
  • 2 cups fresh bean sprouts
  • 1/2 cup matchstick carrots or fine carrot shavings (use potato peeler)
  • 3-4 eggs (beaten)
For garnish:
  • 1/2 bunch cilantro leaves 
  • 1/3 cup chopped peanuts 
  • sliced lime wedges (1-2 limes)

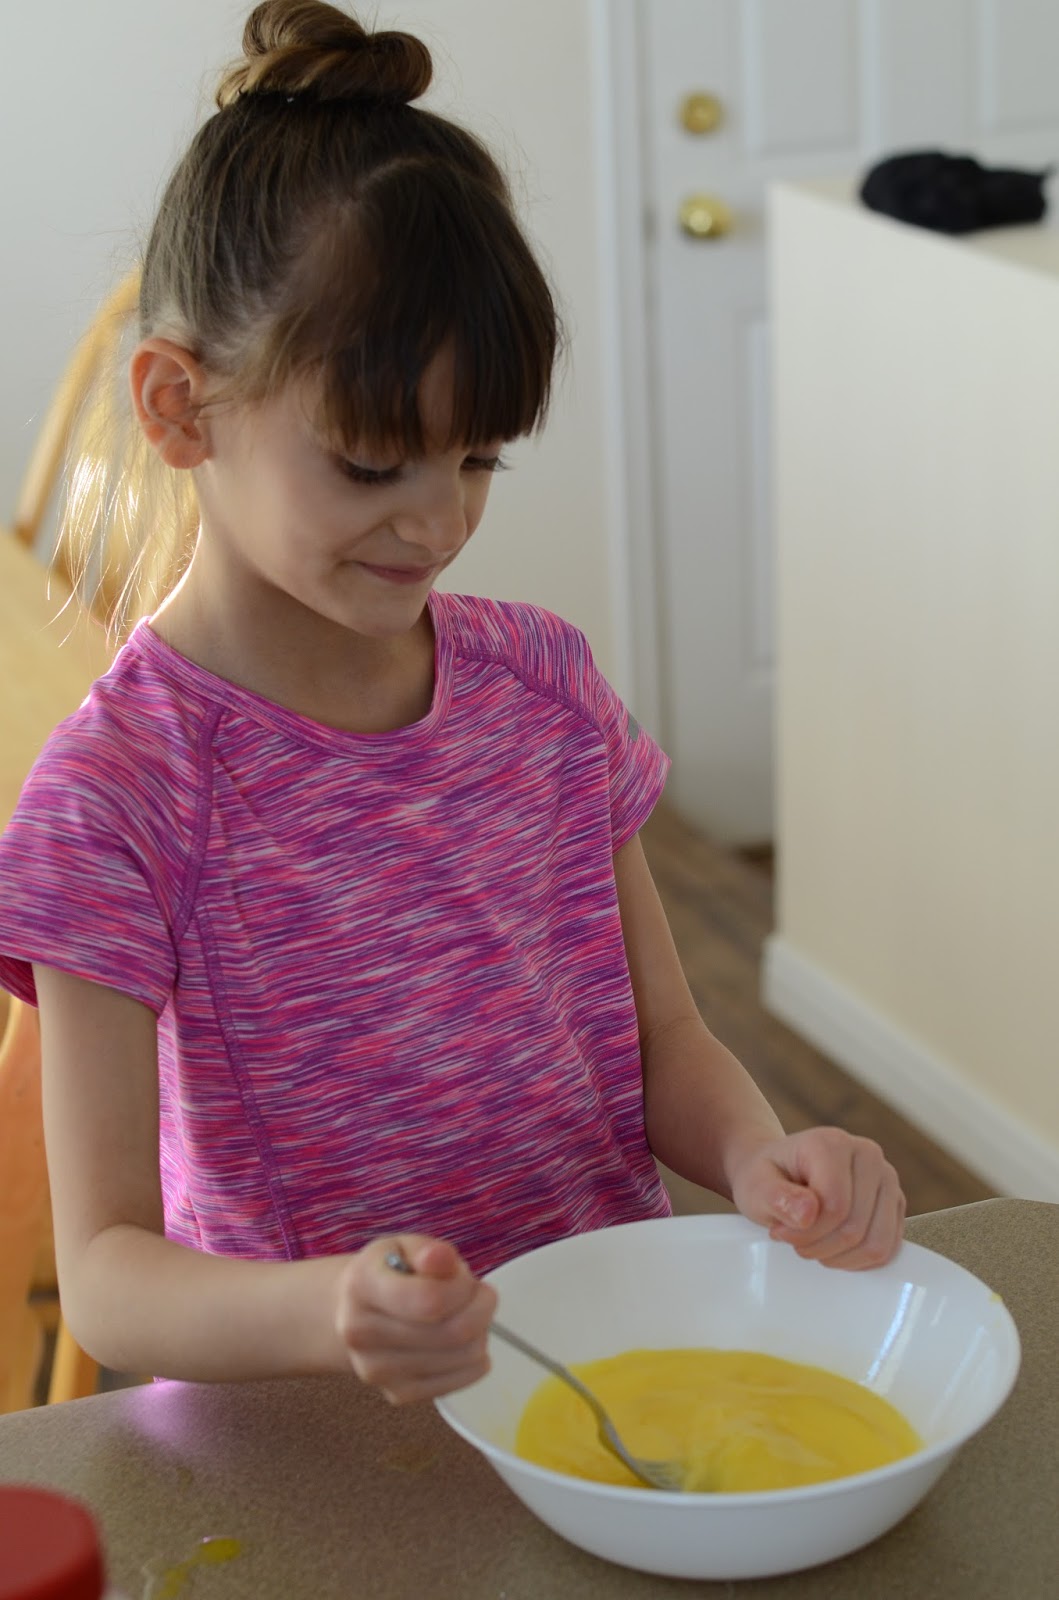
You will also need a willing daughter to beat the eggs. ;) I love when my girls offer to help in the kitchen. And they love being helpful. 

Begin by preparing all of the fresh ingredients (chop onions, mince garlic, slice green onions, carrots, cilantro, peanuts, limes, wash bean sprouts) Set aside.

Bring a pot to boil and follow package instruction for rice noodles. This will involve boiling water and then removing the water and placing the noodles in to soak for a short time and then rinsing them as soon as they are done so that they don't get soggy. 


Clean and detail shrimp. Heat oil in frying pan and being sautéing onions until almost clear. Add shrimp and garlic and saute until shrimp is pink. (This goes quickly. Do not over cook as shrimp will lose tenderness the longer they are cooked.) Set shrimp aside in a dish and fry egg. Remove egg. when noodles are ready, place in frying pan, add egg and shrimp back in. Add pad thai sauce and red pepper flakes and heat through. 


Serve noodles with shrimp and eggs on a large plate. Garnish with plenty of bean sprouts, carrot shavings, cilantro leaves, chopped peanuts, and lime wedges. 


Sunday, November 22, 2015

Deliciously Juicy Thanksgiving Turkey


The first thanksgiving as a married couple that we spent without my family, my sister-in-law, Ana, and I set out to prepare our very first turkey. Now, my husband had not always been a fan of turkey and would have preferred a flavorful ham instead, but after he tried the results of our experiments, he has begged that I make this classic turkey every year. Let's just say the leftovers disappear much too quickly. So here I will share with you the tricks to preparing a deliciously juicy turkey. (The times and proportions are  for a 12-18 lb turkey). 

Trick #1: Brine your turkey!
The time and little effort that it takes to brine your turkey (soak it in a salt solution) will make a huge difference. If you are buying a frozen turkey, you'll need to plan for enough time to thaw it before brining. (A frozen turkey takes about 5 hours per pound to thaw in the refrigerator). After the turkey is thawed (or if you have purchased it fresh), remove the giblets and neck (found inside the chest cavity of the turkey). Prepare a solution of 1 cup salt to every gallon of water. (Yes, it's a concentrated solution, but you will rinse the excess salt off at the end). If your turkey has been infused with a solution, reduce the salt content and soak it.) Pour out the brining solution and rinse the turkey in the sink. (I've placed a rack in the sink and rinsed it on there). After the turkey has been rinsed, you must dry it. You can either place it on a rack in the refrigerator with a sheet pan beneath it (for 8 hours or overnight). Or, if you're pressed for time like I have been, I use a blowdryer on the cool setting (no heat) and blow it over the skin until it's dry. 

Trick #2: Prepare to roast
This next step helps add delicious herbed butter flavors into the meat. You will need approximately:
2 medium onions
2 ribs of celery
3-4 tablespoons of melted better
2 tablespoons thyme (or 2 sprigs fresh thyme)
1 or 2 limes
15-30 whole cloves

Preheat oven to 400°F. Chop onions and celery. Cover onions and celery in 1/2 of the melted butter. Mix in half of the thyme. Place mixture inside the cavity of the turkey making sure to rub the butter and herbs all over the inside cavity. With a steak knife, cut small openings into the skin of the lime. Place a clove in each opening (all over the lime). Place the clove-infused lime(s) into the middle of the chest cavity. 

Now, make sure to either tie up the loose ends and wings with twine tying a knot at the head of the turkey to hold everything in place or use the plastic piece that sometimes comes with the turkey (oven safe) to hold everything together. 

Place the turkey on a V-Rack breast side up and with the remaining butter and thyme, generously rub over the entire outside of the turkey, making sure not to miss any areas. The butter will help the thyme stick to the skin and will help give the skin a beautiful golden color in the end. Now turn the turkey breast side down and cover the back with butter/thyme as well. 

Trick #3: Begin the Roast Upside Down
Normally, turkeys are roasted breast side up to cook them at a slower rate, but by cooking it breast side down, you give the drumsticks and thighs the chance to be cooked at a higher temperature and remove any of the pink flesh. If you were to cook the turkey breast-side up from the beginning at the same high temperatures, it would become very dry. 

Roast the turkey breast side down for 1 hour and 15 minutes, pulling it out at the 45 minute mark to baste it with the juices that have fallen into the pan.  

 After 1 hour and 15 minutes, remove from oven and turn the turkey breast side up.

Trick #4: Inject juices
At this point, I like to take a marinade injector and inject the juices from the pan back into the turkey, especially in the breast area. This
Baste again and brush on the remaining butter.
Place the turkey back in the oven and roast again for another 30 minutes. After that, begin checking the turkey temperature every 10 minutes to check for doneness. The turkey is done when a thermometer thrust into the breast reads 165°F. The deepest part of the thigh should read between 170°F. to 175°F.

Remove the turkey and let it rest for 20-30 minutes.

To carve the turkey:
Place the turkey breast side up on a cutting board. Cut the skin between the thigh and the body of the turkey. Cut in while using a fork to peel the leg away from the body.  Cut through the joint to remove the thigh and the drumstick. Place the leg flat on a cutting board. Separate the thigh from the drumstick by cutting through the joint. Cut the meat off the sides of the thigh bone. Cut the meat off the drumstick. Repeat on the other leg. Remove the wings by pulling them away from the body and and thrusting a knife through the joint to sever. One all the limbs have been removed, cut through the skin along the keel bone. Angle the blade out a little and cut down along the bone to remove the breast. Do the same on the other side. Cut the breast meat against the grain into thin slices.

What to do with leftovers?
Of course there's always turkey sandwiches with the delicious cranberry sauce or a turkey noodle soup, but we like to make these turkey taquitos for a twist on the traditional.


Sunday, August 30, 2015

Mom's Taco Pizza


In the spring this year, I decided to do a 10-day green smoothie cleanse. I felt great . . . until my parents came to visit over the weekend and my mom made this pizza. I was on day 8 all I wanted to do was eat it! [Note to self: no cleanses when company comes to visit.] I've been wanting to make it ever since I watched everyone else eat it...my mouth is watering just thinking about it. And this week, I finally did it. It's a great weeknight meal that comes together very quickly and is very filling and satisfying. 

The measurements below are estimations. You can't really go wrong with this. After the crust, add as much as you'd like of each ingredient and enjoy. 

Ingredients
1 pre-prepared Pizza Crust
1 15 oz can refried black beans (or refried beans of your preference)
**chunks of rotisserie chicken (I didn't add this to mine, but my mom put it on hers)
2 cups shredded cheese (Monterray Jack and Cheddar)
1 small package mixed spring greens
1 avocado, sliced
1/3 cup shredded queso seco
fresh spicy salsa (to your liking)

Preheat the oven to 450. Spread black beans to cover the crust leaving a thin edge along the outside of the crust. Sprinkle shredded cheese to cover beans. 

Reduce oven temperature to 425 and bake crust with beans and cheese for 8-10 minutes or until cheese is melted. 

Remove the crust from the oven. Let cool slightly and add greens, pico, queso seco (Mexican dry cheese), and sliced avocados.


Cut into pizza slices and serve with your choice of spicy salsa . . . we like this one.


Sunday, August 16, 2015

Grilled Corn Tacos with Zucchini Radish Pico

If I had to choose one type of food that I had to eat for the rest of my life, I'm pretty sure it would be Mexican food. You just can't go wrong with tortillas and the countless ways to fill or fry them. My girls and I spent a week with summer with my mom and my sister at her house in Oregon. While we were there, we tried some new delicious recipes . . . ones that wouldn't necessarily fly as "dinner" at my house since my husband doesn't prefer dinner dishes that don't have any beef, chicken, or fish in them. Now, I know this isn't necessarily an "authentic" Mexican dish, but I'd still classify it as Mexican-inspired dinner. And a quick and healthy one at that!

Pico Ingredients:
1 bunch red radishes
1 small zucchini
2 limes
salt and pepper
cumin

Filler Ingredients:
4 ears corn on the cob
2 Tbsp butter
1 Tbsp olive oil
1 medium yellow onion, diced
2 cloves garlic, minced
1/2 bunch cilantro (or more if you like)
1/2 cup queso cotija (crumbled)
1/4 tsp chipotle powder

12 small corn tortillas

Begin by preparing the pico. Slice the zucchini and radishes into small pieces. Salt, pepper, and cumin to taste. Add juice from one lime and mix. Set aside and let flavors soak.

For the filling: Grill 4 ears corn on the cob. When ears cool enough to handle, slice corn from the cob and set aside. Salute onion in butter and olive oil until translucent. Add garlic and let onions caramelize. Add corn on the cob and heat through. Remove from heat and add the juice of one lime, chipotle powder and cilantro. 

Heat tortillas in frying pan until they bubble. Keep in aluminum foil or tortilla warmer wrapped in a towel until ready to serve tacos. 

Fill each tortilla with a couple of small spoonfuls of the filling and pico. Top with crumbled cheese and more cilantro, if desired. Garnish with anything you like (i.e. sour cream, avocado, spicy salsa). Eat and repeat until satisfied. 

Monday, August 10, 2015

Grilled Salmon with Guacamole

Before grilling season is over and everyone is making soups to stay warm, I thought I'd keep my promise to my dear friend, Lisa, and post this recipe that my family and I loved. It was the perfect summer evening meal and was super quick to throw together.

Ingredients for Salmon Spice Rub:
2 lbs salmon, pre-portioned or cut into 4 pieces
1 Tbsp olive oil
1 tsp salt
1 tsp ground cumin
1 tsp paprika powder
1/2 tsp chili powder
1 tsp black pepper

Ingredients for Guacamole:
2 avocados, mashed
1/2 small red onion, diced fine
2 limes, juiced
1/2 bunch finely chopped cilantro
salt, cumin, and pepper to taste (I usually add much more salt than cumin, and less pepper than cumin)

Mix the ingredients for the rub and rub the salmon fillets with olive oil and the seasoning mix.
Let the salmon rest for 30 minutes and take in the flavors from the rub.
In the meantime, combine the guacamole ingredients and mix well.
Heat the grill (I like to use my George Foreman for convenience and speed). Grill salmon to desired doneness (4-5 minutes).

Top with guacamole and serve with grilled corn and watermelon.

Wednesday, October 1, 2014

Harvest Quinoa Salad


1 small acorn squash, cut in half, scoop out the seeds and stringy center
1-2 tablespoons olive oil (plus more for drizzling) 1/4 cup finely chopped red onion
1 clove of garlic, minced
1 teaspoon ground cumin
1/2 teaspoon ground cinnamon
1/2 cup chopped uncooked kale (or greens of your choice)
splash of balsamic vinegar
1 cup cooked quinoa
drizzle of honey
1/4 cup chopped scallions
1/4 cup crumbled feta cheese (plus extra, for garnish on top)
1/4 cup dried currants
1/2 cup cilantro, chopped
a few pinches of red pepper flakes
1/4 cup toasted pumpkin seeds

In a large skillet, heat a few tablespoons of olive oil. Add the chopped onion, a bit of salt and pepper, and cook for a few minutes until it starts to become translucent. Add garlic, cumin & cinnamon and cook, stirring, until it’s fragrant but not burning. Mix in kale and cook for a few minutes until it wilts down. Turn off the heat, add a splash of balsamic vinegar, the cooked quinoa, and a good drizzle of honey and toss. Next, mix in scallions, cilantro, currants, feta and a pinch of red pepper flakes. Taste and adjust seasonings.  Scoop filling into the cooked acorn squashes, and top with toasted pumpkin seeds, more feta (if you wish), and a drizzle of olive oil and another good drizzle of honey.

Wednesday, September 24, 2014

Homemade Tomato Basil Soup

One of the best things about this time of year is the tomato harvest and all of the delicious things you can do with fresh tomatoes. Two of my favorites are homemade tomato sauce and homemade tomato basil soup. I've tried lots of recipes and I think I've finally fine-tuned the one I like the best. It's got the perfect balance of tomato and basil, with a hint of other veggies and spices that give it a great depth of flavor along with a bit of creaminess without the dairy. 

Here's what you'll need:

16 tomatoes
olive oil
salt
pepper
1 tsp. thyme
2 cloves garlic, minced
1 yellow onion, diced
2 celery stalks, sliced 
1 lb carrots, peeled and sliced
1 cup vegetable broth
1 cup fresh basil
a little brown sugar
1 cup almond milk

Heat oven to 450 degrees and line a cookie sheet with aluminum foil. Cut tomatoes in half lengthwise and place cut-side-up on cookie sheet. Drizzle with olive oil. Sprinkle generously with salt and pepper and thyme. Roast in oven for 45 minutes. 

While tomatoes are roasting, saute onion in olive oil until translucent, add garlic and saute (do not let the garlic blacken). Add celery and carrots and saute saute until softened. Blend sauteed veggies with vegetable broth until smooth. Set aside.
When tomatoes are finished, let them cool slightly blend them with basil in the blender until smooth. Combined blended ingredients in a sauce pan and bring to a slight boil. Add a little brown sugar to balance the tartness of the tomatoes and stir in the almond milk (or other milk of your choice). 


Garnish with Parmesan cheese and fresh basil. Serve with grilled cheese sandwiches.  

Wednesday, September 17, 2014

Gram's Broccoli Casserole

There are three women in my life who have greatly influenced my cooking: my mother, my grandmother, and my mother-in-law. Today, I dedicate this post to my dear grandmother Leann, who is turning 77 years old. From a very young age, my memories of her are in the kitchen, teaching me how to whip up a batch of my favorite chocolate chip cookies or watching her decorate a wedding cake. She is a baker, but we also used to gather as extended family at her house for Sunday dinners and holidays. I think the menu was pretty constant - roast, potatoes, corn on the cob, fruit salad (with whipping cream of course) and the one casserole that we always had was her broccoli cheese casserole. 

A little over a year ago, we found ourselves from one day to the next without a caregiver for our youngest and my grandmother came to the rescue and spent a couple of months with us taking care of her during the day. I have always wanted to put together a cookbook of her recipes and so we decided it would be the perfect time to photograph all of the dishes that her family loves best. During the day she would take care of Ceci and cook or bake and when I'd get home I'd photograph her work. We were just about finished and my camera card crashed and we lost everything. She was such a trooper and cooked it all a second time and I took photographs again. So, I wish I had the book finished to give to her on her birthday, but this is a start . . . the first recipe that we all love: Broccoli Casserole. 

Ingredients
1 cup uncooked rice
1/2 cup celery
1 cube butter
1/2 onion, diced
1 small jar, cheese whiz
1 can, cream of chicken soup
1 bag, frozen broccoli
bread crumbs

Gram's original recipe reads: Saute onions and celery in butter. Pour over cup of rice in 9 x 13 pan. Mix together cheese, cream of chicken soup, and broccoli. Pour over rice. Top with breadcrumbs and Bake at 350 for 30 minutes or until bubbly. 

The pictures here are a little different from the process that comes from her original recipe, but it all turns out the same. For a heartier, main dish you can add pieces of cubed chicken breast (pre-cooked) above the layer of rice.


Grandma, thank you for all you do for us - - most recently for the times you've come to our rescue tending our kids or whipping up a ton of your recipes for photographs and for teaching me how to show my love for others through food. If there is one big influence that I'd say you've had on me, it is that! I love you! And Happy, Happy Birthday!